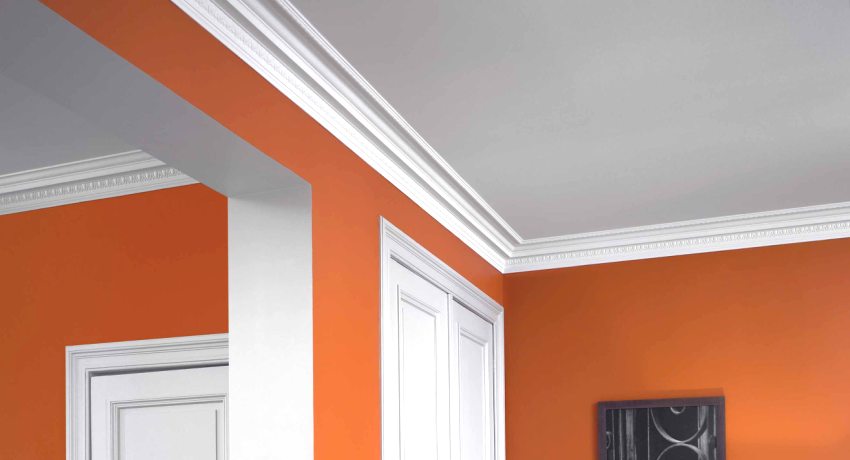
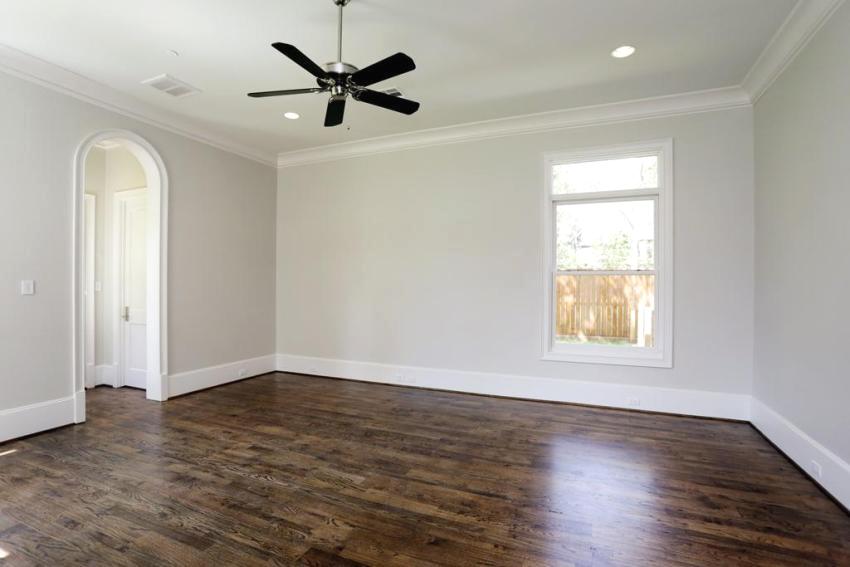
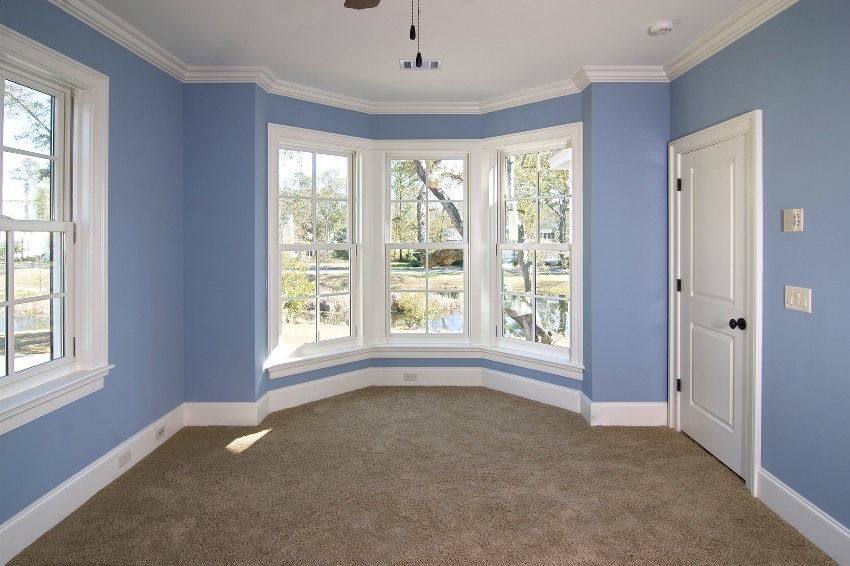
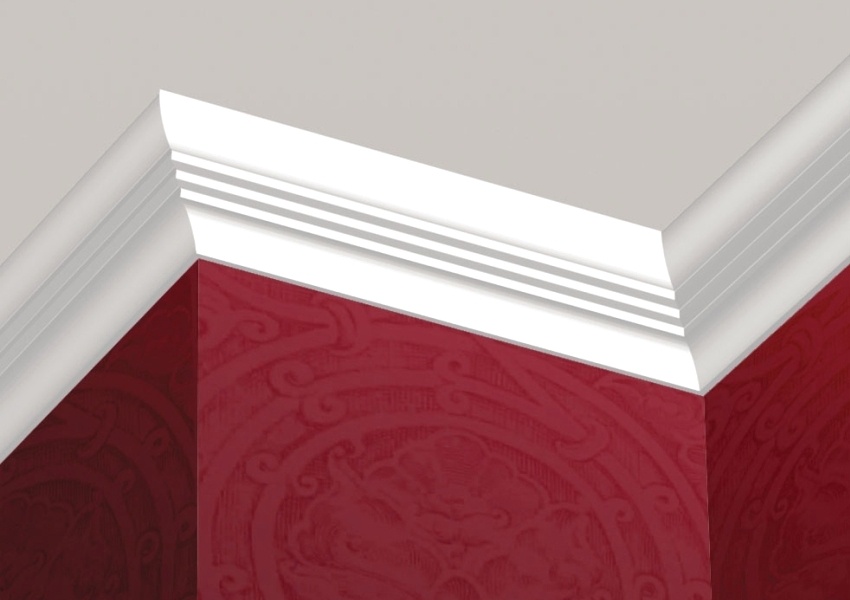
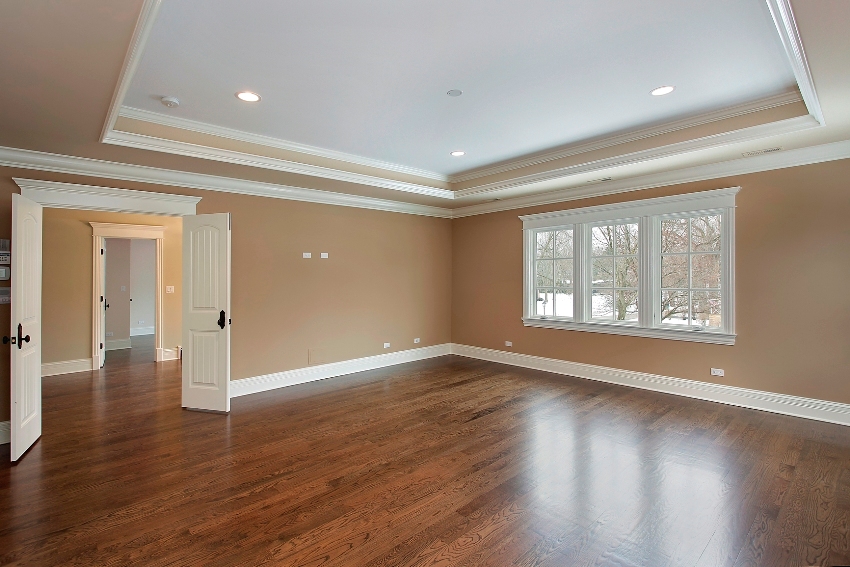
In addition to basic renovation work, such as finishing the walls and ceilings, we have to deal with some minor difficulties, such as, for example, the design of the joints between the two surfaces. A decorative polyurethane ceiling skirting board is ideal for this purpose. Consider the features of choosing this practical element, as well as recommendations for its self-assembly.
Content
- 1 Types of skirting boards for the ceiling: photos of decorative elements from different materials
- 2 Ceiling polyurethane skirting board: how to properly install
- 3 Ceiling lighting with LED strip under the plinth: photo and installation instructions
- 4 Installation of a ceiling plinth: prices for materials and professional installation
Types of skirting boards for the ceiling: photos of decorative elements from different materials
In order to understand how the polyurethane ceiling cornice compares favorably with all other options, consider what they are, depending on the material of manufacture.
Wooden skirting board has become widespread due to the availability of the material, as well as the possibility of fixing in various ways: with glue, using screws or nails. Most often, such decorative elements are used in interiors where wood trim prevails.
Gypsum plinth is one of the most beautiful, but at the same time, expensive options for finishing the joints between the ceiling and the wall. The width, as well as the variety of stucco moldings, are practically unlimited, and therefore it is not difficult to choose an option suitable for any interior design. Fastening is done with putty. In some cases, such skirting boards are additionally painted.
Styrofoam ceiling plinth is the cheapest option on the market. It is popular due to its affordability, low weight, and an extremely simple method of attachment: using a special glue, which is sold in any hardware store, as well as a putty. Available in sizes from 2 m in length and from 6 to 10 mm in width.
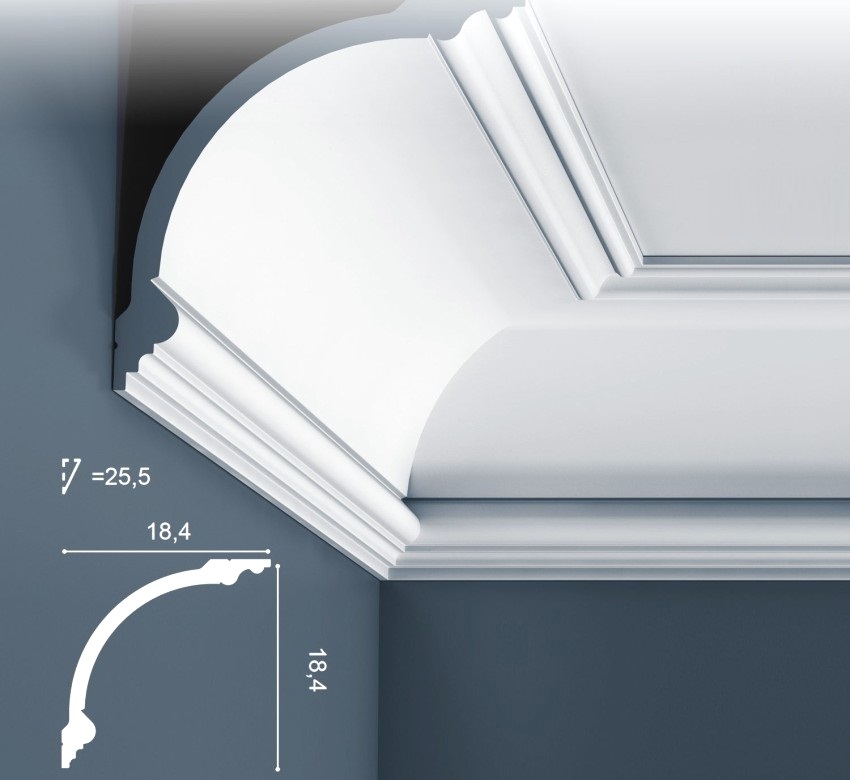
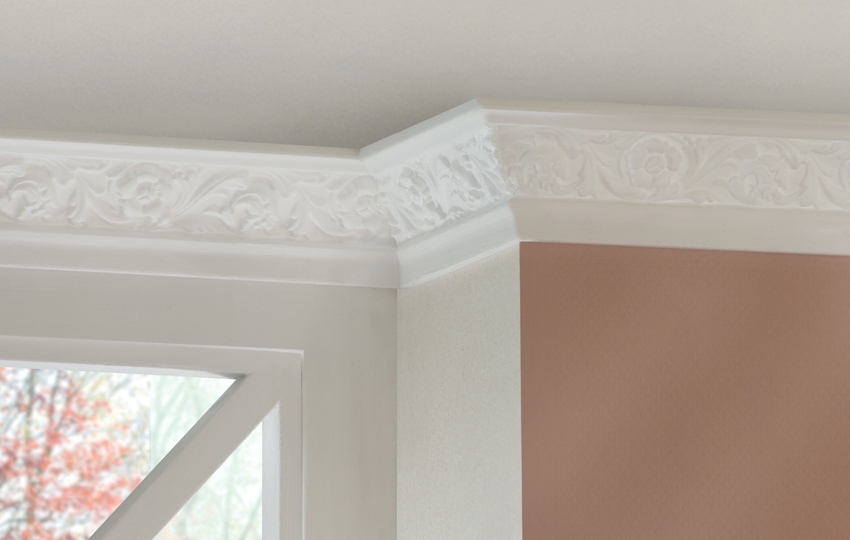
Ceiling polyurethane fillet is superior due to its special flexibility. This property allows you to design any complex structures where there are smooth transition lines, as well as columns.And if earlier for this purpose it was necessary to use gypsum plinths, making an extremely complex adjustment of the elements, now this process has become much easier, thanks to the plasticity and ability of polyurethane to bend around any shape. The possibilities offered by the use of this material in interior design are almost endless.
Helpful advice! Despite the fact that polyurethane skirting board looks great in combination with almost any finishing material, it is especially often used in cases where the finish is made using a vinyl stretch ceiling, tiles or plastic panels.
Why buy a polyurethane skirting board: the benefits of using
It is worth buying a polyurethane ceiling plinth for many reasons. Possessing a number of advantages, it can become an irreplaceable assistant in the design of original interiors, giving the room a complete look. Consider a few of the main advantages of using this named option:
- polymer used to make skirting boards, has a high density and resistance to various factors of influence;
- the chemical safety of this material has also been confirmed more than once;
- high flexibility allows you to decorate rooms with a complex configuration and use skirting boards for finishing structures of the most varied complexity;
- such a cornice can be used not only for the ceiling, but also for decorating door and window openings;
- the snow-white color of the fillet is ideal for any interior, but at the same time, its surface can be painted in any shade that will match the color of the walls or ceiling, depending on your preferences;
- it is possible to decorate the cornice with lighting, and thus bring something original into the interior, and in the future use this as an additional source of lighting.
Helpful advice! You can purchase a ready-made eaves structure equipped with lighting, or you can do everything yourself. Thus, you will perfectly decorate the room and can even change its visual perception.
Ceiling polyurethane skirting board: how to properly install
The profitability of using a polyurethane ceiling plinth is beyond doubt, especially since this material has a lot of technical advantages over others, for example, the ability to withstand serious temperature drops: from -60 to 80 ° C. This is what determines the extremely long service life of the material.
To fix this type of skirting board, the easiest way is to use polymer glue, applying it to the edges of the profile. At the same time, the main requirement that is presented in this case to the adhesive mixture is a high adhesion level. This simplifies the task, since the ability to quickly solidify allows you to fix the elements quickly and eliminates the need to hold the plinth for a long time, because it is quite difficult to stand with your hands raised even for several minutes.
At the same time, the use of such quick-drying compositions complicates the work, since it requires precision and speed in work, leaving you no room for error and incorrect placement of the cornice. The ideal variant of the glue mixture for fastening can be Moment glue or liquid nails.
How to properly cut a corner on a ceiling plinth
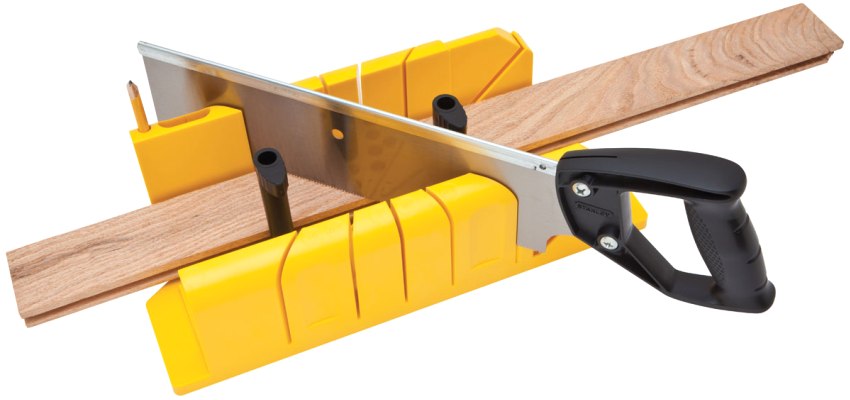
In order to smoothly and beautifully cut the corners of a flexible plinth, use a special device called a miter box. It has several holes that allow you to accurately measure angles of 45, 60, 67.5 or 90 degrees. If you want to make a straight dock, then you need to use a 90 degree stencil.But for trimming internal and external corners, an angle of 45 degrees is most often used.
Let's take a closer look at the step-by-step instructions for cutting the corners of a flexible skirting board:
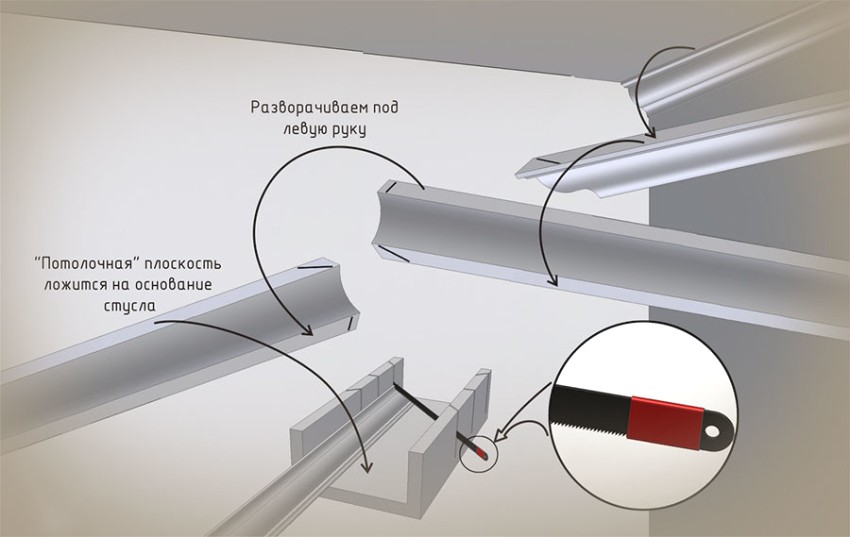
- first of all, the element that you want to cut must be inserted into the miter box on the left side and pressed against the side. In this case, the part that will be located near the ceiling should be located at the bottom of the miter box;
- a hacksaw is inserted into the stencil at 45 degrees on the right side;
- if we are talking about cutting an adjacent profile, then the plinth must be inserted from the right, and the cutting must be done in the direction from right to left. Thus, the top side for the bottom corner will be longer than the bottom.
In cases where you need to adjust the inner corner, insert the skirting board into the miter box from the left side, and trim the edge from right to left at an angle of 45 degrees. Then the bottom side will be longer than the top.
Helpful advice! In order to avoid mistakes and unnecessary waste of material, it is recommended to watch a video before starting work on how to cut corners on ceiling plinths. Such a simple video instruction will clearly show you all the stages of work.
Often you have to face the problem of lack of the necessary tool, namely the miter box. In this case, you can go the other way and do everything manually: on a flat surface (most often just on a table), two parallel lines are drawn. A square is marked in them. Diagonals are drawn from the corners of this square, which form angles of 45 degrees.
In order to make trimming easier, and the accuracy was higher, you can use improvised items, for example, put a box or a wooden block on the diagonal line.
Another difficult case that we often have to deal with is an uneven angle that does not have the prescribed 90 degrees. In this case, the use of stencils is pointless, since the elements you received will not fit evenly under the ceiling anyway. In such a situation, it is necessary to take into account the peculiarities of each corner separately, and mark the ceiling.
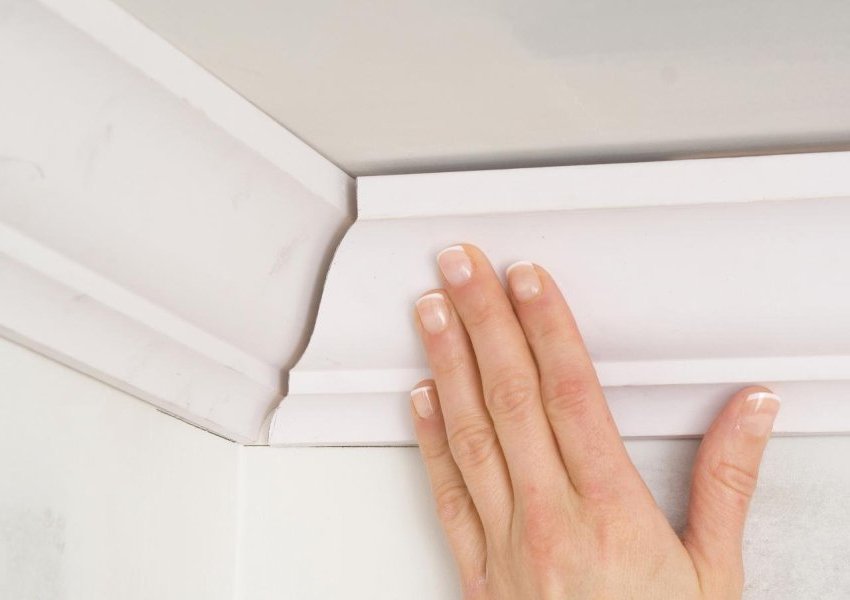
The flexible plinth for the ceiling is applied directly to the place where it will be mounted, resting it against the mating wall. On the ceiling and wall, you need to draw lines that will mark the places where the cornice fits to the surfaces. The same is repeated for the adjacent wall of the room. The top point of intersection of these lines will be the cut point, and the bottom point of intersection of the lines is the bottom corner of the profile.
To make the outer corner of the ceiling plinth, as in other cases, you need to use the method of parallel lines or a miter box. But the direction of the cut will be different.
Helpful advice! If you don't want to figure out on your own how to make a corner on a skirting board, you can buy skirting board corners that are sold in a store. They are quite cheap, but the installation process can be much easier.
How to cut skirting boards on the ceiling: basic principles of work
Another issue worthy of attention is how to cut skirting boards into the corners of the ceiling. Although polyurethane is easy to cut, it also requires some care. For this purpose, it is best to use a hacksaw or a construction knife, with which you can easily trim irregularities and protruding pieces.
To make the cutting angle as accurate as possible, try to place the profile in the miter box as evenly as possible so that the width of the plinth on the bottom and on the side is the same as possible.
If you have to trim manually, without using a miter box, then try to distribute the plinth so that it is evenly spaced both vertically and horizontally. In this case, you will get the highest quality joint, without cracks and gaps.
As you can see, there is nothing difficult in cutting profiles on your own, and it is quite possible to do everything on your own, without resorting to anyone's help. Moreover, as a visual material, you can always use the video on how to make a corner on the ceiling plinth.
How to glue a plinth to the ceiling: detailed instructions for work
It would seem that there is no need to understand how to glue skirting boards to the ceiling, because by purchasing a ready-made adhesive composition, you almost completely save yourself from the hassle associated with this. In fact, there are many subtleties that must be taken into account in the process of work in order to carry out the fastening correctly.
Of course, it is not difficult to glue the profile to a perfectly flat and smooth surface. But what if the walls are not even, or how to glue ceiling skirting boards on the wallpaper? Let's consider all this in step-by-step instructions.
First of all, it is necessary to prepare the surface for fastening the fillet. This requires thorough cleaning, removing all roughness, glue residues, etc. For this purpose, you can use a spatula, fine sandpaper or a mesh designed for grouting putty.
Helpful advice! If the joint between the wall and the ceiling was previously putty, before proceeding with the installation of the ceiling plinth, the surface must be treated with a primer and wait until it is completely dry.
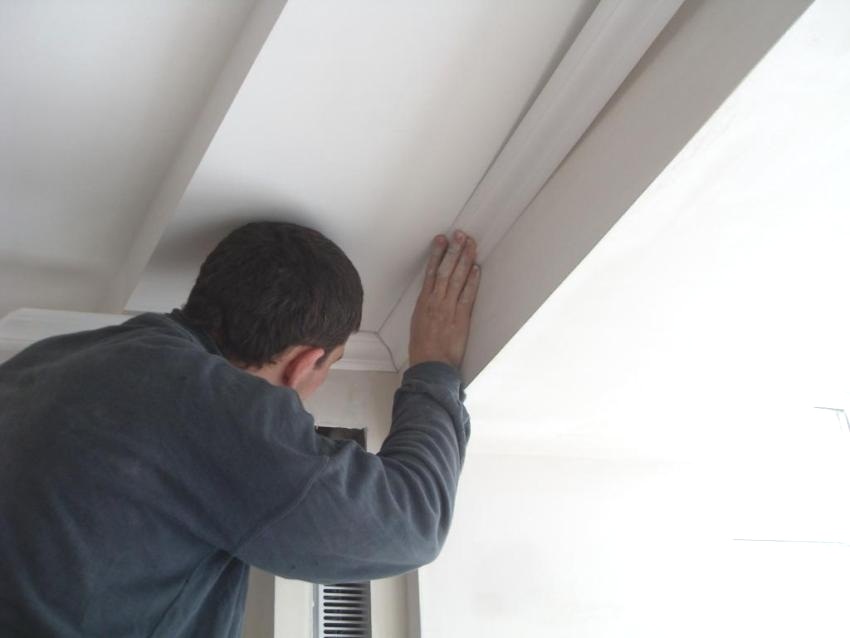
Always start fastening at the corners. How to glue the skirting board to the ceiling and cut the necessary corners was discussed earlier. All other elements are simply adjusted to the required size.
It is not so important what kind of glue to glue the ceiling plinth with. Both "Moment" and liquid nails will do. The main thing is not to apply too much of it, so that the protruding excess does not stain the outer surface of the cornice, since it will be quite difficult to remove it due to the quick adhesion of the composition, and the use of household chemicals in this case is unacceptable. It is usually recommended to apply the composition pointwise and only to the middle of the product, and the technological gap that remains as a result is sealed with a special sealant that will harmonize in color.
Having figured out how to glue the ceiling plinth in the corners, it remains only to fill the space between them. The same technology is used for this. All that is needed is to measure the desired size and cut the elements accordingly. A small amount of glue is applied to the middle of the seamy surface, after which the part is applied to the wall and held in this position for several seconds.
Related article:
Skirting board for stretch ceiling: basic rules for selection and installation
Review and comparison of materials, what to look for, recommendations for self-installation, important points.
It is not difficult to understand how to properly glue the ceiling plinth. It is enough just to look at the photo or video instruction once, as well as read the available materials that explain some of the subtleties of working with this material. There are many different videos on the Internet on how to glue the ceiling plinth in the corner, as well as around the entire perimeter of the room.
What to glue first: wallpaper or ceiling plinth
Another frequently discussed question, which, despite its seeming simplicity, does not have an unambiguous answer - what should be glued first, wallpaper or is it a ceiling plinth.In order to independently figure out which of the options is more convenient and correct, we will consider the arguments that are given in favor of one or another method.
The main difficulty that arises if you first glued the ceiling plinth is to adjust the upper edge of the wallpaper exactly so as not to leave a gap between them. But at the same time, you will not be afraid to stain the wallpaper, and it will be much easier for you to putty at the joints and painting.
If you are gluing the ceiling plinth over the wallpaper, then first of all you need to let the wallpaper glue dry, and this takes at least a day. After that, you need to glue the wallpaper with masking tape, after which, observing the utmost accuracy, glue and paint the ceiling plinth.
In fact, both of these options are quite acceptable, and everyone chooses the one that seems easier to him. So just evaluate what is more acceptable for you and you can get to work.
Ceiling lighting with LED strip under the plinth: photo and installation instructions
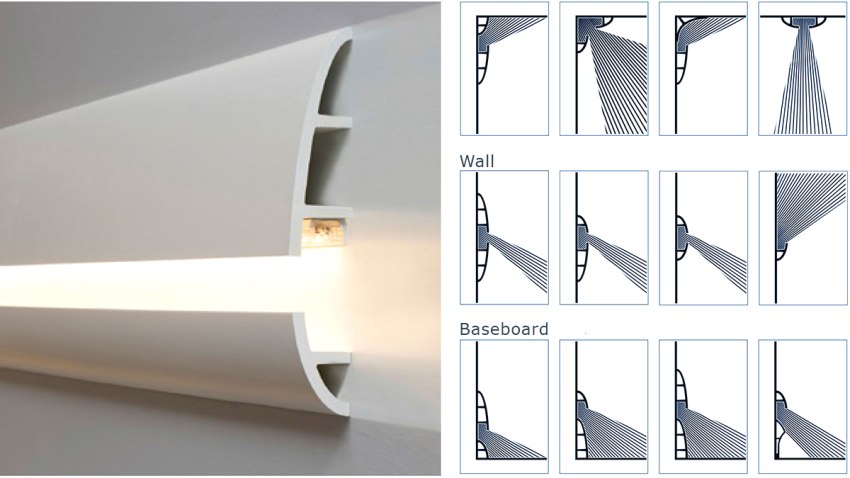
If you decide to decorate the room with a backlit skirting board, you must take into account some features. So, for example, you can give preference to the option of fillets, which in shape resemble a metal profile. This will allow you to place inside not only led stripsy, but also any other light sources such as neon tubes.
At the same time, when measuring the amount of material required, as well as making a purchase, it is necessary to take into account not only the perimeter of the room, but also the fact that a certain percentage will go to waste in the process of cutting corners. Therefore, it is necessary to purchase a plinth with a small margin.
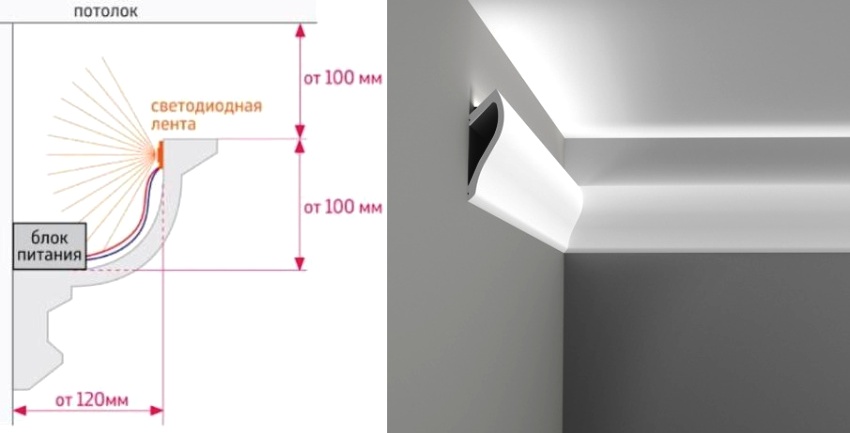
The main difference between an illuminated cornice and a conventional cornice is that it is not mounted close to the joints of the ceiling and wall, but at some distance. As a rule, the gap is up to 20 cm and is selected depending on the height of the room, as well as the width of the backlight used.
It is the lightness of polyurethane ceiling cornices that allows them to be securely attached only to the wall, leaving sufficient space for installing the backlight and at the same time not worrying about the reliability of their fixation.
As for the installation of the LED strip, it must be placed in the gap between the ceiling and the skirting board, using for this its seamy side, which is initially sticky. All pieces of tape must be connected to the power supply using a special connector or a conventional solder.
An important detail is the fact that it is necessary to bring the wiring to the backlight. It is advisable to make and replace old switches with newer models that have at least three keys, and will allow you to autonomously control all the light sources in the room.
Installation of a ceiling plinth: prices for materials and professional installation
If, after familiarizing yourself with how to glue skirting boards to the ceiling in the corners and around the perimeter of the room, you find it too difficult, or you just do not want to do the repair yourself, you can seek the services of a professional. Of course, in this case, you eliminate the risks of poor-quality installation, the presence of gaps at the joints and other things, but you should be prepared that you will have to pay for this.
The average price for installing a polyurethane plinth for the ceiling ranges from 150-450 rubles per one running meter. In addition, you can additionally order fillet painting. The price for this is from 50 to 150 rubles.
The prices of polyurethane ceiling skirting boards are represented by very wide boundaries: depending on the width of the elements, the complexity of their texture, as well as the manufacturer, the cost can fluctuate between 150-500 rubles.
As you can see, although this is not the cheapest option of all possible, you can buy a polyurethane ceiling skirting board at an affordable price. Moreover, its operational life is incredibly long, and it is very easy to install such elements, even if you do it yourself. All you need to understand is how to make the inner corner of the ceiling plinth, or buy ready-made elements. The rest of the mount is not difficult.
