Laying the flooring is one of the most crucial moments of the renovation. After all, the appearance of the room largely depends on the method of finishing the floor. An equally important point is high-quality styling and, if materials are combined, beautiful transitions from one coating to another. They will help to provide a decorative sill for tiles and laminate: how to properly put and fix it, we will consider in this article.
Content
Assigning a threshold between tile and laminate
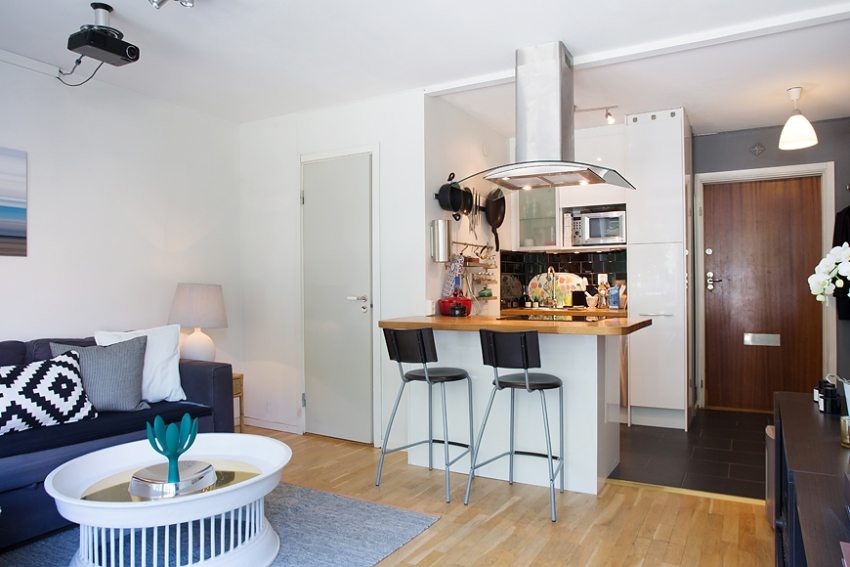
The combination of laminate and tile has become firmly established in the interiors of our houses and apartments. After all, it is precisely such coatings that require minimal maintenance and at the same time look simply irresistible. However, the design of the joints between them requires some attention. Where might a nut be needed between coats? Practically anywhere: when moving from corridor to room, from kitchen to corridor, as well as when decorating a studio apartment, when the kitchen is combined with the living room.
You can do with one type of coating over the entire area of the studio, however, the tiles in the room will look quite inappropriate, and not everyone likes to put laminate in the kitchen. Can I put laminate in the kitchen Is a separate issue that we will consider below.
When it becomes necessary to arrange the transition from one floor covering to another, the first thing to pay attention to is whether they will be at the same level. If there is a difference between the levels, you will have to resort to curvilinear joining. Although quite often you can find its deliberate use for decorative purposes.
Another reason to correctly arrange the joints is to protect this place from dust and dirt. After all, if you do not pay due attention to this, over time, moisture and dirt will accumulate between the coatings, which will lead not only to an unaesthetic appearance, but also to a reduction in the life of the tile or laminate.
If we talk about transitions within one room, or a corridor and an adjacent room, then the installation of a low threshold would be preferable. This will eliminate the risk of tripping over it while walking. But to differentiate, for example, a bathroom and a corridor, it is better to use a high wooden threshold.
Among the methods of joining two different types of flooring, the following are distinguished:
- installation of a decorative threshold;
- design of the joint between tile and laminate;
- arrangement of the podium.
Decorative sill: neat connection between tile and laminate
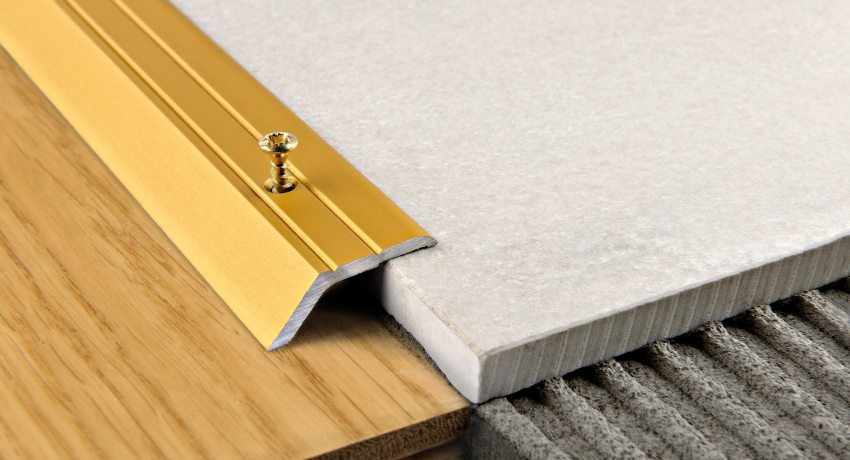
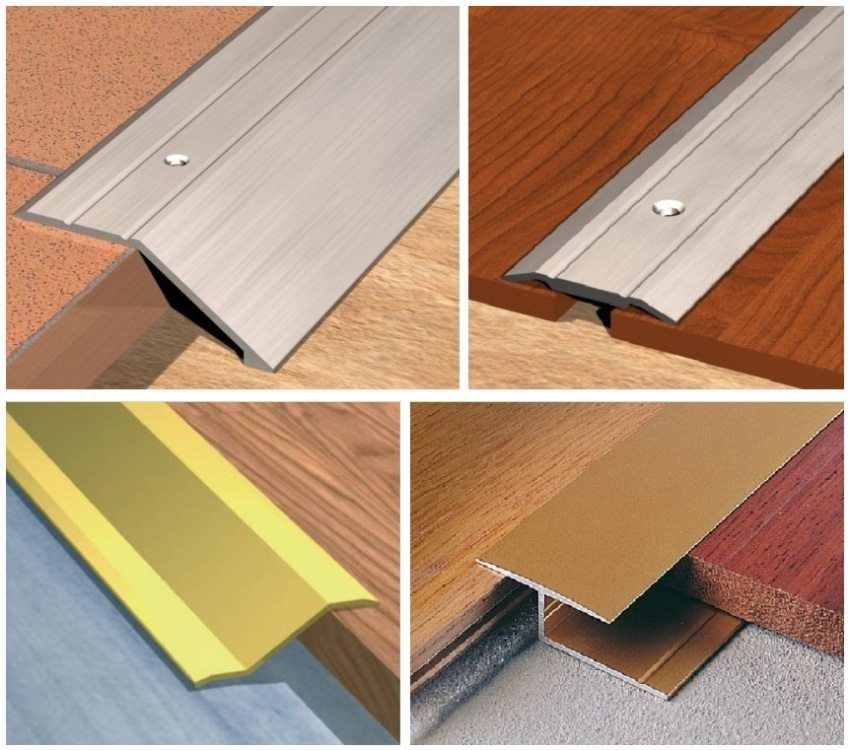
Modern hardware stores offer their customers a large selection of decorative thresholds for laminate and tile. Joint design in this way is used when both coatings are located in the same plane, although a deviation of up to 1 cm is allowed.
The material for the manufacture of sills is plastic, wood or metal, most often aluminum due to its low weight. Depending on your desire, you can find options that in appearance will be similar to stone, precious metal or any kind of wood. In terms of technical characteristics, aluminum sills between the tile and the laminate are superior to all others, as they are distinguished by their strength and durability. They wear out more slowly and can withstand significant mechanical stress.
Some decorative thresholds have a number of additional features designed to improve the quality of their use. An example is anti-slip thresholds. This effect is achieved by applying an additional layer of coating or using a ribbed base.
In a situation where the difference between the planes of the flooring does not exceed 1 cm, decorative thresholds can easily smooth out this defect. All that is needed is to lay it at the desired angle, ensuring maximum fit on both sides.
Helpful advice! In order to mask the difference in the height of the coatings, it is recommended to use rounded thresholds. They do this better than others.
Tile and laminate walkway: how to put it right on the joint
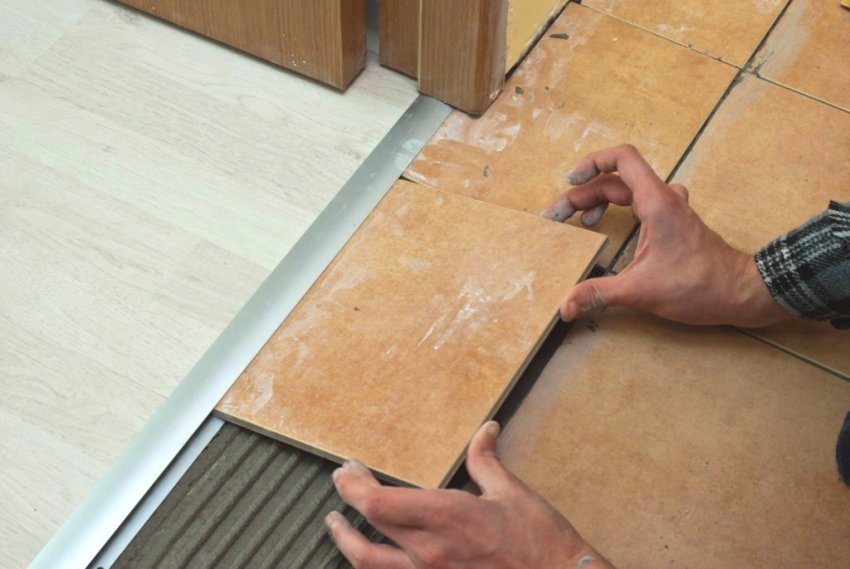
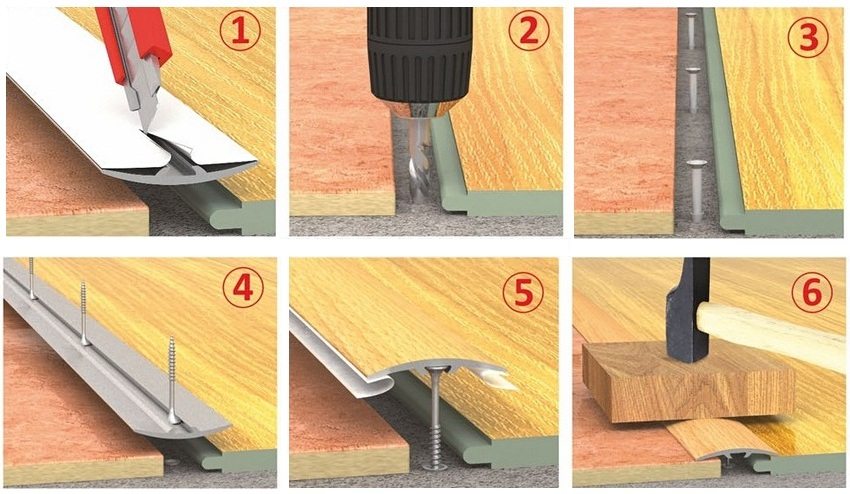
It is quite possible to install a decorative threshold on your own. This does not require special skills and complex equipment. Let's consider the algorithm of actions for registration of the transition between tiles and laminate, taking into account that all floor coverings have already been laid:
- at the junction, it is necessary to drill two holes with a diameter of 6 mm;
- dowels of the corresponding diameter are installed in the holes;
- the acquired nut must be cut to the desired size. Use a metal saw or any other suitable tool for this, depending on the material of the threshold;
- insert the caps of the self-tapping screws into the already prepared holes of the nut, along the central groove;
- adjust the screws so that they rest against the dowels with their tip and carefully hammer in the threshold.
Helpful advice! To avoid damaging the floor, do not use a conventional hammer. For this, rubber is much better suited.
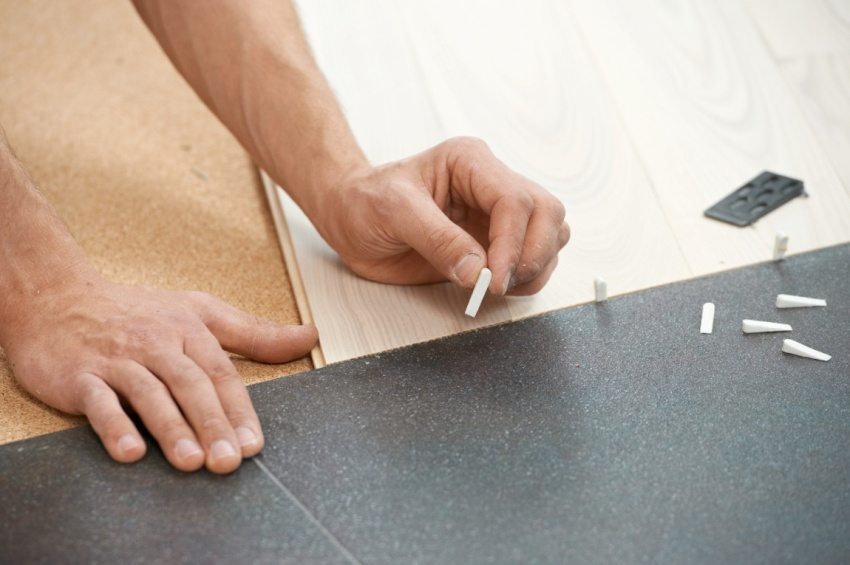
Do not forget that laminate is wood that tends to expand when the humidity rises. Therefore, it is imperative to leave a small gap (about 5 mm) to enable the laminate to respond to external factors without compromising the appearance of the coating. This rule is irrelevant for tiles.
Flexible edge for laminate and tile
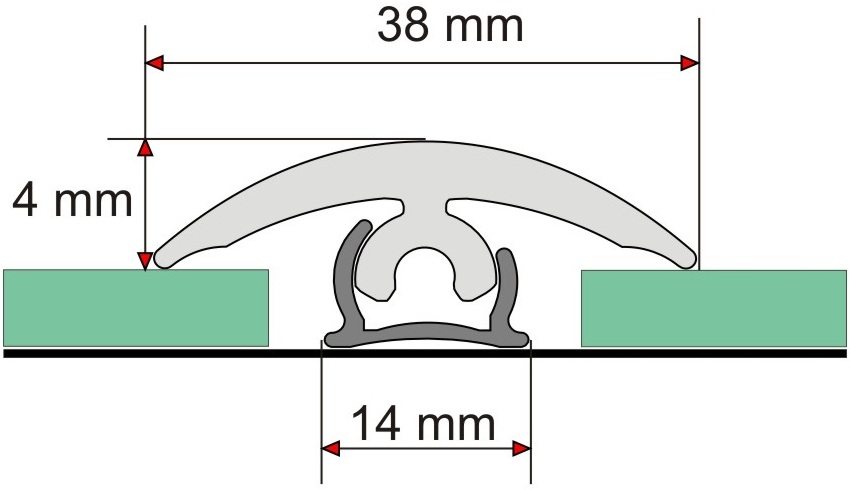
If you have to make a curved joint, then it is best to buy a sill for laminate and tile on a flexible basis. They are made of rubber or soft plastic, which allows you to make an imperceptible transition of planes up to 1.5 cm with it.
In order to install a flexible threshold, you need to take care of some points even during the installation of the floor covering. So, even before the start of the process of joining tiles and laminate with each other, it is necessary to measure the distance between them. The seam must be large enough to allow the insertion of supports into which the flexible laminate and tile threshold will be attached.
Then, using a building hair dryer, the flexible nut is heated to soften its structure. Under warm air, it is able to take any desired shape. Fasteners are inserted into the seam, and the heated nut is put on top and snaps into place. Already a few minutes later, after the nut has completely cooled down, it is ready for use and reliably holds the shape that you gave it.
Docking laminate and tiles without a threshold
If in the course of work you want to make a joint between tiles and laminate without a sill, then this is quite possible. This will require skill and high precision in the design of the joint. Both the tile and the laminate should be positioned clearly in the same plane. The maximum allowable discrepancy does not exceed 1-2 mm.
In the process of work, the tile and laminate in the place of the future joint must be carefully trimmed and cleaned of roughness. After installation, the remaining gap (no more than 5-10 mm) must be filled with a special polymer compound. Such a liquid cork for the joint between laminate and tile retains its properties for several years, after which it should be renewed.
In some cases, they resort to arranging the podium, but this is a complex and time-consuming process.
Helpful advice! Instead of a sill, you can buy a cork expansion joint. Between the tiles and the laminate, it performs all the necessary functions, while its appearance does not stand out from the overall picture.
Tile and laminate in the kitchen: photos of combined floors
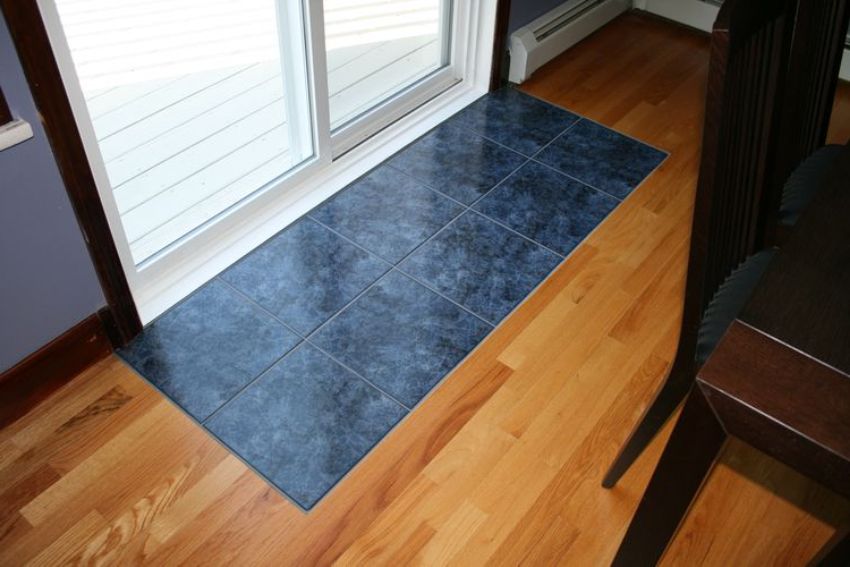
The cooking area can be separated from the dining area not only with a partition, but also with different floor coverings. The transition tile / laminate can be done in different ways, but the beauty of the materials used does not fade away from this.
As a good example, you can consider some photos of the laminate. White oak in the interior goes well with dark tiles. But the use of a laminate under a stone or ceramic tile will help create a complete image of the room. It is not difficult to buy a laminate for tiles. You just need to choose the right shade and texture. As examples, check out some photos of the kitchen floor, tiles and laminate flooring that work well together.
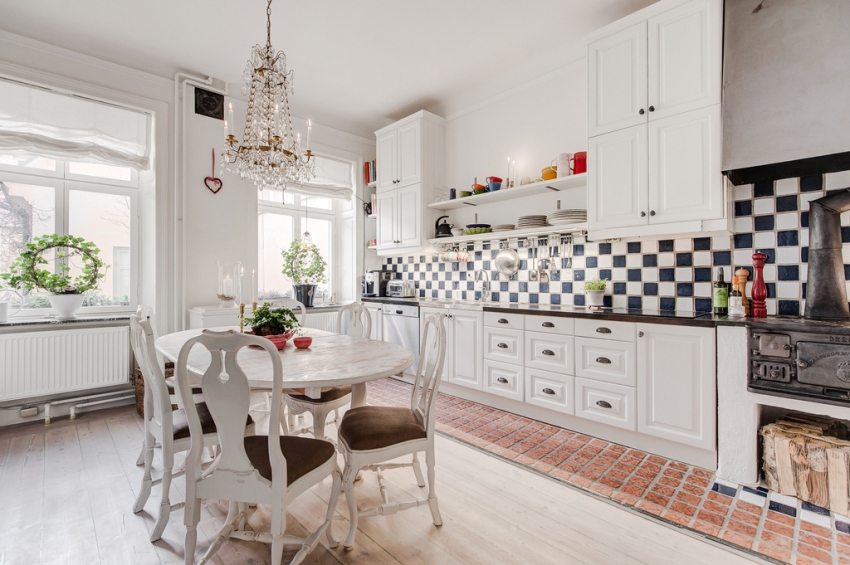
Combined kitchen floor: cooking area is tiled, dining area - laminate
By giving preference to the laminate for the tiles in the kitchen, it will become much easier for you to buy sills between the tiles and the laminate. Just choose the right color, and the similarity of the appearance of the coatings will make it almost invisible. A photo of laminate tiles in the kitchen well demonstrates the possibilities of this design method.
The combination of tiles and laminate in the kitchen also looks unique if contrasting colors were chosen for the decoration. Look at photos of tiles and laminate in the kitchen, made in the most unexpected and vibrant colors.
What to choose for kitchen floor decoration? Which is better: laminate or tile? This topic is widely discussed on forums and has hundreds of real reviews. Read some of them, they will help you form your own opinion and make the right choice.
Waterproof laminate for the kitchen
When deciding what is better in the kitchen: tile or laminate, it is important to understand as accurately as possible what difficulties the latter will have to face during its operation. After all, whatever one may say, this material was not intended for use in such harsh conditions. This raises the question, which laminate to choose for the kitchen? The choice is not so great, only waterproof and moisture-resistant laminate will do. These two types of material are most suitable for use in the kitchen.
Related article:
Waterproof laminate 12 mm, class 33, Germany: specifications, manufacturers and prices. Coating properties, expert recommendations.Differences between moisture resistant and waterproof laminate.
The moisture-resistant coating is laid according to the usual scheme, but the process of further care allows some pleasant liberties:
- Can laminate flooring be cleaned with a washing vacuum cleaner? Yes, the waterproof and moisture resistant coating easily tolerates such a procedure.
- Can laminate flooring be cleaned with detergent? It is possible, provided that the product is non-aggressive and suitable for cleaning wooden surfaces. Before starting cleaning, be sure to test its effect on the surface in a small, inconspicuous area.
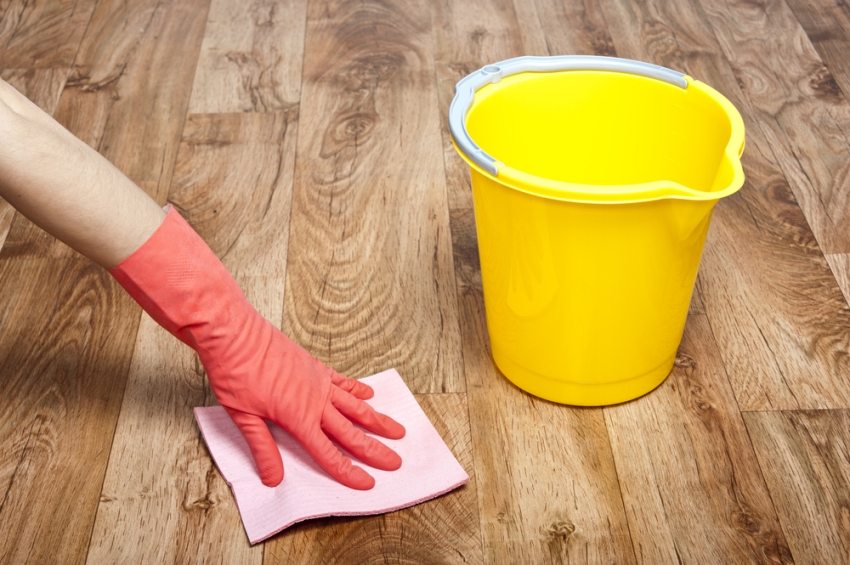
- How to clean laminate flooring properly? The time of exposure to moisture on the coating should not exceed 15 minutes, during which time the liquid will not have time to have any negative effect on the laminate.
As a solution to all the problems associated with the inconvenience of using laminate in the kitchen, you can consider the option of laying tiles under the laminate. In the interior, photos of such solutions look incredible, but it will be much easier to care for such a floor.
How to properly lay the laminate
With the question of whether it is possible to lay laminate in the kitchen, we figured it out. Let's consider how it is laid on the floor so that not only the seam, but the entire coating as a whole looks advantageous. Main steps laying laminate:
- dismantling of the old coating;
- preparation of the foundation;
- laying laminate with glue or lock connection.
Glue is rarely used as a styling method. This is due to its ability to dry out over time and lose its properties. In addition, such work requires a lot of effort and cannot be further dismantled without damaging the material.
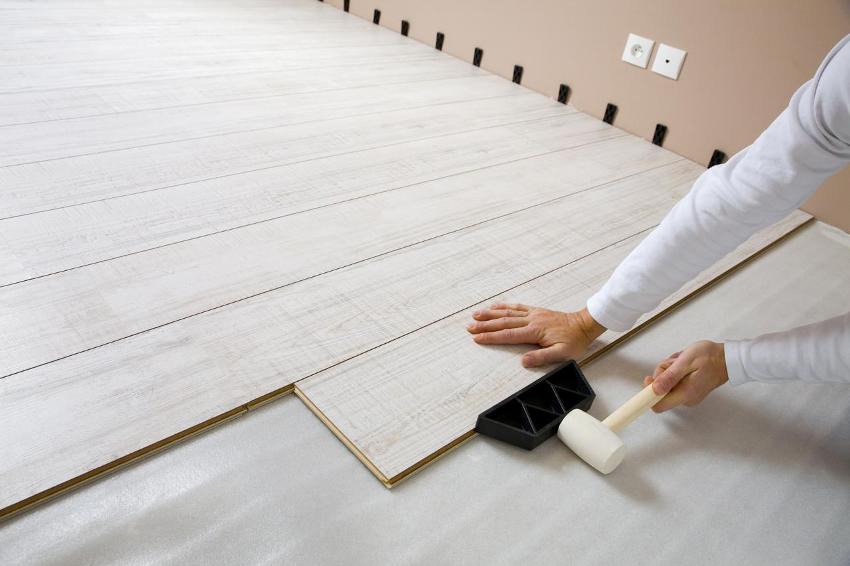
The locking connection allows the laminate to be disassembled and reassembled. It is recommended to use a rubber mallet for this attachment to hammer the cover elements.
Bathroom Waterproof Laminate
Another room in which today you can find a laminate is a bathroom. Until recently, it was almost impossible to imagine such an option for decorating a bathroom floor, because under the influence of high humidity, an ordinary laminate almost immediately swells. Lovers of wooden surfaces could use floor tiles under the laminate as an alternative solution. This is a great way to create a beautiful interior while saving yourself the hassle of wood's reaction to moisture.
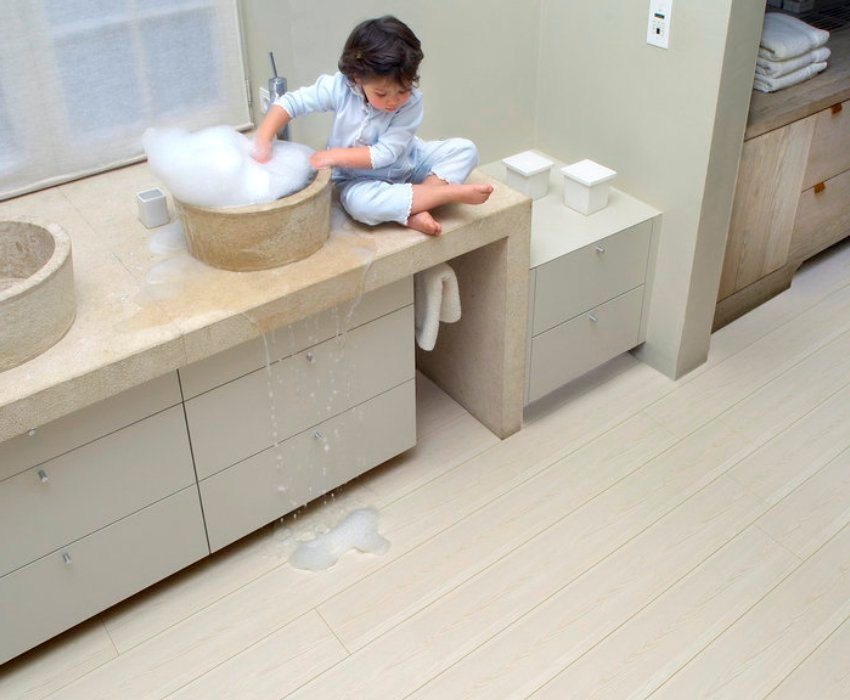
With the advent of class 33 waterproof laminate, everything changed. You no longer need to think about whether the laminate can be washed and how the coating will react to water ingress. The characteristics of the waterproof bathroom laminate have fully met all the requirements for a modern and high-quality floor covering.
Some designers went even further and suggested using laminate in the form of tiles in bathroom interiors. Of course, it is quite difficult to assess the entire need for such a solution, but it is worth recognizing that such a floor looks very impressive.
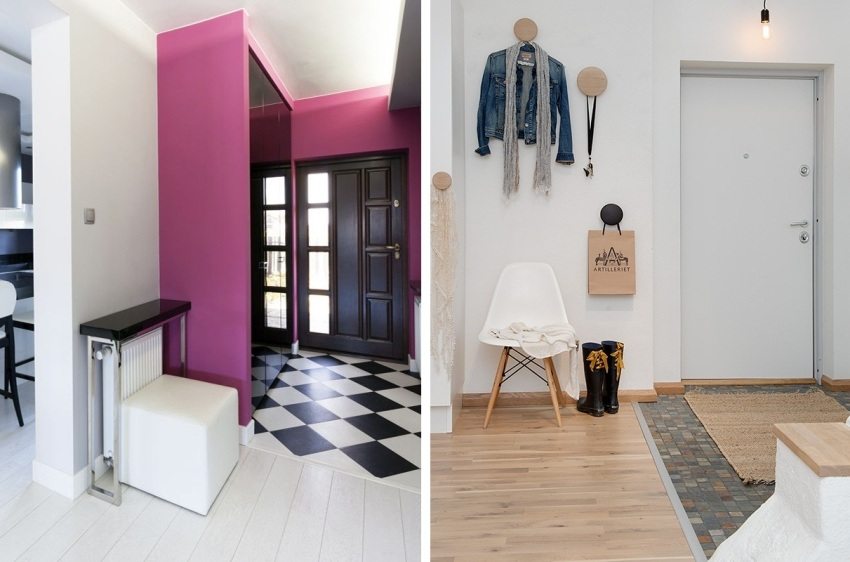
Floor decoration in the corridor with laminate and tiles: photos of successful combinations
A practical solution is a combination of laminate and tiles in the hallway. Photos of this combination are quite common and, according to the owners, it justifies itself. In addition to the two types of coating, it will be necessary to buy a joint profile for tiles and laminate.
Photos of tiles with laminate flooring in the corridor show that the part of the floor located next to the entrance door can be laid out with tiles or tiles under the laminate. Photos demonstrate the aesthetics of such a solution, and numerous users argue that this makes cleaning much easier. And the risk of spoiling the laminate by the fact that water and snow from shoes constantly remain on it is excluded.
Consider Kerama Marazzi's laminate tiles as an option for an original hallway design. A wide selection and high quality of products testifies to the purchase of tiles of this particular brand. Any docking profile for laminate and tiles of this brand is suitable, so you will not have any difficulties with the design of the joint.
Among other things, sometimes the question arises, is it possible to lay the laminate on the tiles without dismantling the existing coating? This option is quite possible due to the fact that the laminate creates its own rigid base and does not put undue stress on the tiles that remain below. However, what kind of laminate to choose for the kitchen and hallway, if you plan to lay it over the old coating, it is better to consult a specialist.
As you can see, combining two such different coatings as laminate and tile is not difficult at all. Making a joint or installing a nut between them does not take much time and effort. And yet, if you still have any doubts about the advisability of such a combination, look at how irresistible the laminate and tiles can look in the kitchen. Photos of some interior solutions can serve as inspiration for you or the basis for creating your own design.
