You need to know the pros and cons of a semi-dry floor screed even before you start installing it. This type of organization of the leveling layer for the topcoat has its own distinctive features that allow it to be used in residential premises without the use of large amounts of water. This technology arose relatively recently from the classic wet method of creating a concrete screed. It is necessary to carefully study the algorithm for laying a semi-dry floor screed. A video of this process will help you understand the nuances of the technology in question.
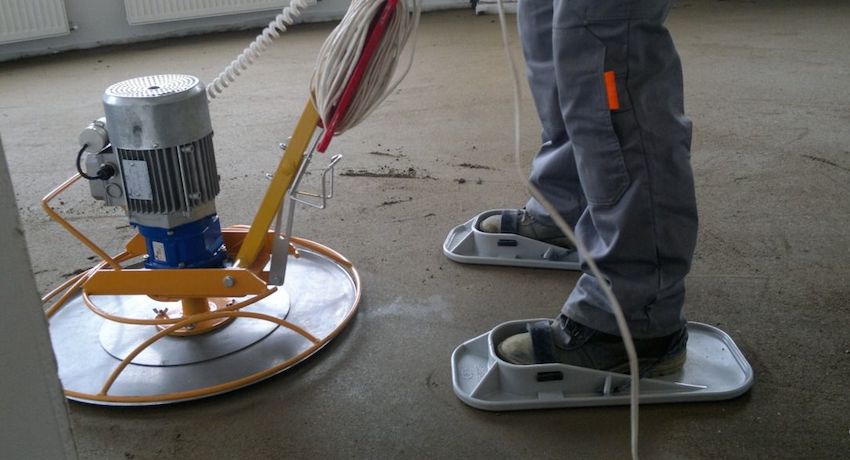
A distinctive feature of the semi-dry floor screed method is the use of a small amount of water to prepare the solution
Content
Features of the creation and proportion of floor screed mortar
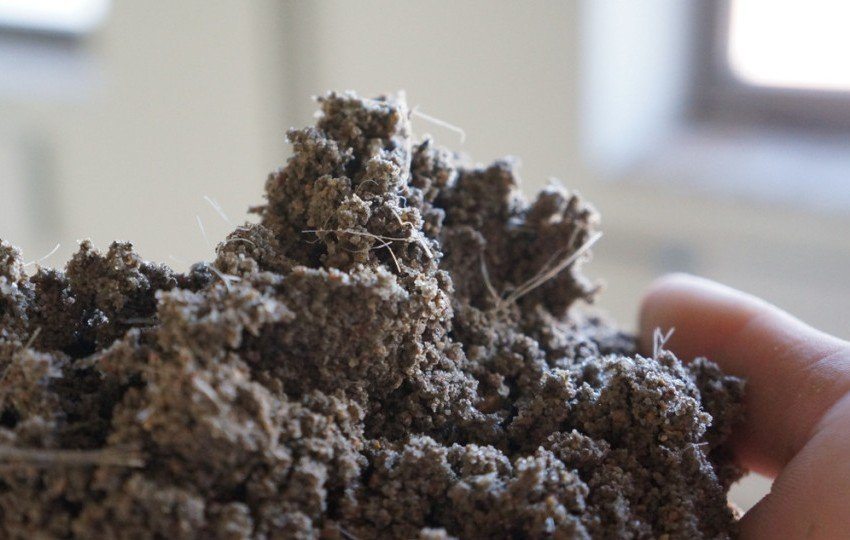
Since the semi-dry method of organizing the screed originated from the wet one, the ingredients are the same. Portland cement grade M300 or M400 is mixed with fine-grained sand. The only difference is that the proportion of floor screed mortar is completely different. Water is added to the mixture in a very small amount, sufficient only to activate the process of cement crystallization. This mixture does not flow and has the consistency of a thick porridge.
This circumstance determines the features of the technology of its creation. The solution hardens very quickly due to the small amount of liquid. If the layer is small, then screed just won't have time to bond with the base. This can lead to delamination, which will cause "flopping" when standing on this area. If the thickness becomes more than 5 or 7 cm, then such a screed will become very heavy. 120kg pressure can create as little as 1m2 semi-dry floor screed. The pros and cons have a very fine line between them.
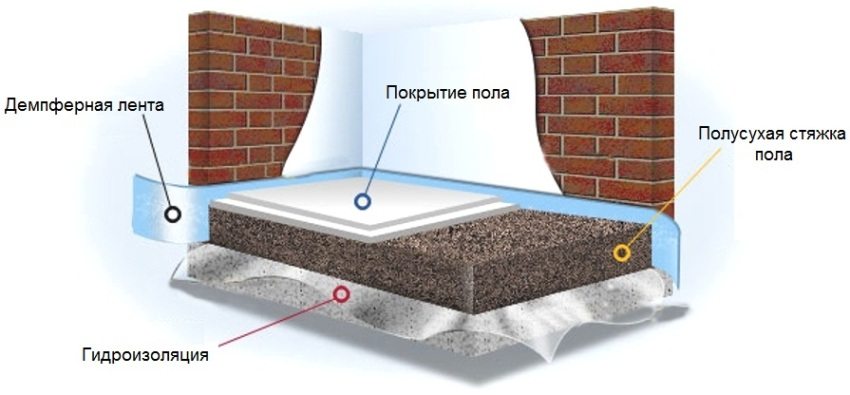
Knowing this, it is necessary to solve the problem of reducing the mass with a constant layer thickness. This can be done only by reducing the density of the entire monolith. The best material for this purpose is expanded clay, from which the pillow is made. On top of it, fall asleep and level the semi-dry mixture. The semi-dry mix base is floating. It is not rigidly fastened to either floor slabs or walls. The screed is separated from the floor with a layer of waterproofing, and from the walls with a damper tape along the entire perimeter. It also prevents the propagation of sound vibrations from the floor to the walls. This measure eliminates the cracking of the screed surface when the mortar dries.
Useful advice! To reduce the risk of cracking, reinforcing additives must be added to the semi-dry mortar.Most often, fiber is used as them, which, with a low weight, has sufficient reinforcing properties and strength characteristics.
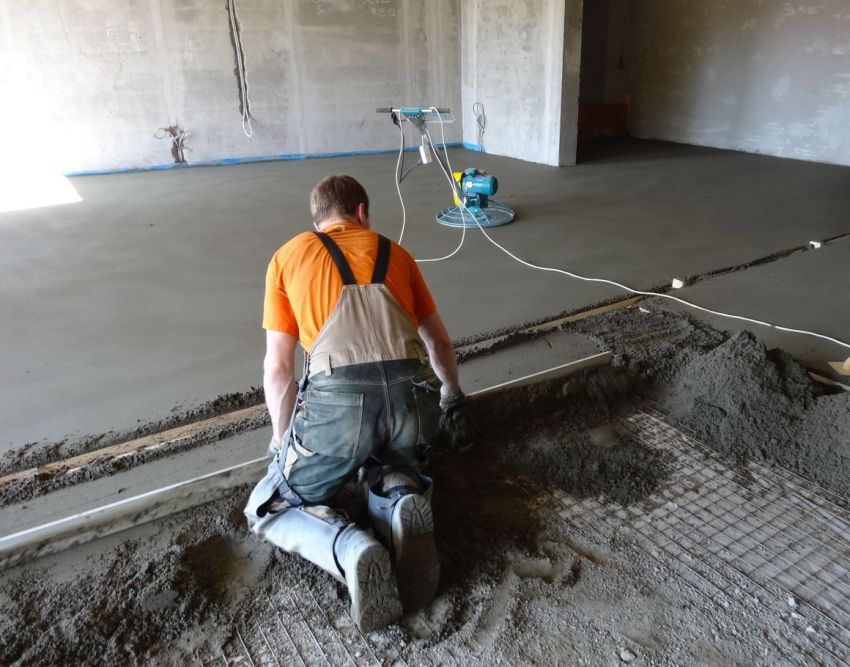
The pros and cons of a semi-dry floor screed owe much to the fact that instead of mesh reinforcement, I use fiber-optic fiber, which is much cheaper and more convenient to install. Dry polypropylene threads, which are added directly to the solution, bind the screed monolith very firmly in all directions. These fibers have a preventive effect on the screed, preventing cracks from forming. There is no prohibition on using ordinary mesh as reinforcement, but it is unwise to do this, since you have to carry out the whole process in three steps. First, the first layer is laid with a thickness of 2 - 3 cm, on which the mesh is mounted, tying it with wire. Only after that a second 2-cm layer is created from the mixture, which is the leveling layer. This technology is not only more complex but also more expensive.
Algorithm for the device of a semi-dry floor screed
A semi-dry floor screed, the pros and cons of which depend on the correct installation, requires careful preparation of the base. Floor slabs are carefully inspected and all flaking areas are removed from them. Cracks and joints with the walls are thoroughly cleaned and coated with cement mortar. Removes all traces of paint and grease. After that, the entire surface of the floors is vacuumed, leaving not a single speck of dust.
The mixture is prepared from cement grade M400 and river or quarry sand. Since it will be very thick, it is best to mix it in a concrete mixer. As a last resort, you can use a large plywood sheet with sides. There are certain requirements for all components of the mixture.:
- the fraction of sand should be no more than 2.5, with clay inclusions no more than 3%, without particles of peat or other plant fibers. The moisture content of the sand is recommended natural;
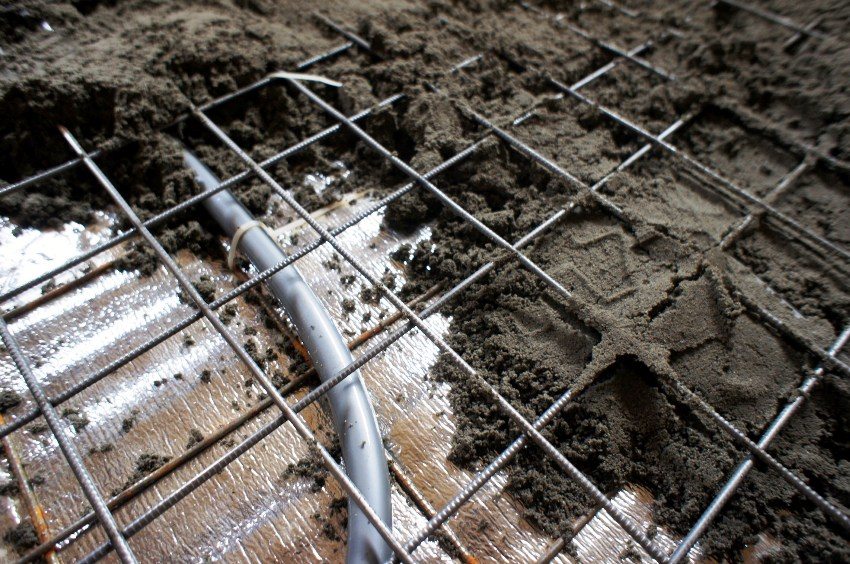
Using the semi-dry screed method for arrangement water floor heating
- cement must be fresh in undamaged packages. If the operation of the floor is expected in difficult conditions, then the brand of cement must be chosen M500;
- water cannot be supplied from reservoirs, as it may contain impurities of biological origin or any pollutants. For this reason, it is better to take ordinary tap water. For all its disadvantages, it is the best option for preparing a mixture from which a semi-dry floor screed is made. We will consider the pros and cons of this mixture later.
Useful advice! In the absence of a concrete mixer, the mortar can be prepared on a plywood sheet using the "volcano" method. To do this, the components are alternately put on the sheet with a shovel, creating a slide similar to a volcano. Then all this is mixed and water is poured mixed with fiberglass in the right amount. The mixture should crumple in your hand, forming a lump from which it is impossible to squeeze out a drop of moisture.
The further algorithm can be described in the following steps:
- creature waterproofing layer over the ceilings with an overlap of 10 - 15 cm on the walls;
- laying around the perimeter of the room damper tape 10 cm wide and 0.8 to 1 cm thick;
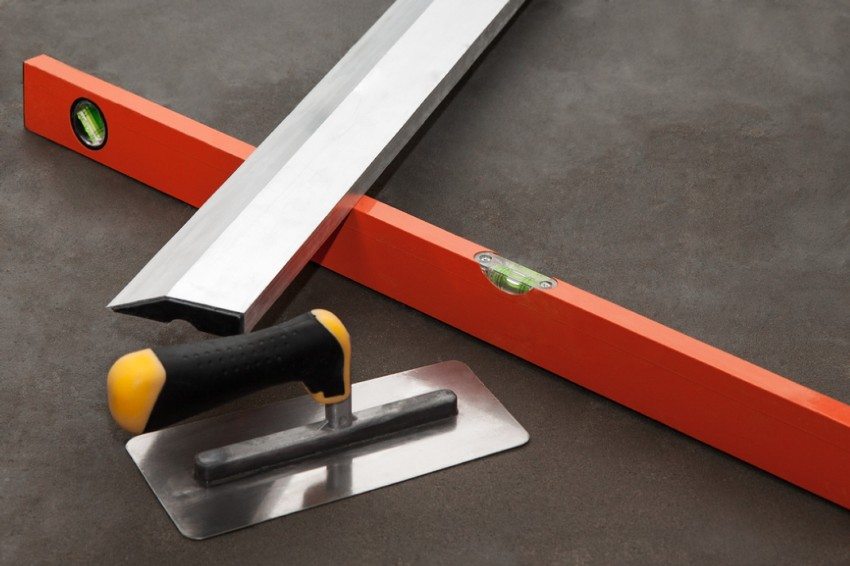
- the creation of elevations from the solution, along which the beacons from the metal profile are laid along the level;
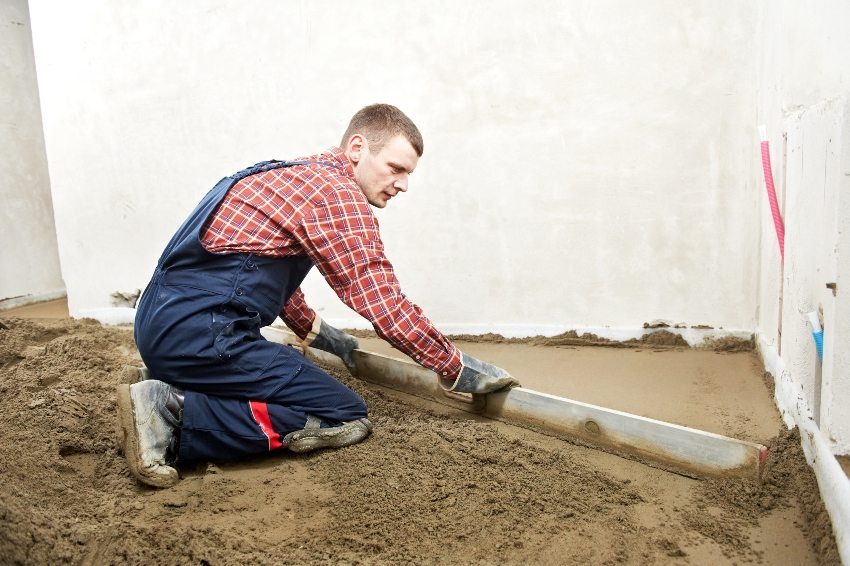
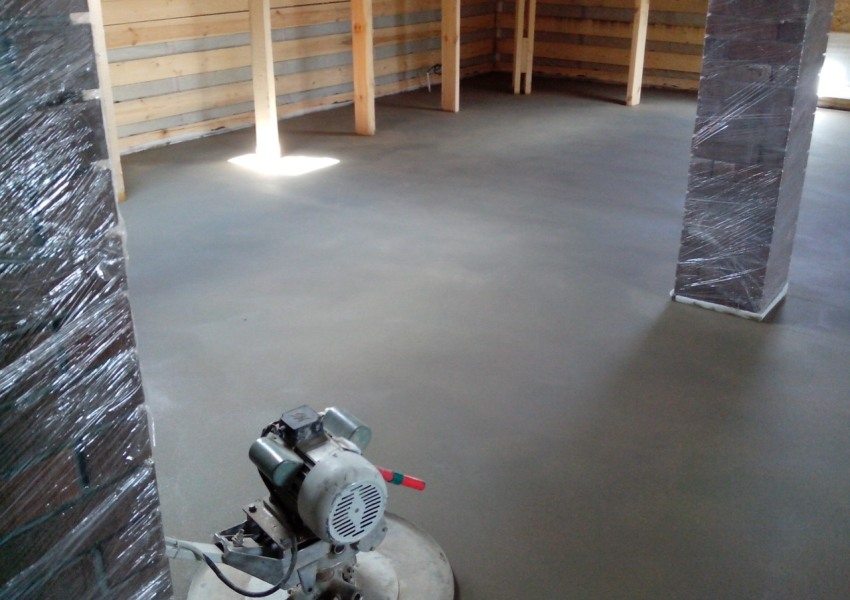
- between the lighthouses, a solution is poured with a shovel and tamped. The solution is put so much that it reaches the upper cut of the beacons. Alignment is done by rule;
- the screed is immediately ground until it has hardened, and after a day, seams are cut to compensate for deformation along the walls. Their width is 3 mm, and their depth can reach a third of the thickness of the entire layer.
Useful advice! The finished tie must be covered with plastic wrap for a week, where it will harden naturally. If it is very hot, then the surface should be watered with a watering can for about 5 days. This will prevent it from cracking.
Pros and cons of semi-dry floor screed
In general, the pros and cons of a semi-dry floor screed come from the characteristics of its device. However, we can generalize the above and name the following advantages:
- little water is used, which promotes rapid drying and prevents water from flowing through the ceilings to the neighbors;
- the surface is almost perfect;
- there is no shrinkage and cracking during drying;
- due to the reinforcing fibers, it is possible to achieve a small thickness with sufficient strength.
Among the disadvantages should be highlighted: poor fluidity, the complexity of preparing the mixture and laying it by hand, fear of moisture due to the possibility of provoking the resumption of the cement crystallization process.
Whatever the pros and cons of a semi-dry floor screed, its use is fully justified in residential premises, but it is categorically not recommended in bathrooms, toilets and kitchens, since water leakage can damage the screed, and with it the finish coating.
Semi-dry floor screed (video)
