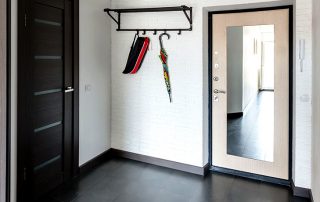
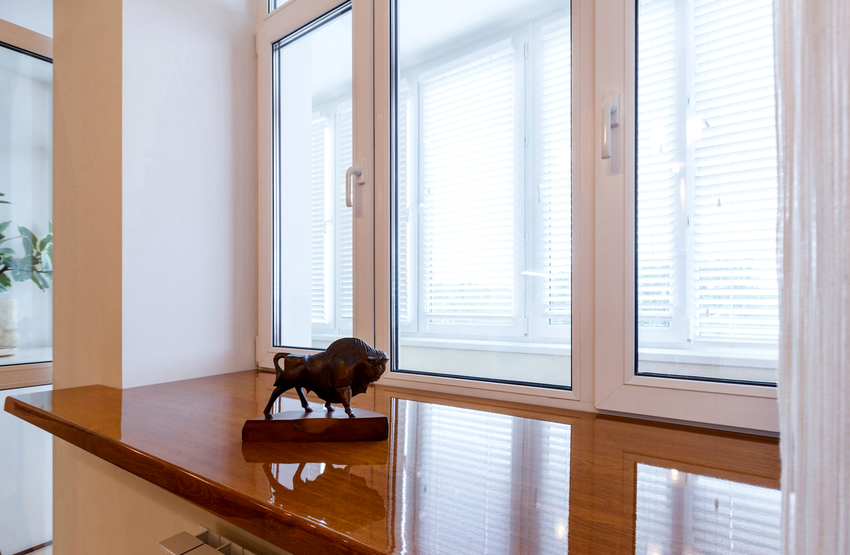
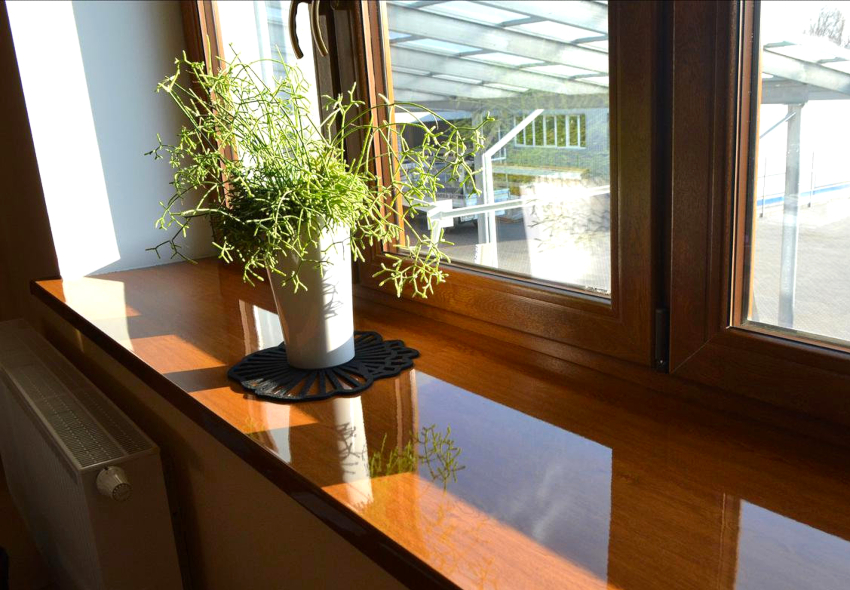
One of the important elements of the window opening, which ennobles its appearance, closing the assembly joints, is the window sill. It can be made from different materials. However, the most demanded is plastic, which is associated with the widespread use of metal-plastic windows. Installation of a plastic window sill consists of several successive stages, the implementation of which will ensure the achievement of optimal performance.

The window sill is an important element of the window opening
Content
- 1 Distinctive features of plastic window sills
- 2 Which plastic window sill to choose: product varieties
- 3 Methods for installing a window sill on plastic windows
- 4 How to install a window sill: the preparatory stage
- 5 Installing a plastic window sill on the balcony
- 6 Procedure for replacing a plastic window sill
- 7 Methods for the restoration and repair of a plastic window sill
- 8 Installing a plastic window sill with your own hands: video instruction
Distinctive features of plastic window sills
Reinforced-plastic windows have won prestige long ago. They are very popular with consumers due to the fact that they are characterized by high performance characteristics, are easy to install and have a long period of operation. After replacing the window, the installation of the slopes and the window sill is immediately carried out.

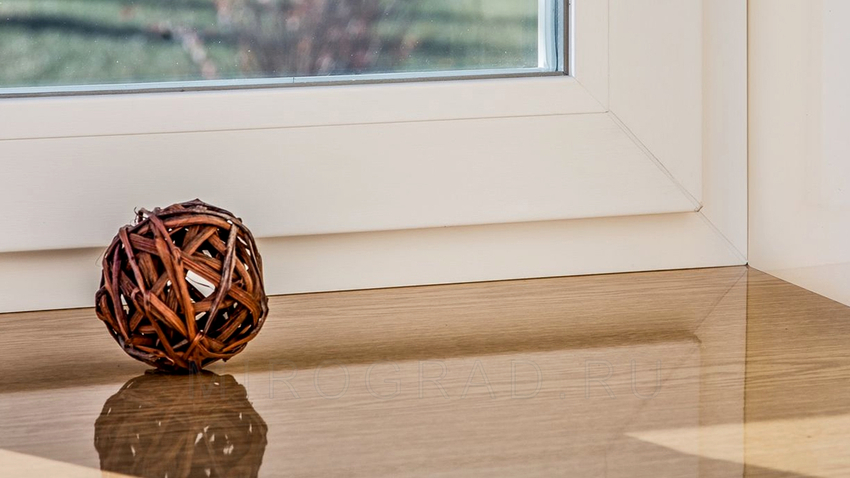
Due to the presence of stiffeners, the surface of the window sill is very durable
A metal-plastic window is a universal product that can be matched with different options for a window sill, which is selected in accordance with the stylistic task. The most common option is plastic products. This design is best combined with the material of a modern window, creating a single composition with it.
The plastic window sill has distinctive advantages. The product is resistant to moisture, sunlight and temperature extremes, not prone to rot, mold or corrosion. At the same time, the surface does not deform, does not change its original shape and appearance. The material is completely safe for human health, it is durable (due to the presence of stiffeners), reliability, resistance to chemical influences. It has high thermal insulation properties due to the presence of air chambers in the construction of the window sill.
The product is lightweight, which ensures easy installation of the PVC window sill, while it does not shrink during further operation. The surface does not need painting and other treatment options to prevent possible rotting or corrosion. It is easy to look after her. A plastic window sill is characterized by a low cost in comparison with other materials.
Despite the advantages, the plastic window sill has its drawbacks. In case of careless operation, dents or holes may appear on the surface of the product, which is a consequence of the fragility of the product. If a glossy finish is present, scratches may form on it, which will cause an unsightly appearance.

Plastic window sills are resistant to moisture, sunlight and temperature extremes
Important! A plastic window sill can deform when exposed to high temperatures, so a hot kettle or pot should not be placed on the surface.
Which plastic window sill to choose: product varieties
Before installing a window sill on a plastic window, you must select the type and size of the product. The most budgetary option is a surface covered with PVC film. However, such a window sill does not tolerate temperature extremes, quickly absorbs dust and dirt, which leads to the loss of its original attractive appearance.
The CPL laminate product is made by pressing paper sheets impregnated with melamine resins. Such a window sill with a multilayer base is characterized by resistance to temperature extremes and chemical influences.
Most often, do-it-yourself installation of a PVC window sill with EPL coating, which is characterized by high strength and performance characteristics. Products are made by extruding plastic material through extrusion holes to acquire the desired shape.

The CPL laminate sill is resistant even to chemical attack
The internal space is divided into several chambers with vertical and diagonal stiffening ribs, which provides strength, rigidity and reliability of the structure, which does not bend or break. This also increases the thermal conductivity of the product.
The surface, thanks to the anti-static coating, does not absorb dust and dirt. Such a window sill is presented in a wide range of colors, which allows you to choose a product that matches a certain interior of the room.
The texture, color and design of the plastic window sill
According to the type of coating, a plastic window sill can be matte, glossy or laminated. The first type of product is able to fit into any interior. The surface can be painted in a variety of colors. A frosted window sill brings a sense of coziness and warmth to the environment, but such a surface is prone to absorbing dust and dirt.
Important! In case of accidental damage to the matte surface, it can be restored using a special tool.

Plastic window sill can be matte, laminated and glossy
A glossy product has a more attractive appearance. The surface has anti-static properties, so that dirt and dust does not accumulate on it. The product is easier to care for. However, the surface is susceptible to mechanical stress; small visible scratches quickly form on it, which degrade its appearance. In addition, the glossy window sill does not lend itself to restoration.
Laminated window sills are covered with a special film, which gives the products texture, increased strength and durability. To obtain a white product, one layer of film is applied. The colored window sill has a two-layer coating that contains dye.The price of installing a plastic window sill of this type is the highest and starts from 1100 rubles. per r. m.
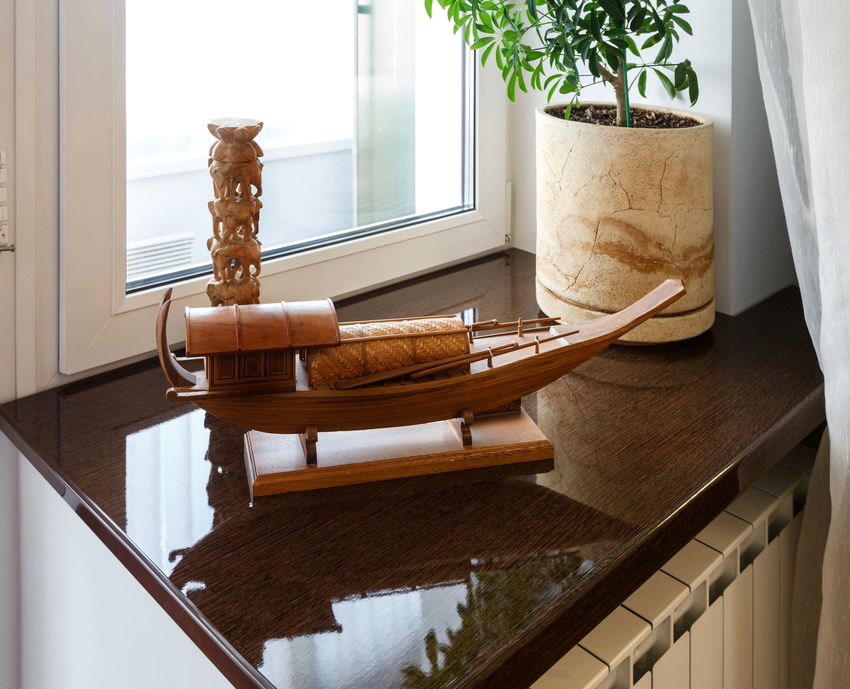
There is a separate type of product in the form of a wenge window sill, made from a mixture of PVC and wood flour. The unique production technology makes it possible to obtain a durable, scratch-resistant and UV-resistant, durable product. The price of installing this type of window sill starts at 1300 rubles. per r. m.
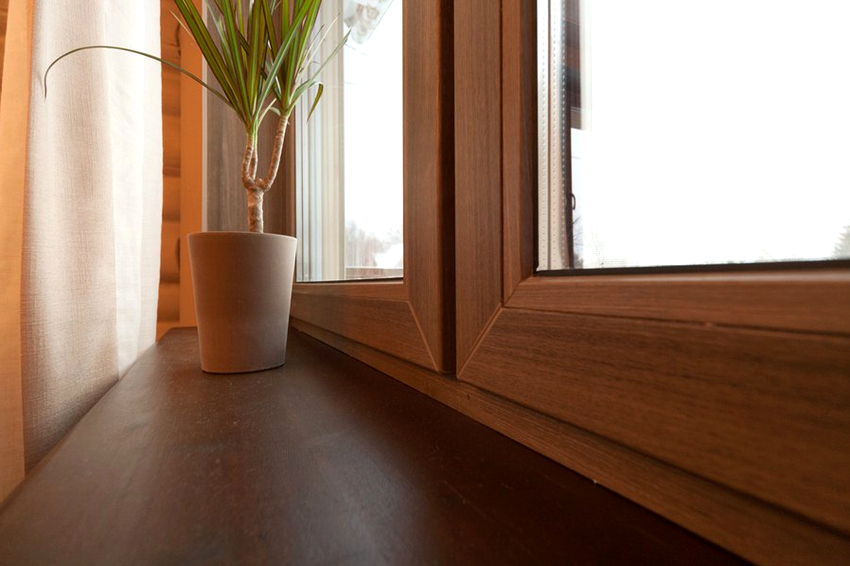
The plastic window sill can be made in white, color and wood grain. The latter option finds its application in wooden houses. It can also be used in tandem with wooden windows. However, such a structure, unlike a wooden window sill, is characterized by resistance to moisture, lack of processing for further operation, and a long service life. The imitation wood effect is achieved by using a suitable laminated film.

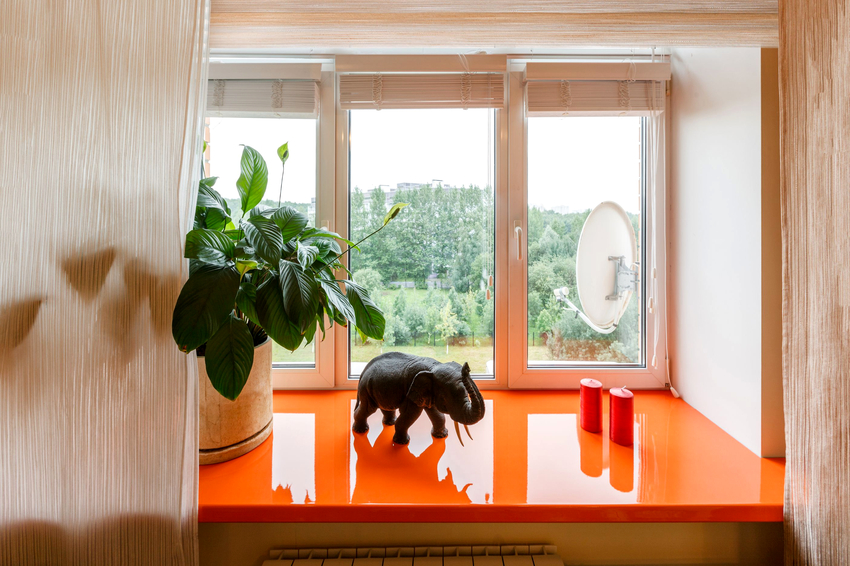
The colored plastic window sill has a two-layer coating containing dye
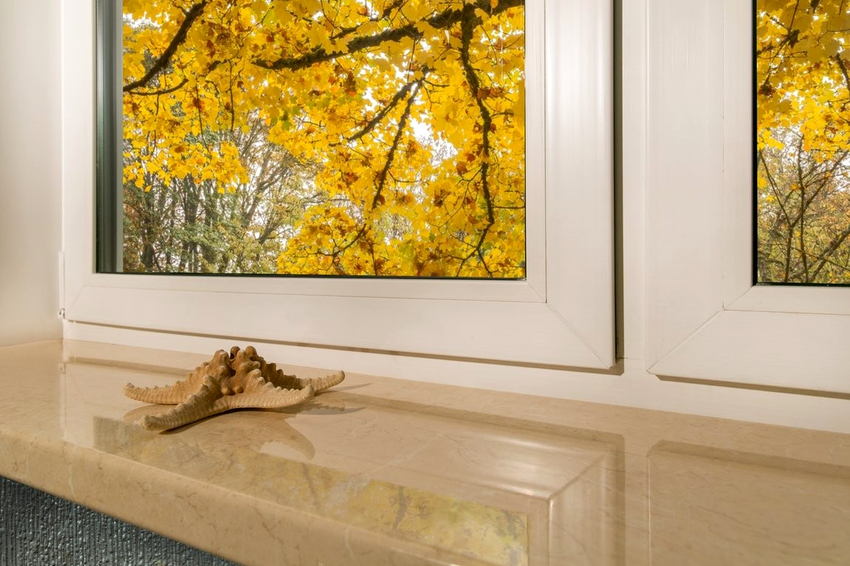
Important! The use of such a coating in the production technology of a window sill allows you to obtain a product that imitates a natural stone in the form of marble or granite.
Plastic window sills are available in lengths up to 6000 mm, width 100-600 mm with a pitch of 50 mm and 600-1000 mm with a pitch of 100 mm, which directly affects the price of installing a window sill on a plastic window. The height of the product reaches 18-22 mm.
DIY accessories for installing the window sill and slopes
To carry out the installation of a window sill and slopes on a plastic window, it is not necessary to have certain skills and abilities. Even a novice master can handle this. To achieve a good result, an important step is the selection of the necessary components.
When installing a PVC window sill, you will need to purchase not only the plate of a certain type itself, but also connecting elements, as well as a double-sided end cap. The last element is represented by a plank with two spouts, used for decorative framing of the end sides of the window sill. The plug is divided in the middle, fixing one part to the right and the other to the left of the plate. For joining the window sill at an angle and joining it along its entire length into one integral structure, connectors are used.

To carry out the installation of the window sill and slopes, you will need to purchase connecting and fastening elements
Slopes are used to frame the side elements of the window opening. They cover the assembly seams of the frame with the opening and give the window a complete, aesthetic appearance. The most common option is plastic slopes, which are characterized by strength, reliability, good thermal insulation properties, ease of maintenance and quick installation. The video "Installation of slopes and window sills" will allow you to get acquainted in detail with the choice of elements and installation conditions.
To protect the window frame from the negative effects of the environment, it is necessary to install an ebb from its outer side. The structure can be made of aluminum, plastic or metal. The second option is the most widespread. Metal shims are the most budgetary and short-lived, because they have a low level of resistance to the negative effects of atmospheric conditions.
Aluminum sills are more durable, have reliable protection against mechanical damage, due to a special coating on the surface, they absorb the noise of rain drops.
Methods for installing a window sill on plastic windows
Before installing the plastic window sill, you should study the possible ways of installing the product.

All installation options are very reliable, they differ only in the way of fixing the window sill under the window frame
The oldest option for installing a window sill on a plastic window is to fix the product with a special compound.Today, this method is used extremely rarely due to the emerging more convenient and reliable methods.
The easiest way is to install a PVC window sill with your own hands by using self-tapping screws. Previously, holes are made in the window frame, where it is necessary to screw the hardware. For greater tightness, the joints should be treated with an acrylic-based compound. To achieve maximum rigidity and reliability of the structure, during installation, special gaskets are placed under it, and the resulting gaps are filled with polyurethane foam.
The installation of the window sill can be carried out using spring metal brackets. These fasteners are fixed to the support profile by means of self-tapping screws. Then the PVC board is installed in the groove that has formed between the bracket and the window frame.
There is an option for installing a plastic window sill with your own hands, which does not involve the use of fasteners in the form of brackets and self-tapping screws. The plate is installed in the seat. Wooden wedges are driven under it until its surface is pressed as tightly as possible against the window frame. In this case, it is necessary to constantly check the level of the structure. The window sill should have a slight slope towards the room in order to exclude the possibility of condensation getting on the frame.

After installing the window sill, the gaps must be sealed with silicone
All the free space that has formed is filled with polyurethane foam. This type of installation is the longest, but it can be considered the most reliable.
Important! After blowing out the space under the windowsill with polyurethane foam, a weight must be installed on the slab in order to create the necessary resistance at the time of the material solidification.
All options for installing a window sill have their pros and cons. They differ only in the method of fixing the product under the window frame, and all other stages are identical for them.
How to install a window sill: the preparatory stage
How to install the window sill correctly? First of all, it is required to prepare the tools necessary to ensure maximum efficiency of work, and the accessories, thanks to which the installation process will be simple and convenient.

You can cut a plastic window sill with a jigsaw or a grinder
To install the window sill, you will need the PVC product itself, a corner, a building level, a marker with a tape measure, a sealant for joints and seams, polyurethane foam to fill the gaps between the plate and the wall, a jigsaw, a perforator, a screwdriver, screws, screws.
Many are interested in the question of how to install a window sill if the window is already standing. The necessary measurements are taken first. Carrying out this stage is extremely important, since the strength and appearance of the future structure will depend on the correctness of its implementation.
Related article:
Sizes of plastic window sills: how to choose the right option
What parameters are considered standard. Pros and cons of using PVC material. What to look for when buying, how to take measurements.
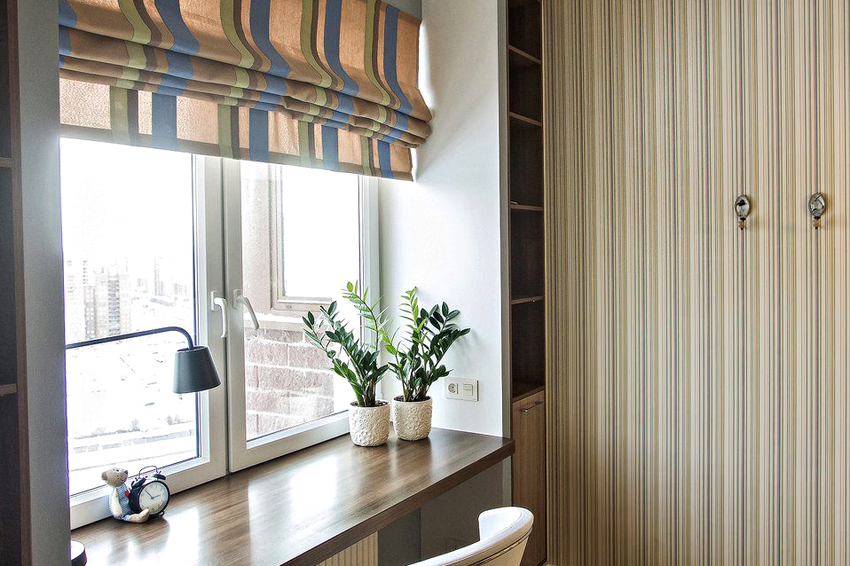
The sill length should be several centimeters longer than the distance between the side slopes. This is due to the fact that the product is wound 2-3 cm into the grooves made in the wall. The width of the product is selected taking into account its protrusion above the radiator, which is installed below. This value should not exceed 8 cm. Otherwise, hot air will not rise to the window from the radiator, which will cause condensation.
The distance between the window sill and the stove should also not be less than 10 cm. Otherwise, a closer location will cause a violation of air circulation, which will worsen the microclimate in the room.

The width of the window sill is selected taking into account the protrusion above the radiator
How to install a plastic window sill: taking measurements and preparing a window opening
Before placing the plastic window sill, the product is prepared according to the measurements. The required length and width are plotted on the slab using a marker. Then, with the help of a jigsaw, the PVC structure is cut. Work must be carried out in goggles and work gloves, since plastic is a very fragile material, so small particles can fly out during intensive cutting.
The sawing process can also be carried out using a special hacksaw or grinder. In the first case, the process will be lengthy. Using a grinder, you can achieve perfectly smooth edges of the product.
Important! When cutting, do not put excessive pressure on the board, as this can lead to cracks and chips on the product.
Before correctly installing the plastic window sill, you need to prepare a seat for it. Since the structure is mounted with some entry into the side niches of the opening, it is necessary to make corresponding grooves for it on both sides in the wall. The process is carried out using a chisel and a hammer. The resulting openings are thoroughly cleaned of debris and primed.

Before installing the plastic window sill, you need to saw it according to the measurements.
After that, special spacers or wedges must be attached to the window frame, which are fixed for reliability with gypsum mortar. The installation elements must be positioned in such a way that the required inclination is ensured. Then do-it-yourself installation of the window sill on the seat is carried out and it is checked how smooth and tight it becomes. If necessary, the edges of the structure are trimmed.
Important! The window sill should have a slope of 1-2 ° towards the room.
The process of installing a window sill on a plastic window with your own hands
As mentioned earlier, there are several ways to fix the product when installing a plastic window sill. At this stage, the most popular and reliable option is being considered, involving the use of wooden spacers and polyurethane foam.
How to install a window sill without a support profile? The product is mounted on a prepared seat. Wooden beacons with a pitch of 80 cm are installed under the structure. They ensure the horizontal structure of the structure, which is controlled by the building level.

If you mount a window sill without a support profile, you will need to install wooden beacons
Under the slab at the front end there are wooden blocks, the distance between which should be about 50 cm. It is necessary to ensure that the supporting elements do not extend beyond the plane of the wall. The distance between the wooden blocks and the side walls should not exceed 10 cm. Before placing the window sill, the horizontal position of the window sill is checked again. If the value does not correspond to the previously obtained result, the pads are adjusted in thickness.
To pre-fix the window sill, the cavity between the slab and the concrete surface must be filled with polyurethane foam, a can of which is placed in warm water a few minutes before starting work. To prevent the binder from lifting the window sill at the moment of expansion, a load is placed on the slab. Further, all the free space is thoroughly filled with foam.
Important! Do not overload the structure so that the window sill does not deform.
In this position, the window sill must be left alone for 2-3 days. Excess polyurethane foam should be removed with a stationery knife. If possible gaps are found, they are filled with acrylic sealant. At the end of the installation process, to give the structure a complete look, special plugs are mounted on the glue at its ends. After installing the window sill, you can start installing the slopes.

The window sill should have a slight slope towards the room
Installing a plastic window sill on the balcony
Modern balconies and loggias are actively glazed through the use of metal-plastic double-glazed windows. This process is accompanied by the installation of a PVC window sill. Installation of a window sill on a balcony is mainly performed at the time of glazing. However, this can be done later with your own hands. How to install a plastic window sill with your own hands so as not to regret the work done?
How to install a window sill on the balcony if the window is already standing? For this, you need to prepare metal brackets. They are needed in the absence of the possibility of establishing a structure for the existing window. The metal brackets should be fixed to the parapet with anchors. These elements will help to strengthen the sill, which will lead to an increase in payloads.
The distance between the metal brackets should be no more than 1 m. Using a building level, check the horizontal position of the fasteners. Before fixing the holders, to simplify the installation process, the thread is pulled strictly horizontally.
After the brackets are fully fixed, the window sill is installed on the loggia or balcony. It is fixed at the bottom of the slab with self-tapping screws. After completion of the installation process, the structure is treated with a sealant. The procedure is performed in order to get rid of the cracks that are formed as a result of the presence of irregularities around the edges. You can familiarize yourself with the installation process in detail by watching the video "Installing a plastic window sill".

Polyurethane foam for filling voids after installing the window sill on the balcony is not used
Important! When installing a window sill on a balcony, unlike installation in a window opening, no foam is used to fill the voids.
Procedure for replacing a plastic window sill
Over time, a PVC window sill may be damaged or lose its original appearance as a result of the appearance of abrasions and ingrained dirt. In this case, it is important to know how to change the window sill.
Before removing the plastic window sill, preparatory measures are performed, which are determined by the type of slopes. They can be monolithic, that is, installed using plaster, or panel (made of PVC plates or sandwich panels). The window sill is mounted under the slopes, therefore, before removing it, they are partially or completely dismantled.
When using plastic slopes, the profile used to frame the corner is removed. Then the finishing panel is carefully opened, for which the sealant seam is pre-stitched. Further, the mounting foam is removed from the plane of the support rails, the junction of the structure edge is cleaned. This is necessary for easy removal of the window sill.

Before removing the plastic window sill, the slopes are partially dismantled
If the slopes are finished with plaster, to replace the plastic window sill, draw two horizontal lines along the edges of the opening with an offset of 25 mm from the top of the window sill. According to this marking, trimming is performed using a angle grinder with a diamond wheel. The process is carried out with the utmost care to avoid the possibility of damage to the frame. Using angle grinders, an undercut is carried out along the plane of the wall, the depth of which is equal to the width of the protrusion of the structure behind the slope.
Helpful advice! The installation depth of the window sill usually reaches 30-40 mm, so a 180 mm circle is needed to dismantle the slopes.
Since the slab with the modern method of installation is not attached to the window frame or support profile, but is fixed with mounting foam, it will be quite problematic to simply tear off the product. Before removing the window sill, the structure must be cut into fragments using a jigsaw.If the slab is planted on a cement mortar, an angle grinder should be used to separate the structure. Next, each element is removed from the footprint.
If the sill was fixed to the delivery profile, then the sill is removed from the outside of the window. Several screws must be unscrewed from the profile.

If the window sill was fixed with foam during installation, it will be quite problematic to tear it off.
Methods for the restoration and repair of a plastic window sill
With prolonged use, the slab loses its original appearance. The surface is very dirty, scratches and cracks can form on it, traces of hot objects, flower pots, stains from exposure to chemicals and sunlight.
First of all, the question arises of how to wash the plastic windowsill from stains. Conventional detergents and cleaners can be used for this, but they do not always give the desired result. In this case, it is not necessary to change the design for a new product. There are several ways you can explore how to update a plastic window sill.
The PVC product is covered with a protective film that turns yellow or flakes over time. To fix this defect, you can use a special laminate wax or solvent-based plastic cleaner. The surface is covered with the selected composition, after which it is wiped with a dry soft cloth.

An excellent way to update a plastic window sill is restoration with a PVC lining.
To restore a window sill, on which small cracks and scratches have appeared, you can use specialized mixtures with a plastic effect. They are sold in powder form. After drying, the material acquires the same properties as plastic. A thick putty mixture is prepared from powder and water, with which all visible defects are sealed.
Helpful advice! To achieve the maximum effect for the preparation of the finished composition, it is recommended to use a primer instead of water.
The finished solution is applied to visible damage. After that, you should wait 10-15 minutes and grind the sealed areas with sandpaper, and the surface can also be polished with a special plastic agent.
To repair deep scratches, it is better to use liquid plastic, which penetrates the pores of the material and sets quickly. In order for the restored surface to have a uniform texture, it can be additionally pasted over with a self-adhesive decorative film.

To eliminate minor defects, you can use a special wax for the laminate
How to make a window sill from an old slab and give it an aesthetic look
A simple and affordable way to restore a plastic window sill is to cover the surface with a laminated film. The material is presented in a wide range of colors, in a monochromatic design, and it can also imitate a variety of textures.
The surface is pre-leveled with a putty mixture. A film of the required size is cut with a margin of 3 cm at the edges. After removing the inner layer, the self-adhesive product is evenly distributed over the entire surface, excluding the formation of bulges or waves.
Another option for solving the issue of how to update a plastic window sill is to restore it with a PVC lining, which can be used for slabs no more than 6 cm thick.This is a simple and economical way to quickly solve the problem with a swollen or cracked window sill. The cover is made of pure polyvinyl chloride, which is characterized by strength, moisture resistance, and resistance to ultraviolet rays.


The restoration begins with filling large cracks with glue, after which it is necessary to degrease the surface and spread it with an adhesive composition.An overlay of the required size is applied to the window sill and pressed with a load. The surface should dry for 6 hours. The end edge is heated with a building hair dryer and bent over the shape of the window sill.
Important! In the case of using a glossy or laminated lining, heat treatment is not used, since the product will lose its attractive appearance.
Installing a window sill under a plastic window is a simple undertaking. However, in order to achieve a good result, it is important not only to choose the right product, but also to follow a certain algorithm for carrying out installation work, which will be the key to a high-quality, durable and aesthetic window design.