Repair in the kitchen is an important stage in the life of every inhabitant of the house, because the family spends a significant part of their time in this room. That is why it is so important that the interior of the kitchen matches your preferences. A modern solution for creating a design is glass aprons for the kitchen, skinned: you can see the photo in this article. What to be guided by when choosing this functional and at the same time decorative element - we will consider below.

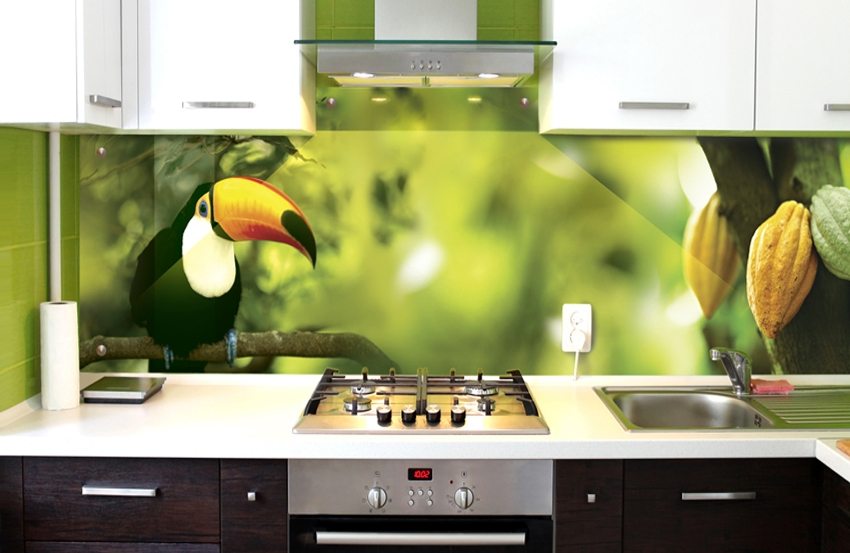
Glass apron with photo print and LED backlight
Content
- 1 What is skinned
- 1.1 Advantages of skinning for the kitchen: photos of beautiful aprons
- 1.2 Disadvantages of a glass apron in the kitchen: photo examples of use
- 1.3 Aprons for the kitchen, skinned: photos of glass panel design options
- 1.4 Tips for choosing a skin for the kitchen: image catalog
- 1.5 Options for attaching an apron for a kitchen made of glass: a photo of three ways
- 2 Varieties of glass aprons for the kitchen: photo catalog
- 3 Kitchen apron made of polycarbonate
- 4 Plastic kitchen apron
- 5 Apron for kitchen from MDF
- 6 Aprons for the kitchen from ceramic tiles: photos and tips for choosing a material
- 7 How to independently calculate the required apron dimensions
What is skinned
First, let's figure out what skinned and what are they for in the kitchen? It is customary to call skinali glass panels with a pattern applied to them, or simply plain. They are made to order, and therefore can be made in any size and color scheme.

Skinali is a glass panel with a colored backing
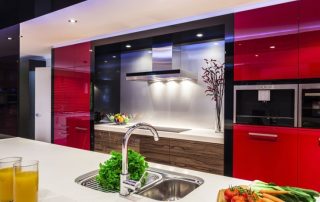
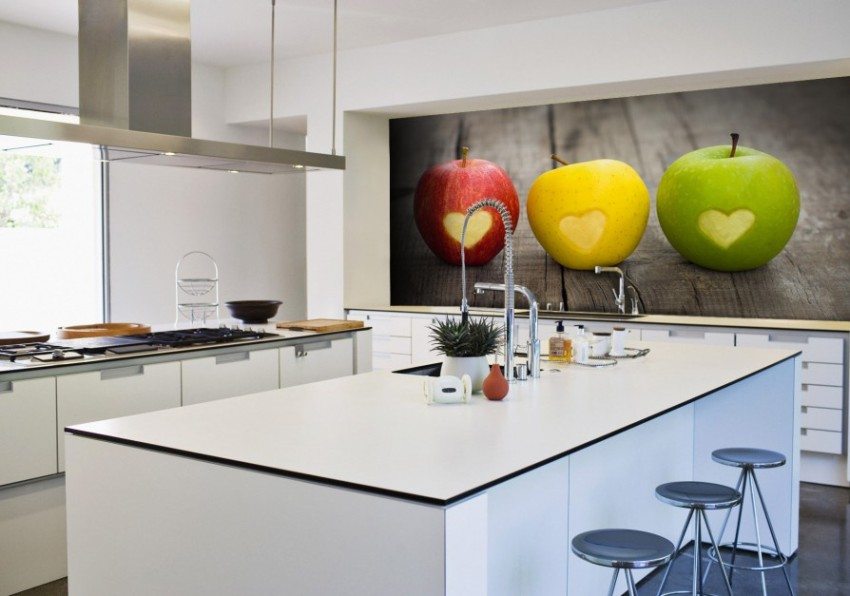
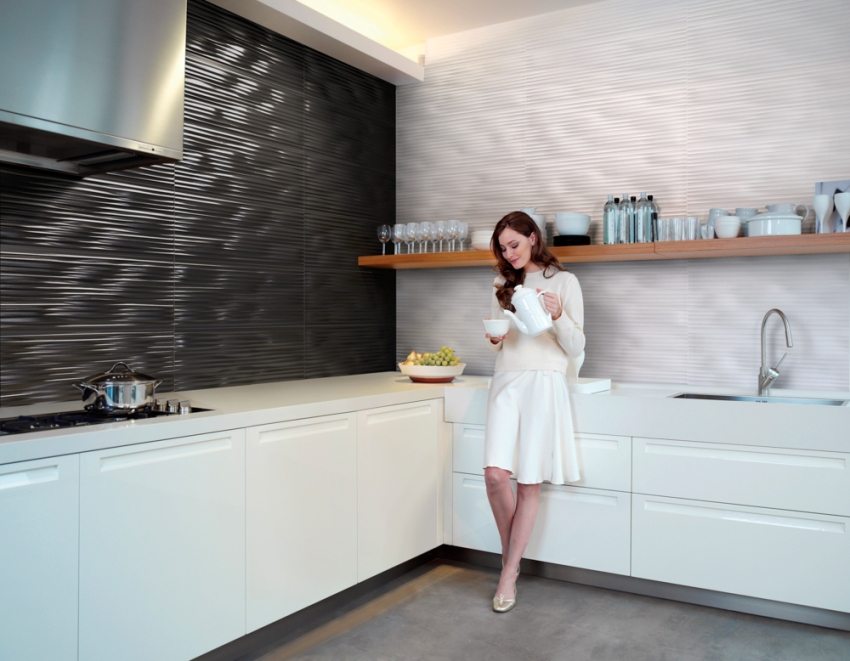
The main purpose of skinali is to protect the wall surface above the countertop and gas stove from splashes of grease and water. Therefore, the main requirement for such a product is ease of cleaning and washing. But in addition to the functional purpose, the kitchen apron is also used as a decoration. Thanks to modern technology, you can easily add some bright colors to your interior. Today it is possible to realize any daring idea by making an apron with a unique design, and making your kitchen brighter and more attractive.

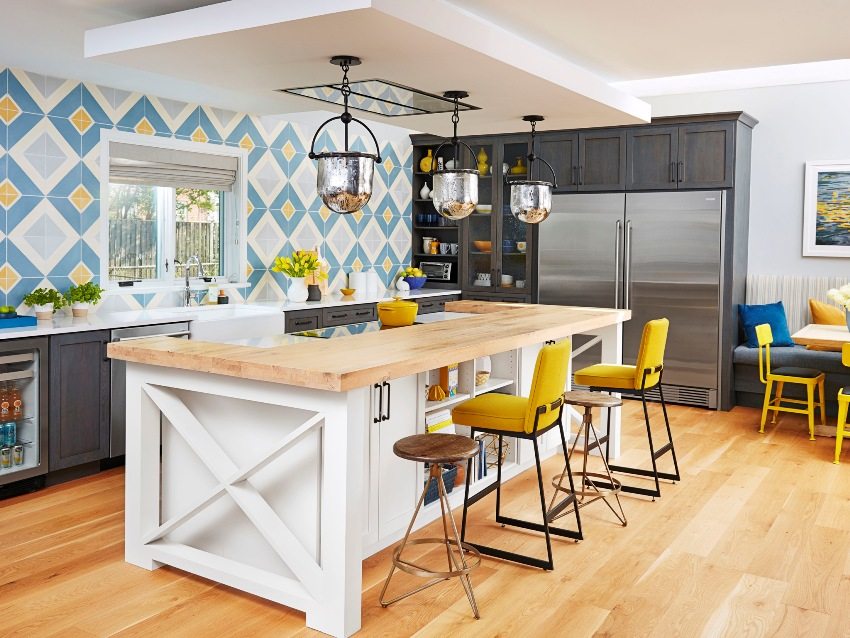
Bright contrasting apron on the background of a white kitchen
Advantages of skinning for the kitchen: photos of beautiful aprons
The advantages of using a glass apron in the kitchen are obvious:
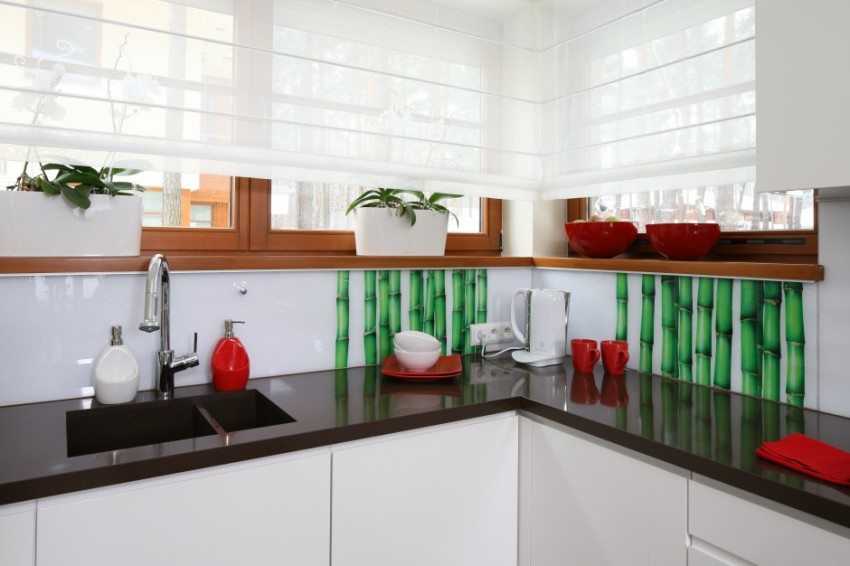
- the glass panel looks organic in any interior. It goes well with any matte and glossy surfaces, especially since you can independently choose skins for the kitchen in the photo catalog of images;
- installation of any kind of glass takes very little time, and it is almost always no more than 2 hours;

Transparent glass panel installed on top of colored wallpaper
- glass aprons are more hygienic than, for example, tiles, as they do not have seams in which dirt could accumulate;
- one-piece glass surface in the kitchen visually increases the space, making the room more spacious and fresh;
- glass kitchen apron is a huge field for your imagination. Thanks to modern technologies, you can decorate it with photo and stereo printing, order a special substrate (both plain and with a print) or make a sandblast drawing on the surface. Photos of glass kitchen aprons perfectly demonstrate this;

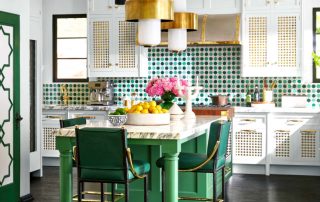
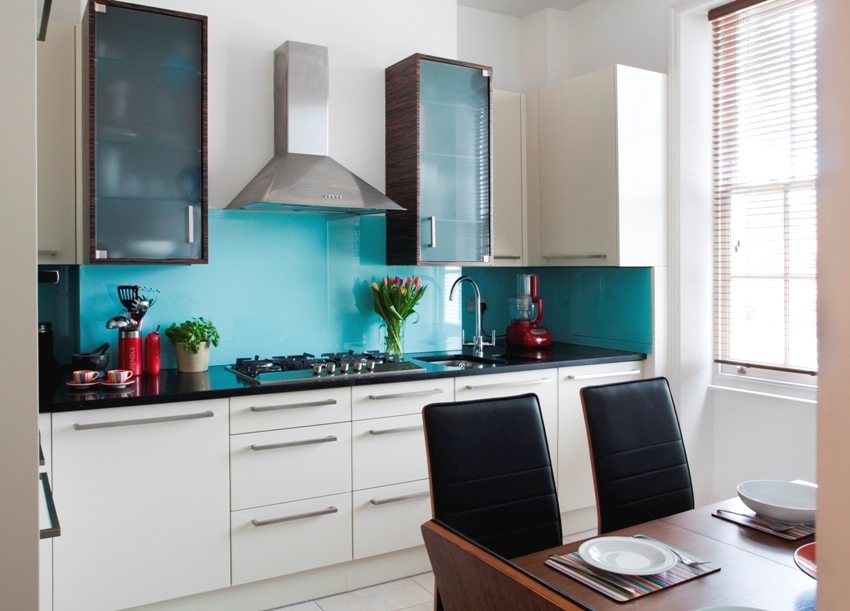
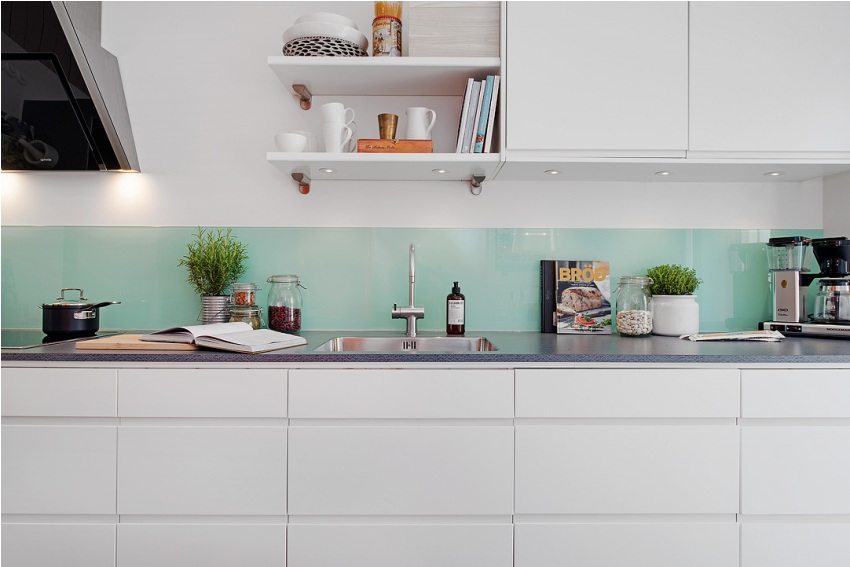
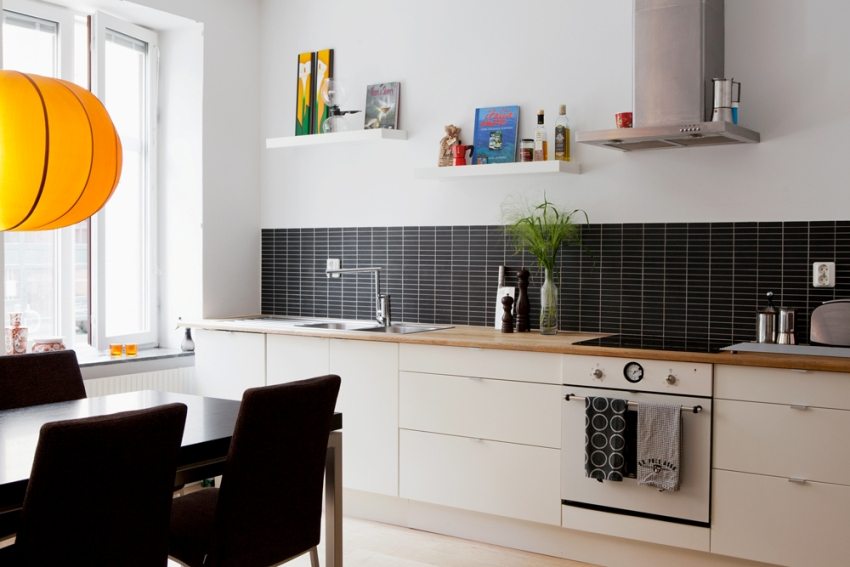
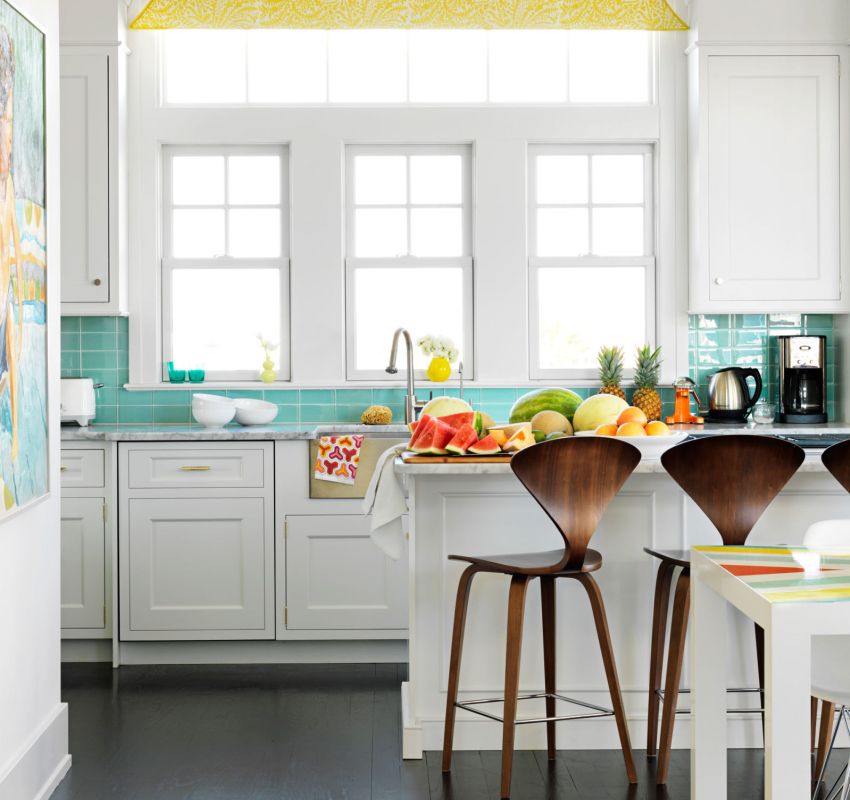
The turquoise color of the apron echoes the upholstery of the chairs
- you can choose any surface of the apron if you wish: matte, glossy or textured (photos of the skins clearly show this);
- glass allows you to realize your own ideas in the design of the kitchen, for example, you can insert a collage of your family photos or beautifully printed recipes under the glass;

Glass apron on classic style kitchen
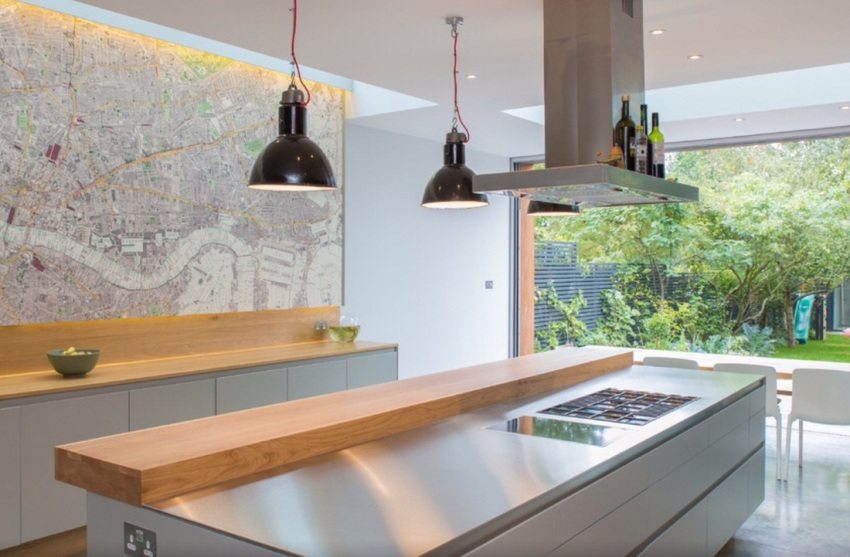
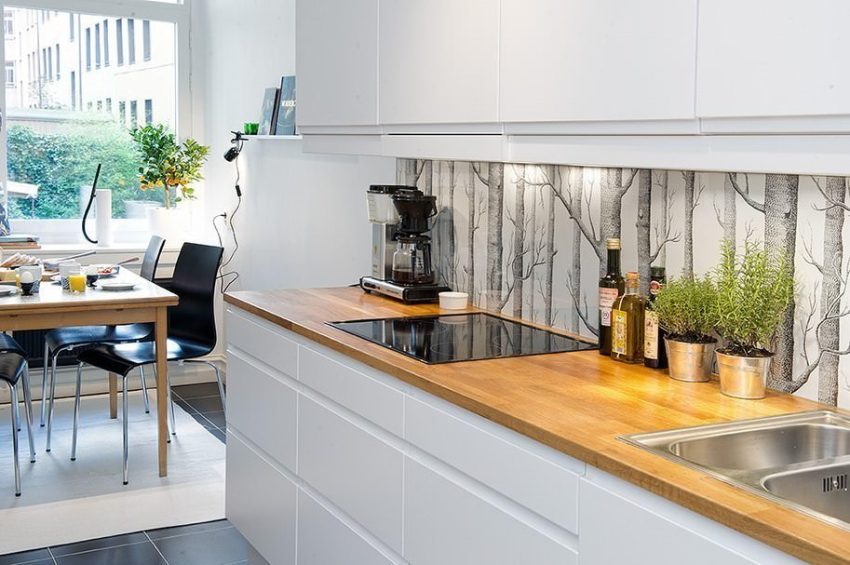
- clear glass can be placed on top of existing finishes such as stone or wood, protecting them from dirt and damage without hiding their beauty. The same principle can be used to protect wallpaper or wall paint;
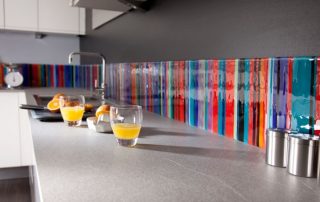
- glass apron goes well with any kind of lighting. You can see this in the catalog of kitchen skins on the manufacturers' websites.

Original print-painting on glass skin
Disadvantages of a glass apron in the kitchen: photo examples of use
The glass apron is not devoid of some disadvantages:
- this type of kitchen aprons cannot be called budgetary, with the exception of plexiglass. The average cost of such beauty starts from 4700 rubles per 1 m² (including the cost of installation);
- the manufacture and installation of an apron is a rather complicated matter that does not tolerate modifications and alterations. Therefore, in most cases, the panel is installed only after the final assembly of the entire headset. Sockets, switches and all kinds of communications must also be fully installed by this time;

Bright fuchsia apron in modern kitchen
- the process of making and decorating skinals takes a certain amount of time, on average from 7 to 14 days, depending on the manufacturer;
- choosing a design for a kitchen apron will require you to have good taste and a sense of proportion. Otherwise, you can spoil the whole interior with an unsuccessful color scheme or excessive brightness and variegation of the surface.

You can print photos of loved ones on the kitchen apron
Aprons for the kitchen, skinned: photos of glass panel design options
There are several ways to design tempered glass:
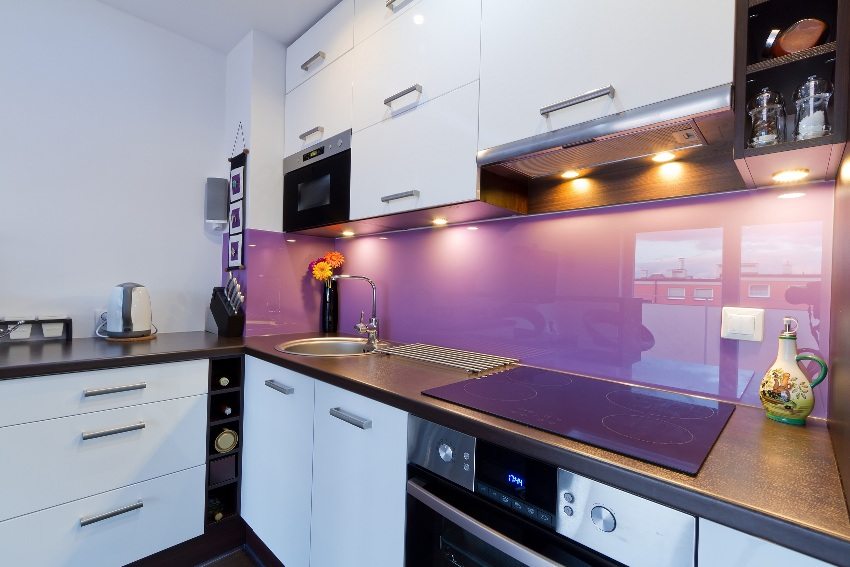
- stemalite, or as it is also called - back-colored glass. The production process in this case is quite simple: the surface is painted with colored enamel and then hardened. As a result, paint and glass become inseparable from each other;

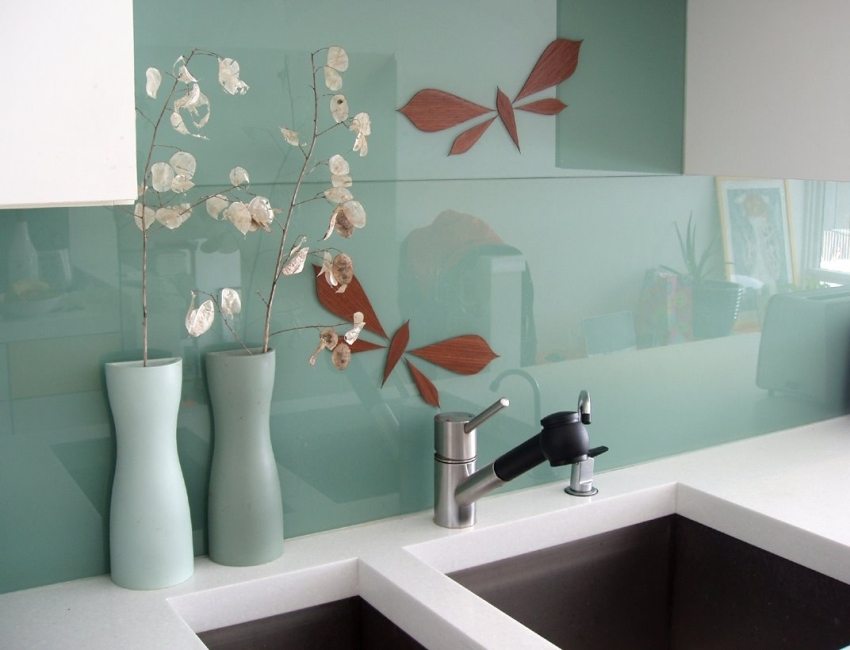
Stylish kitchen apron made of mirror panel
- satin is frosted glass. Without going deep into the process of its production, we can say that the result looks very beautiful, but at the same time it is more demanding to care for than ordinary transparent, unbleached tempered glass. And its cost is slightly higher;
- skins are those very glass panels that use a special substrate with some kind of image. For this, both photo printing and stereo printing are suitable. True, in the first case, the cost will increase by 30-50%, and in the second - twice;

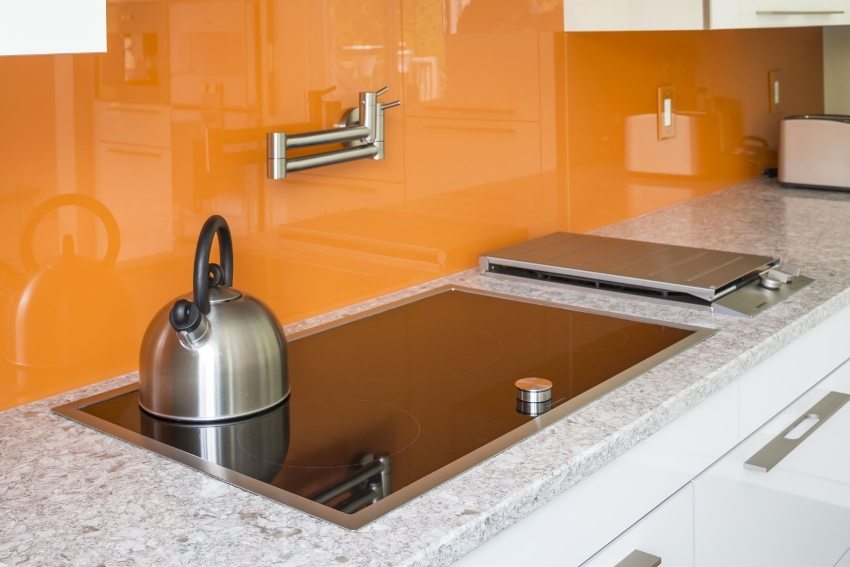
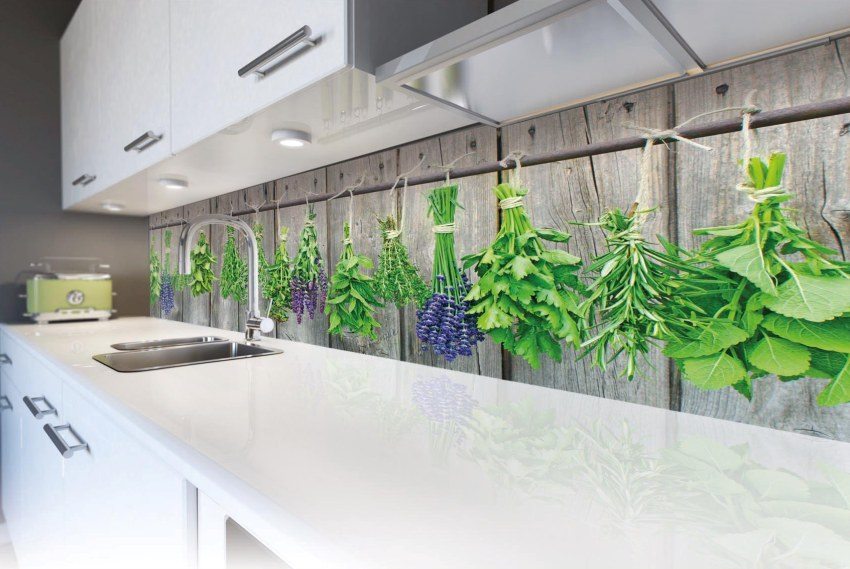
Glass panel protects the wall from water droplets and grease
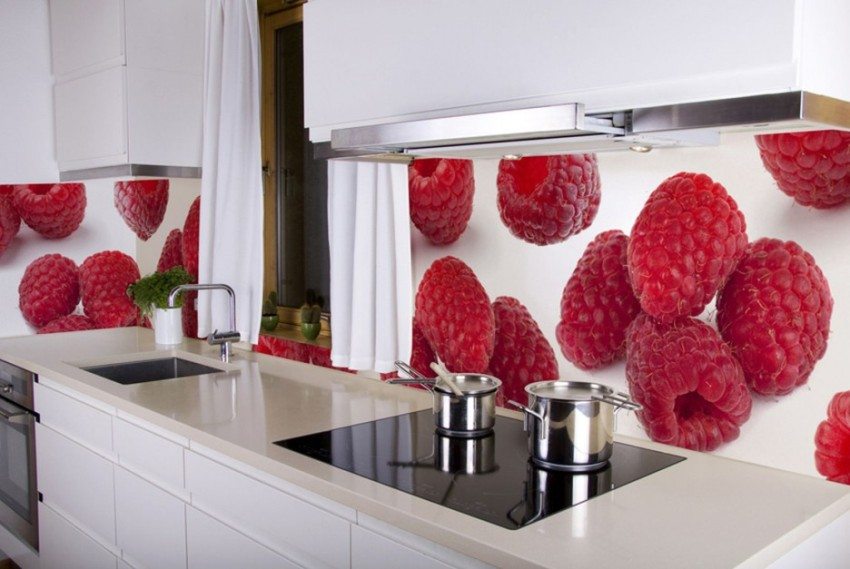
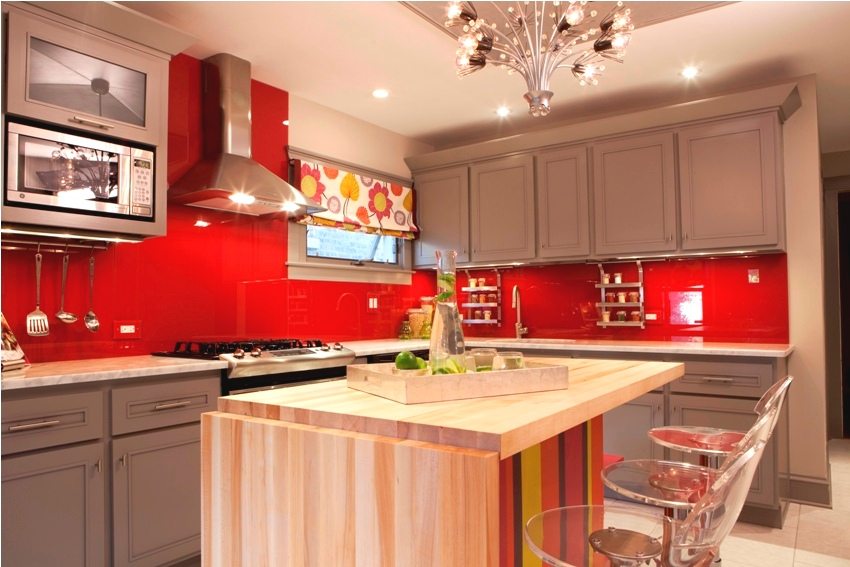
- optivayt - glass obtained as a result of the bleaching process. It does not have a characteristic bluish or greenish tint and therefore is perfect for creating aprons with a light and detailed pattern. The clarity of the glass allows even the smallest elements of the substrate to be reproduced in detail.But it is important to understand that you will have to pay for such characteristics, and the cost of the optical glass will be 1.5-2 times higher than the usual one. A photo of a kitchen with a cherry glass apron perfectly illustrates how bright and clear a drawing can be.

Cherry photo print is very popular with consumers
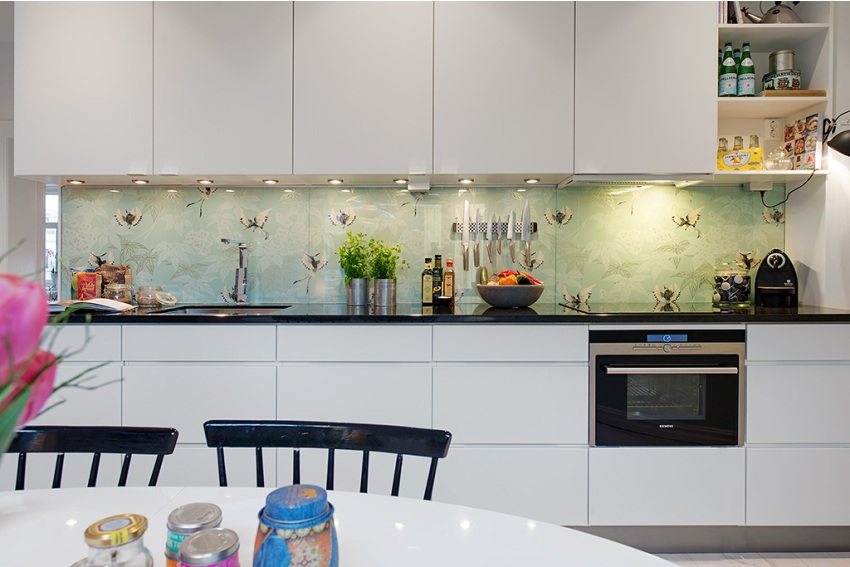
Helpful advice! Modern technologies suggest using a kitchen apron as a lamp. This is possible thanks to the built-in LED lighting, gluing the LED strip or installing spots under the cabinets.

Skinali is made in a laconic design
Tips for choosing a skin for the kitchen: image catalog
When choosing a tempered glass panel, you need to take into account many factors. Here are some tips to help you avoid getting confused by the sheer number of sentences:
- The best glass thickness for a kitchen is 6 mm. It's tough enough to withstand serious blows. It is permissible to use 4 mm of stalinite, but it should be borne in mind that its strength is much less.
- The cost of a tempered glass apron includes all processes, from measurements to installation. The required number of slots and the method of fastening also affect its price.
- You can choose absolutely any image for the skin. Examples and photos of glass aprons, photo printing for the kitchen, you can look at specialized sites.

Examples of photo-design and drawings for skinny
When choosing a drawing for an apron, it is important to proceed not only from the indicator of the beauty of the picture, but also its relevance in the general interior of the kitchen. Having looked through the catalog of images of glass kitchen aprons, you can get a complete picture of all possible design options.
Helpful advice! Interior designers recommend not using images with more than three colors - this creates a cluttered feeling in the kitchen.

Options for attaching an apron for a kitchen made of glass: a photo of three ways
There are three ways of attaching a kitchen apron and before ordering its manufacture, you need to decide which one you will use:
Method 1... Fastening with screws. This is the easiest and most convenient way to install the apron, which can be used on absolutely any surface, even the most uneven. Moreover, the panel can be removed and fastened more than once. In this case, a gap of about 4 mm remains between the wall surface and the apron. To create a more aesthetic look, special plugs are put on the screws.

Stages of fastening a glass apron with screws
Method 2... Fastening with hinged fasteners. For this, metal clamps are used, into which the panel is inserted. This option is often used to install non-one-piece aprons, as this allows the parts to be joined evenly.

Installation diagram of a glass panel using magnets
Method 3... Fastening with liquid nails or glue. This method allows you to fix the panel without using visible fasteners, and, accordingly, without violating its integrity. But you can only put the apron on glue on ideally even and prepared walls.

The installation steps were skinned with a special sealant
Helpful advice! The gap between the glass apron and the table surface must be closed with a corner. If there are seams, they should be treated with a special sealant.
Varieties of glass aprons for the kitchen: photo catalog
When choosing a glass apron for the kitchen, technical characteristics of the product play an important role, such as resistance to shock, temperature extremes and high humidity. Consider each type of glass separately, as well as photo-catalogs of images of glass aprons for the kitchen, highlighting its inherent pros and cons.

The apron is installed along the entire height of the working wall
Stalinite: tempered glass apron
Stalinite (tempered glass) is obtained as a result of high-temperature heat treatment.Ordinary silicate glass first becomes very hot, and then rapidly cools.
A clear advantage of stalinite over any other type of glass is strength. Its impact resistance is 5-10 times higher than normal. Moreover, if you nevertheless break such an apron, its fragments are small pieces that cannot be cut against, since their edges are blunt.

The toughened glass is very strong and shock-resistant
Another plus of tempered glass is its insensitivity to temperature extremes and overheating. By installing a panel of this material over a gas stove, you do not have to worry about its safety. Also, glass processed in this way is absolutely resistant to the influence of any external factors. It can be washed with a stiff brush and abrasive detergents. It does not scratch, tarnish and is not afraid of water. The service life of the stalinite is about 10 years.
Photos of glass aprons for the kitchen will help you get an idea of the visual appeal of this choice.

Light glass apron with a delicate pattern
Of the disadvantages of using tempered glass in the kitchen, its price can be distinguished. The cost of stalinite is higher than that of ordinary glass. There is no way to change the size or make any additions (for example, holes). All necessary operations with glass can only be performed by the manufacturer before the glass tempering process begins. Therefore, mistakes and miscalculations in this case are unacceptable. The production time for such a panel is about 1 week.

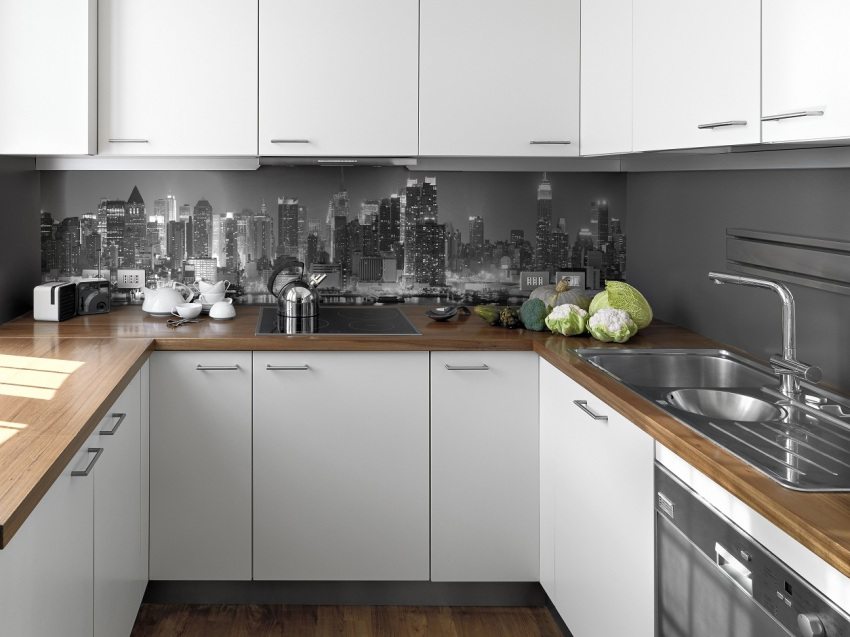
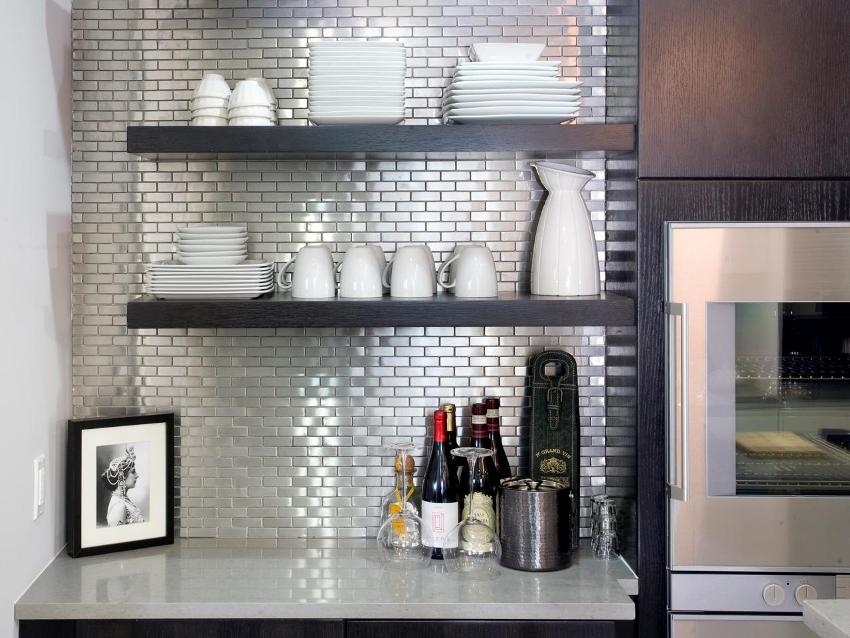
The black-and-white drawing of the skinals echoes the color of the bedside tables
Laminated glass: triplex apron
Triplex is a glass consisting of several layers glued together with a polymer film. In this case, the panel can consist of both organic and silicate or hardened sheets. The standard thickness of the triplex is 8 mm. You can easily find a photo of a kitchen with a glass apron on the Internet.
The main advantage of using this type of glass is absolute safety. Thanks to the polymer film, even if damaged, the fragments are not able to crumble and injure a person. In addition, this type of panel is very durable and resistant to temperature changes, and it is very easy to care for it.

Bright print and lighting on the kitchen work wall
Of the shortcomings, perhaps, one can single out a very high cost and long production times. The price for triplex is several times higher than for other types of glass. The average time required to make such an apron is 14-30 days.
Design options for a triplex kitchen apron:
- photo printing;
- decorating one of the layers of glass;
- using a mirror or foil;
- imitation of fabric or leather.

The glass apron has an image of the sea shore
Plexiglass apron
Plexiglas is a separate type of material widely used in construction and decoration. Often it can be found under such names: acrylic glass, plexiglass, acrylite, limacryl and many others.
The properties of plexiglass that made it so popular are obvious. It is very lightweight and flexible. At the same time, it is cheap and completely undemanding to the quality of the surface on which it will be placed. You can easily work with it yourself, changing the dimensions and cutting out additional holes for sockets... This material is completely environmentally friendly and moisture resistant. Moreover, its impact resistance is very high. When burning, plexiglass does not emit toxic substances. Plexiglas can be transparent, colored or with photo printing.

With the help of the skin, you can decorate only part of the wall near the slab
The disadvantages of this material include its ability to wear out quickly, fade and scratch. Plexiglass care does not include the use of hard brushes, abrasives and products containing alcohol and acetone. Another serious drawback is the low temperature barrier.When heated above 80 ° C, glass may deform. This fact excludes the possibility of placing it over a gas stove.
Kitchen apron made of polycarbonate
Polycarbonate is a material that has common features with plexiglass, but at the same time surpasses it in quality characteristics.

Bright pink polycarbonate apron in the kitchen
This material is the best budget option for creating a beautiful kitchen apron. The cost of such a product will be much lower than stalinite or triplex panels, and the quality is much higher than that of plexiglass. Polycarbonate is a durable, high temperature resistant and lightweight material.
Its only drawback is the ability to scratch rather quickly in case of careless handling. As a result, over time it looks worse than ordinary glass.

Skinali is made of matte translucent polycarbonate
Plastic kitchen apron
Another material that is great for creating kitchen aprons is plastic. The aesthetic appearance of such products allows them to be used in any interior. And at the same time, in beauty they are not inferior to either glass or ceramic tiles. Hardness, strength and resistance to external influences make plastic a worthy competitor to many materials.
You can see a lot of different photos of aprons for the kitchen made of plastic on specialized portals.

Apron made of plastic - a practical and inexpensive solution
Installing a plastic apron is a relatively simple process. After the material has been purchased, you can start trimming and fitting it to the desired size. To do this, you can use a hand saw with fine teeth. Of course, you can use an electric jigsaw to save time, but in this case it will be more difficult to get smooth edges.
Then you can start the fastening process. To create the batten, use wooden slats 0.5 cm thick and 2.5 cm long. Using dowels, one strip must be attached to the wall under the kitchen cabinet, and the other above the countertop. Then, using a construction stapler or liquid nails, a plastic panel is attached on top.

Stages of installing a plastic apron
To give the apron a neat, complete look, a special glue can be glued between the bottom of the sheet and the worktop. plinth, and at the top there is a plastic glazing bead. Prices, photos of plastic kitchen aprons can be viewed in advance on the manufacturers' websites.
Pros and cons of a plastic kitchen apron
Opponents of plastic kitchen panels argue that over time microscratches appear on the apron, especially if you use a hard sponge and chemically active substances for cleaning. In addition, low-quality plastic reacts poorly to high temperatures and can deform. Another modest drawback of such aprons is stains that remain on the surface as a result of water ingress.

Splashes of water will not be so noticeable on a colorful apron
However, the advantages of plastic aprons more than cover all the disadvantages of this material. Therefore, be sure to check out the catalog of printed plastic kitchen aprons.
Advantages of plastic kitchen aprons:
- absolutely any detergent can be used to clean the plastic apron;
- resistant to moisture and high temperatures;
- a solid sheet of plastic is easy to cut to the desired size;
- the plastic from which kitchen aprons are made is completely environmentally friendly and safe for health.

Family photos can be selected as an image for skinny
Apron for kitchen from MDF
MDF Is a medium-strength fiberboard. It consists of small shavings pressed under high pressure and temperature. Lignin is used as a binder, which, unlike the usual formaldehyde, is environmentally friendly and safe for health.Pay attention to the photo of kitchen aprons made of MDF with photo printing, and you will see that they are in no way inferior even to glass.

Apron made of MDF combined with a glass panel
The main advantages of a kitchen apron made of MDF:
- low cost - domestically produced products are very inexpensive;
- availability of purchase - you can order such an apron at almost any company that produces furniture;
- wide range of color solutions - MDF panel does not absorb paint, while it acquires an excellent appearance when stained. In addition, you can order the production of a kitchen apron from MDF with photo printing;
- environmental friendliness and safety of the material;
- great for shape milling.

Kitchen furniture and apron are made of the same MDF panels
The disadvantages include the following characteristics of MDF aprons:
- flexibility - over time, the apron can deform, bend and move away from the wall. To avoid this, you must pay special attention to its installation;
- negative reaction to some reagents. In this case, the use of nitro paints, acetone or aggressive alkaline compounds is unacceptable;
- MDF boards are very flammable and emit harmful asphyxiant impurities during combustion.

The surface of the MDF board can be painted or decorated with colored film
Helpful advice! If you decide to independently calculate the required size and cut the apron, be very careful - if you make a downward mistake, it will be impossible to correct the situation.
Methods for fixing MDF panels
As with all other materials, there are three main types of attaching the apron to the wall. However, since in the case of MDF, most often one has to deal with attempts at self-assembly, let us pay special attention to this. So, there are three main ways:
- liquid Nails;
- self-tapping screws;
- special kleimers.

Apron made of laminated MDF panel with imitation ebony
The most common mistake when choosing a fastening method with self-tapping screws is creating an excessive number of fastening points. Some craftsmen manage not only to enclose the entire perimeter of the plate with self-tapping screws, but also to twist a few pieces in the middle.
Related article:
Floor tiles for the kitchen: photos and prices of popular types. Technical parameters of the main types. Ceramic, porcelain stoneware and quartz vinyl flooring. Review of tile manufacturers.
Today on sale you can find special self-tapping screws, the caps of which are decorated in the color of the wood, thanks to which they are almost invisible on the surface.

Laconic apron from MDF in a modern kitchen
If you decide to use liquid nails, it is important to remember to apply the layer evenly over the entire back surface of the panel. It is unacceptable to save on material and coat only certain areas of the apron. Over time, this can cause the product to lag behind the wall.
Helpful advice! If the wall in the kitchen is obviously uneven, and you doubt the reliability of the apron, you can combine two different methods, for example, liquid nails in combination with self-tapping screws will securely fix the panel to any surface.

Before installing the apron, a special glue is applied to the wall
Aprons for the kitchen from ceramic tiles: photos and tips for choosing a material
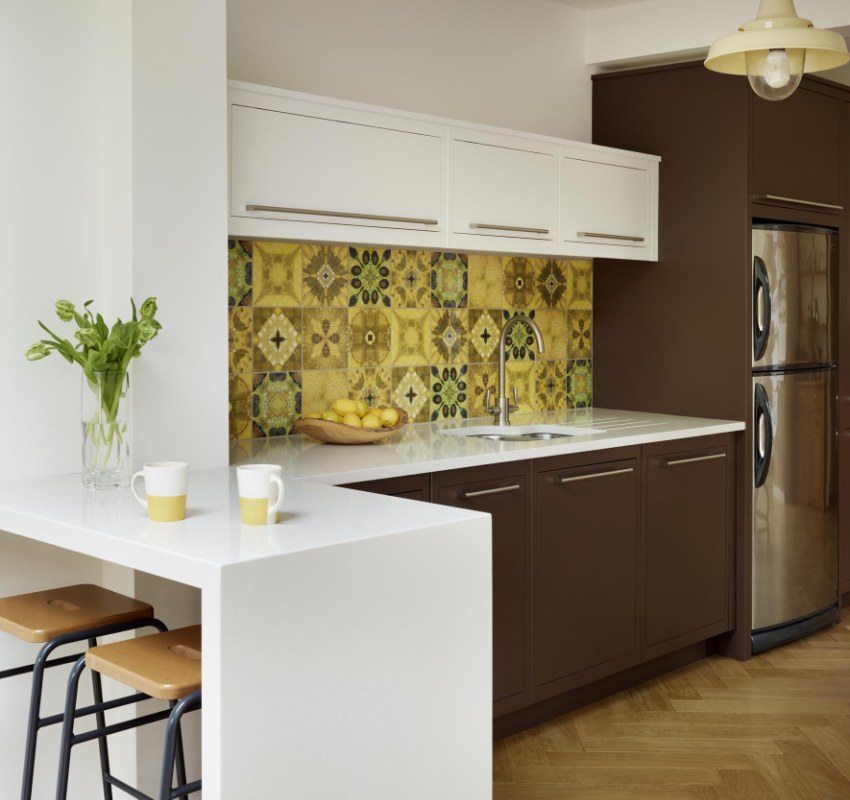
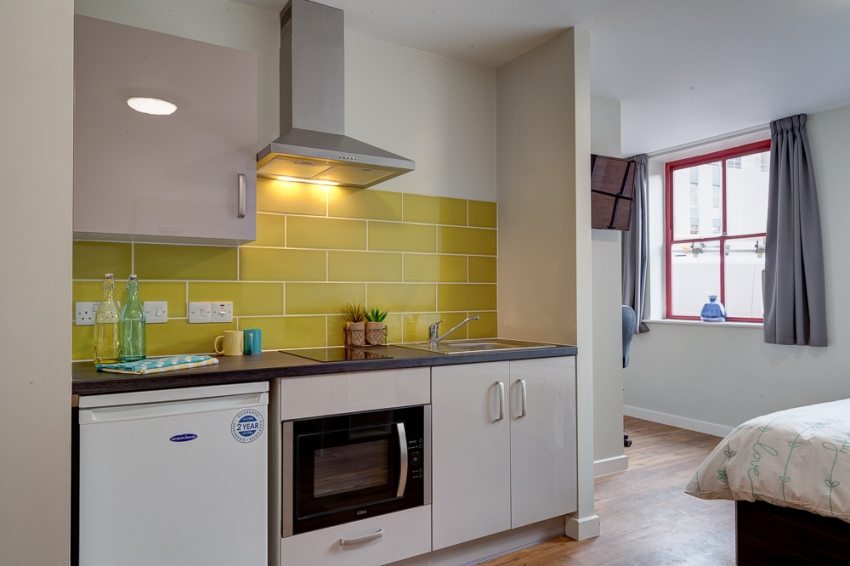
You can decorate a kitchen apron, including using ordinary ceramic tiles. Most often, preference is given to the standard tile size of 10x10 cm.But sometimes you can find baboutLarger sizes - 20x20 or 30x30 cm. As for color and design solutions, the range of offers is endless - materials of all kinds of colors and patterns are on sale. You can verify this by looking at the photo catalogs of aprons for the kitchen from tiles.

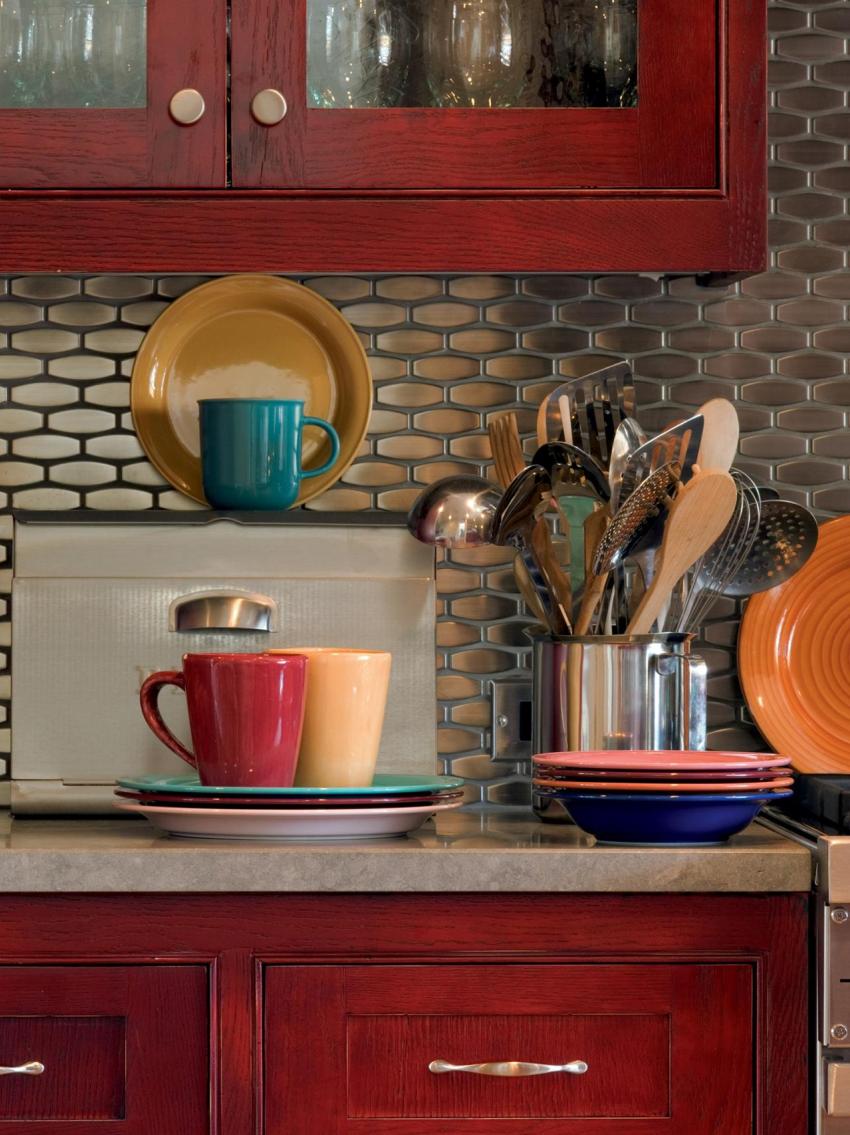
Tile apron with fine mesh texture
Consider the criteria for choosing ceramic tiles for an apron in the kitchen:
- the thickness of the tiles must be at least 4 mm;
- the porosity of the material should be low;
- the tile must be covered with glaze;
- the marking on the package must be "AA".
Helpful advice! Perfect for an apron in the kitchen tile "hog".

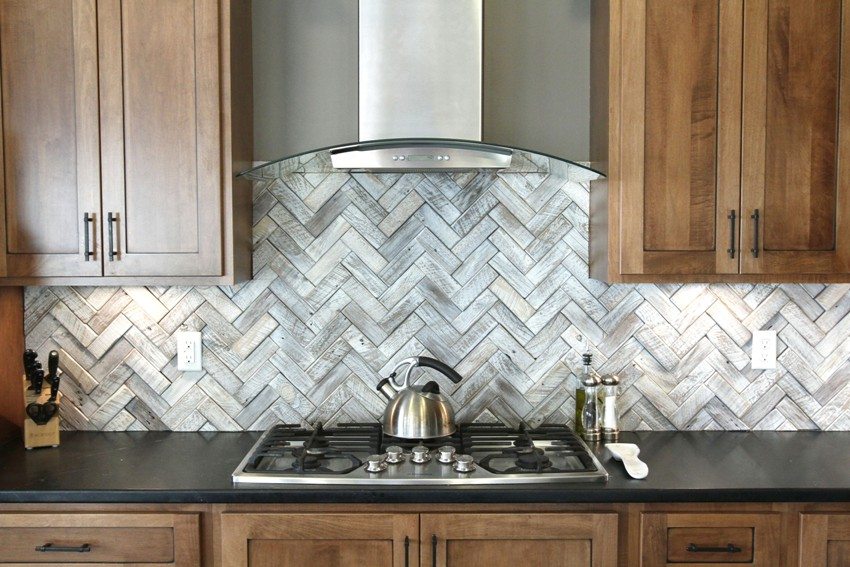
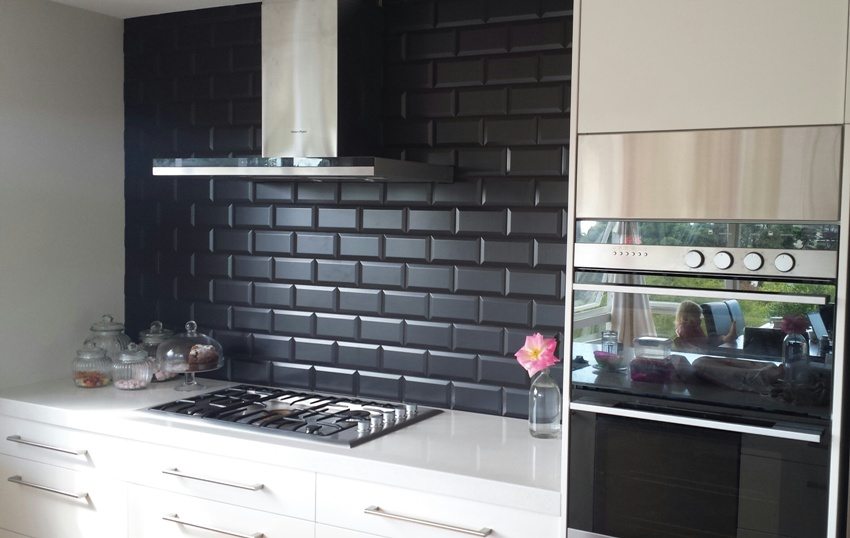
How to tile an apron yourself: a photo of tiles in the kitchen
It is quite possible to lay out an apron from a tile with your own hands. To do this, it is enough to adhere to the following algorithm:
- the first step is to remove all old finishing materials from the wall. Then the surface needs to be leveled and plastered. If necessary, lay new electrical wiring for the outlets;
- then you need to apply styling markings. From the floor, 70-75 cm is measured upwards and a straight line is drawn using the level. The bottom row of tiles will be laid out on it;

Scheme of cladding a kitchen apron with laying tiles behind the stove and sink
- from the applied line, 60-70 cm is measured upwards and another line is drawn in the same way, which will be the edge of the upper row;
- if you plan to place a tile backsplash over the kitchen stove, then you need to put an additional 60-80 cm upwards. It is also better to leave allowances of 10-15 cm in width;
- after carrying out all measurements and applying markings, the place where the tiles will be laid must be primed;

Floral apron in a classic kitchen
- on the marked line for the bottom row, you need to attach a wooden block or a plate of drywall. After that, check it again using a level;
- after all the preparatory work is completed, you can start preparing the glue. It must be done according to the manufacturer's recommendations indicated on the packaging;
- with a special notched trowel glue applied to the wall with the calculation of laying 2-3 tiles;

Artificially aged mirror tiles in vintage style
- we lay out the first row using special polypropylene cross-stitches to create even and neat seams. Using the level, we check the results;
- if it becomes necessary to cut individual tiles for installation in corners, a tile cutter or grinder with a diamond disc is used;
- small irregularities in the wall can be hidden by placing an additional layer of glue on the tile with the same notched trowel;

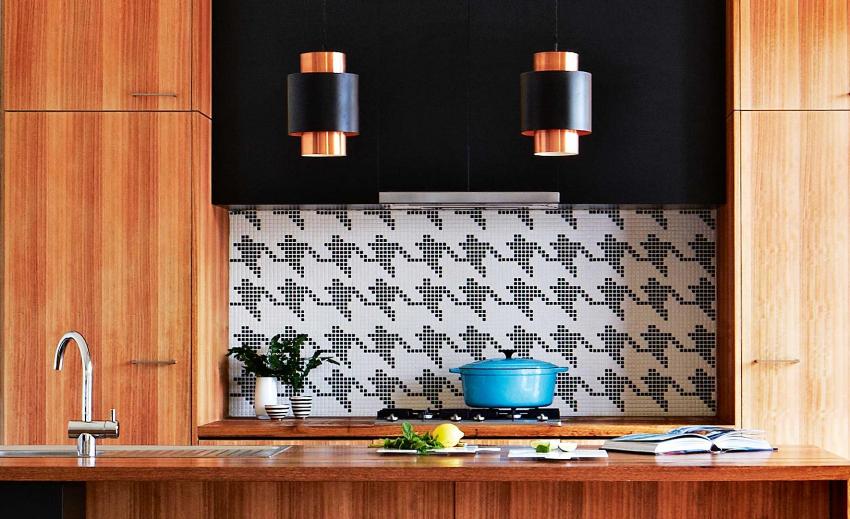
Geometric pattern laid out using ceramic mosaic
Helpful advice! The grooves left by the adhesive on the wall and on the tiles must be laid in a different (perpendicular) direction. This will provide better grip.
- in those places where the installation of the outlet is planned, you need to proceed as follows: using a crown, a hole of the required size is made in the tile. Then the tile is applied to the wall and marks are made according to which the electrical outlet will then be mounted;
- then all the rows of tiles are laid out;

Tiles of the original shape were used for facing the kitchen backsplash
- at the end of the work, the tile is carefully cleaned of dirt and glue residues;
- a day after laying, you can start cleaning the seams and taking out the plastic crosses. Using a rubber trowel, apply a waterproof grout;
- after the grout is dry, the tile surface must be thoroughly washed.

Niche above gas stove tiled with blue mosaic
How to independently calculate the required apron dimensions
If you do not want to spend additional funds on the services of a measurer, or you just want to figure out this issue yourself, there are two ways to calculate the size of the apron.

The layout was skinned with a detailed indication of all sizes
The first option provides that the height of the kitchen backsplash will be equal to the distance from the lower edge of the hanging cabinets to the floor itself. The design, of course, turns out to be more durable, but the price automatically becomes much higher due to the additional consumption of material.The clearance between the lower and upper rows of cabinets is on average 50-65 cm, to this value it is necessary to add the height of the lower pedestals. The width of the apron will be equal to the length of the working wall from corner to corner.

Instructions for correct measurement: 1 - the width of the apron along the bottom line of the hanging cabinets; 2 - the width of the apron along the upper line of the lower pedestals; 3 - the height of the apron at different points of the clearance between the furniture
In the second case, the apron is wound down behind the table top by 20-25 mm. This allows you to get rid of the joint and at least slightly strengthen the structure. This distance is not critical and can be changed as desired and necessary. In this case, the height of the laps is added to the 50-65 cm of the lumen. The width, as in the first option, will correspond to the length of the working surface.

Existing sizes of finished glass skins
Helpful advice! When calculating the installation locations of the sockets, it is recommended to leave allowances of 2-4 mm. This will allow you to slightly adjust the position of the apron during installation.

Layout of several glass panels on a kitchen working wall
A kitchen apron is an important functional component of the interior. After all, besides protecting the wall from splashing water and grease, it can contribute to the design, making your kitchen original and the cooking process pleasant. As we have seen, there are many options for decorating the surface above the countertop. And they all have their advantages and disadvantages. So, when choosing, be guided first of all by your preferences and financial capabilities.