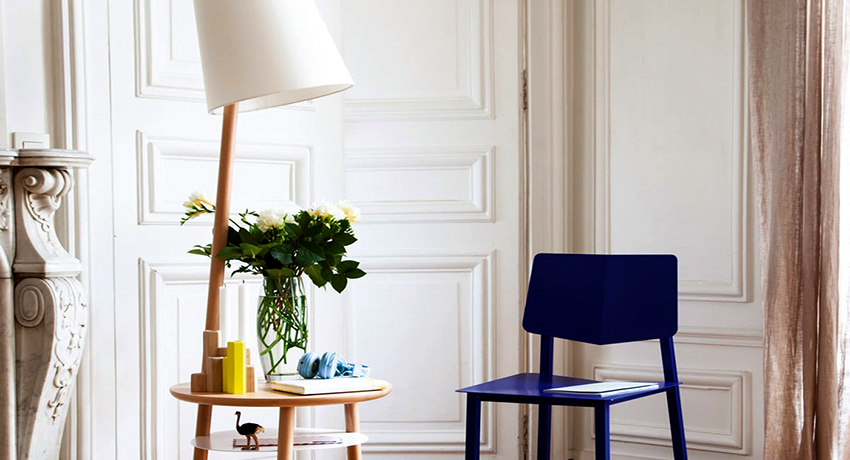
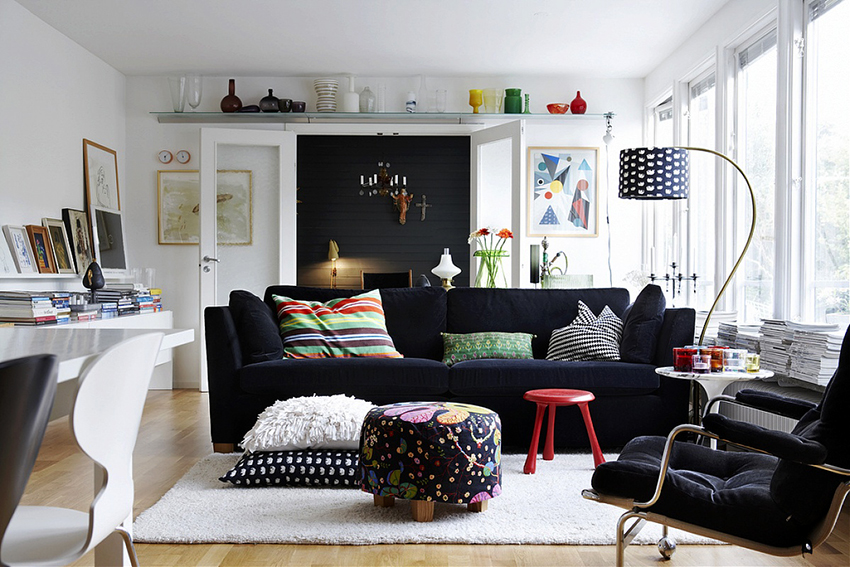
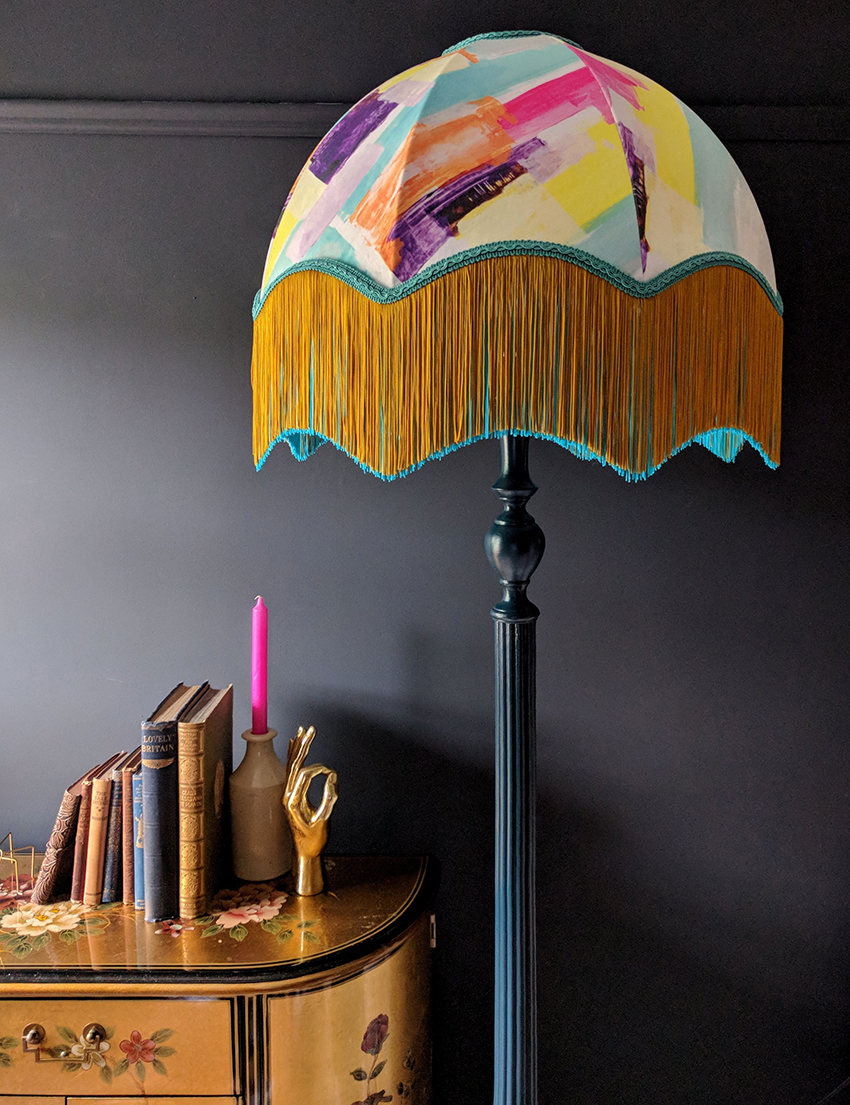
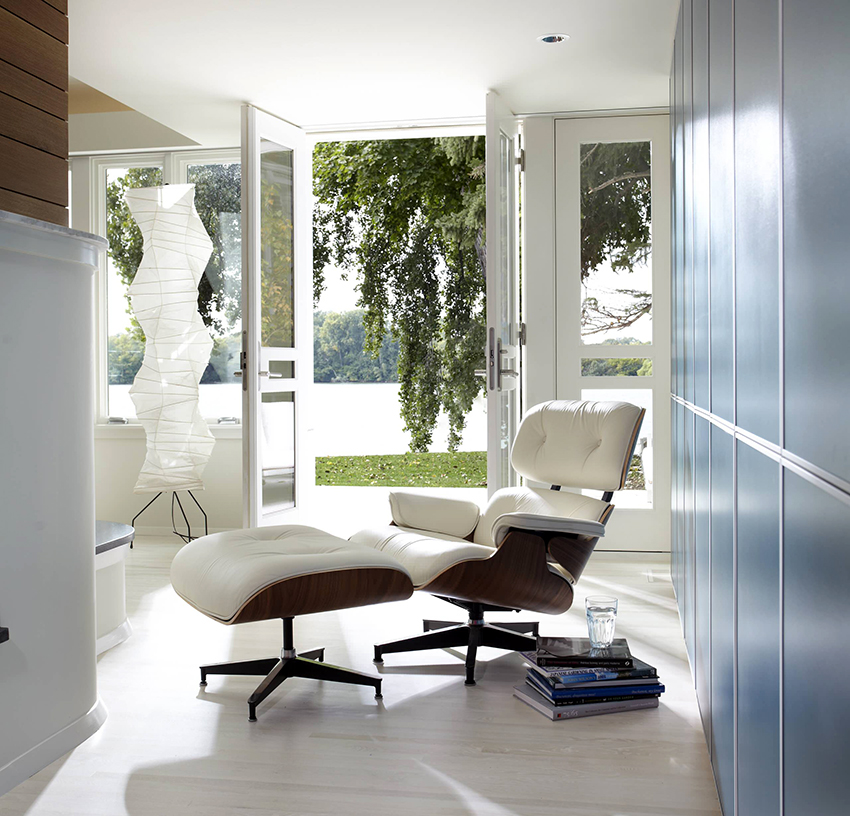
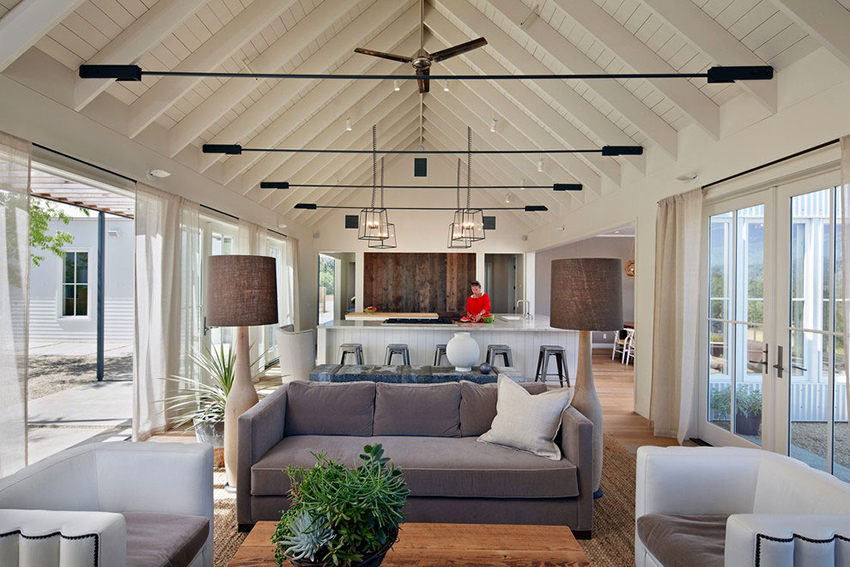
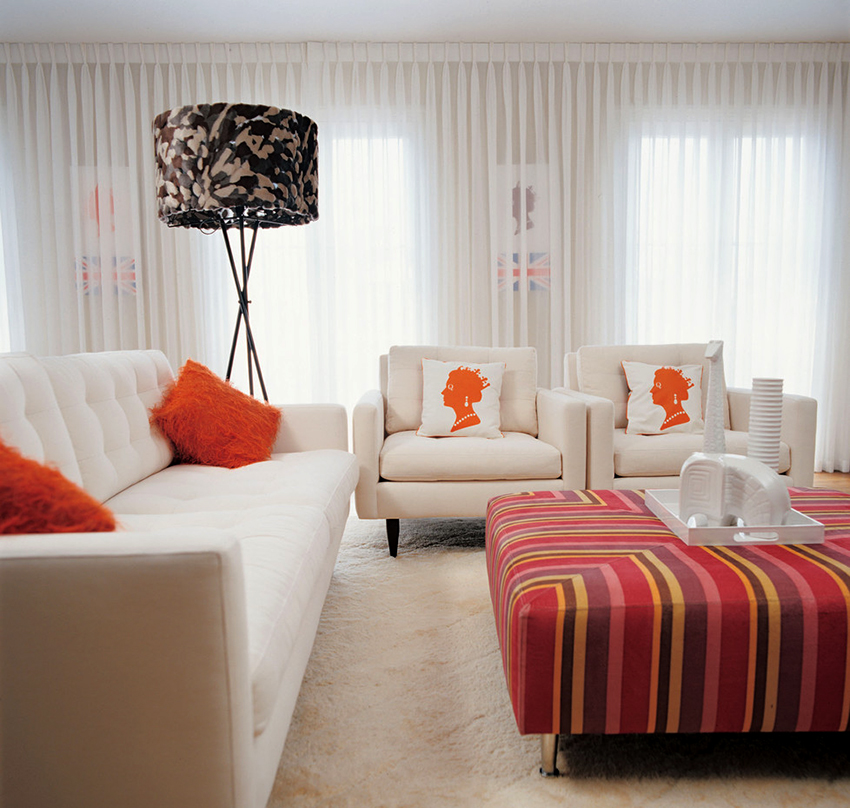
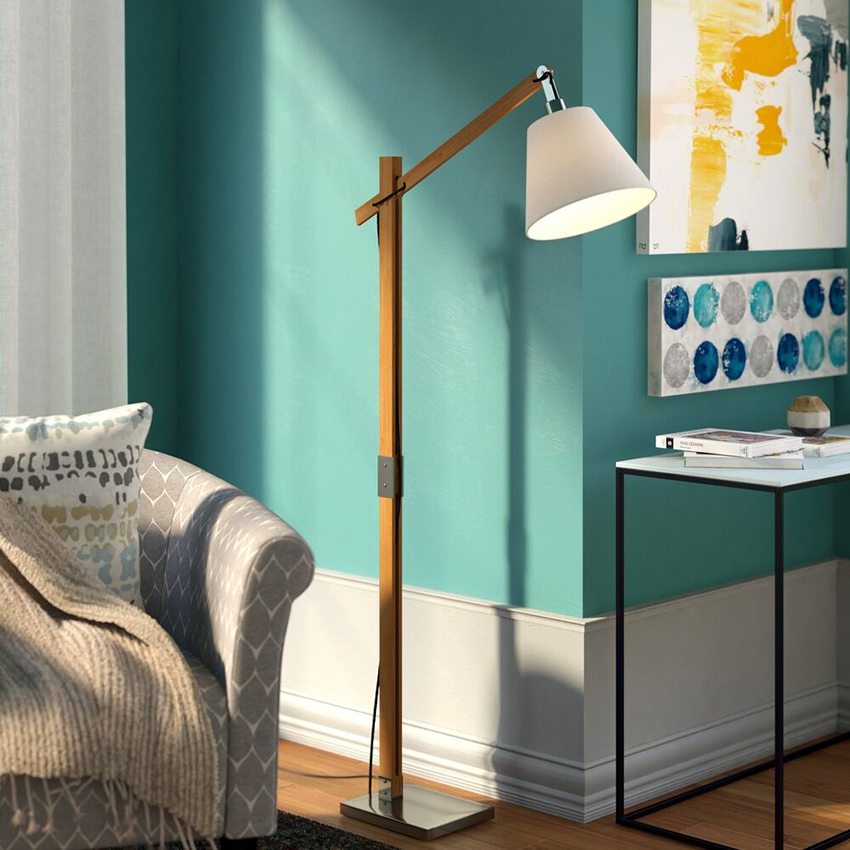
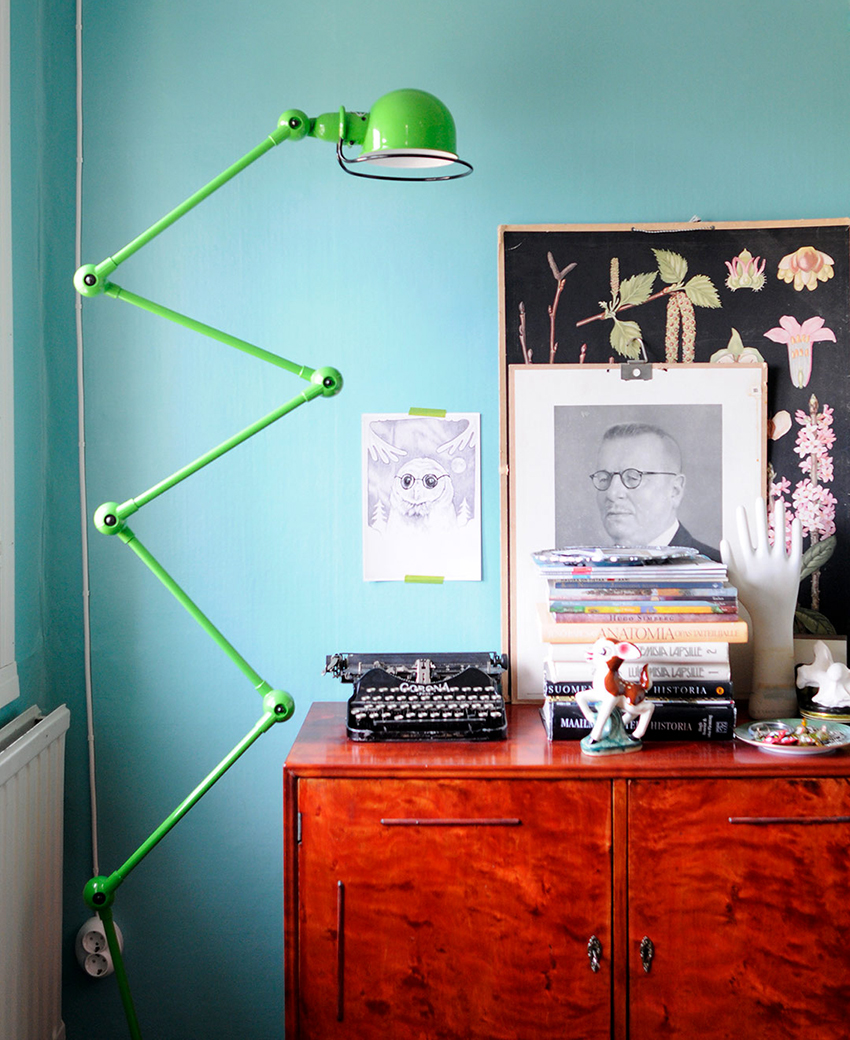
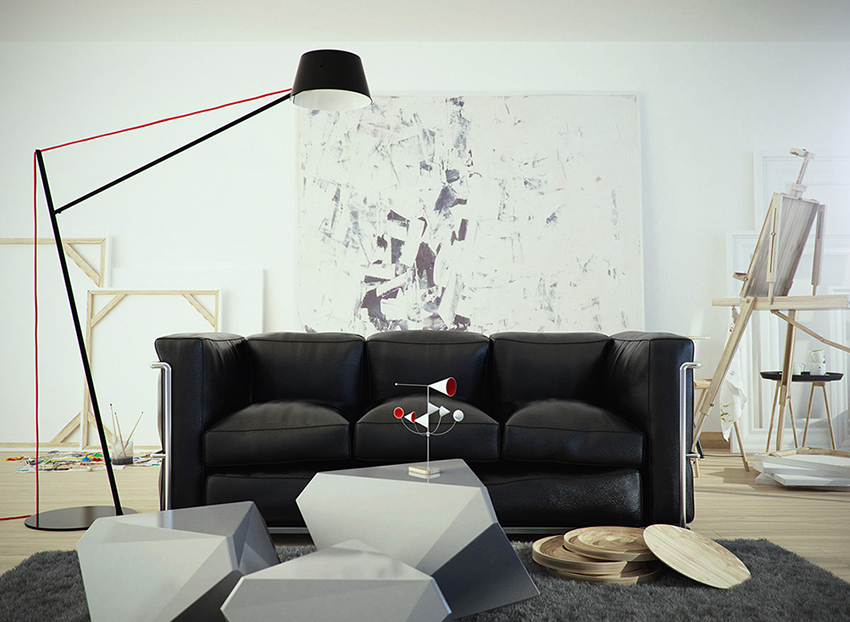
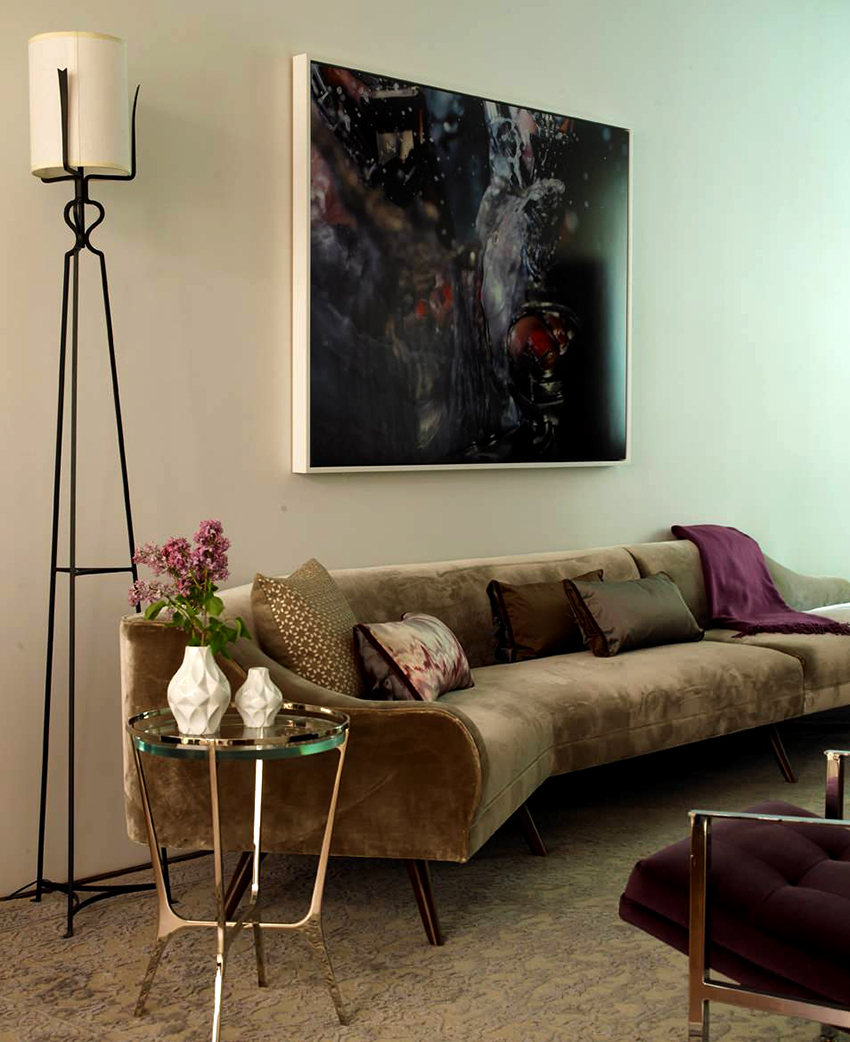
The main ceiling lamp is not always able to provide the room with full lighting. Additional lamps installed in the right places will help to fill the lack of light. One of these options is a floor lamp, which will not only illuminate, but also fill the room with comfort. You can make a floor lamp with your own hands, because it is in this case that the lamp will perfectly fit into the atmosphere and emphasize the individuality of the room.

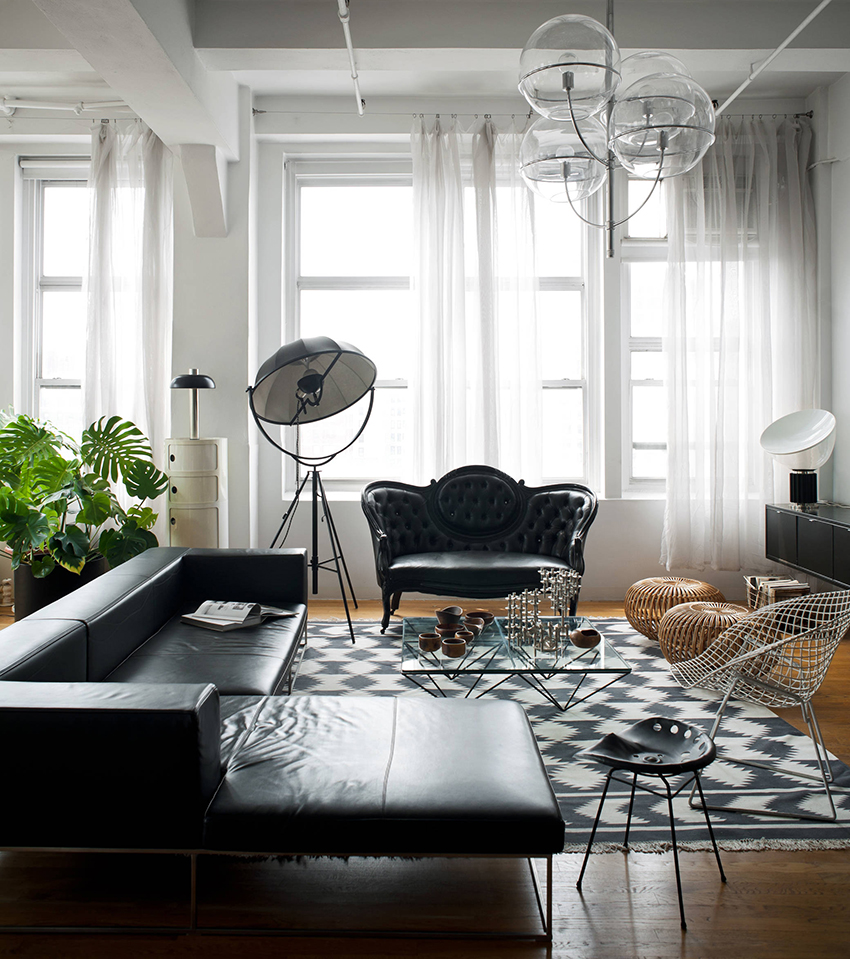
The floor lamp creates additional lighting, zones the space and serves as a design decoration
Content
- 1 The main advantages of a DIY floor lamp
- 2 DIY floor lamp: how to make the base correctly
- 3 Beautiful do-it-yourself floor lamps: photos and features of choosing a light bulb
- 4 How to make a lampshade for a floor lamp with your own hands
- 5 Features of making a floor lamp from Isolon with your own hands in the form of a flower
- 6 What is a self-made foamiran floor lamp
The main advantages of a DIY floor lamp
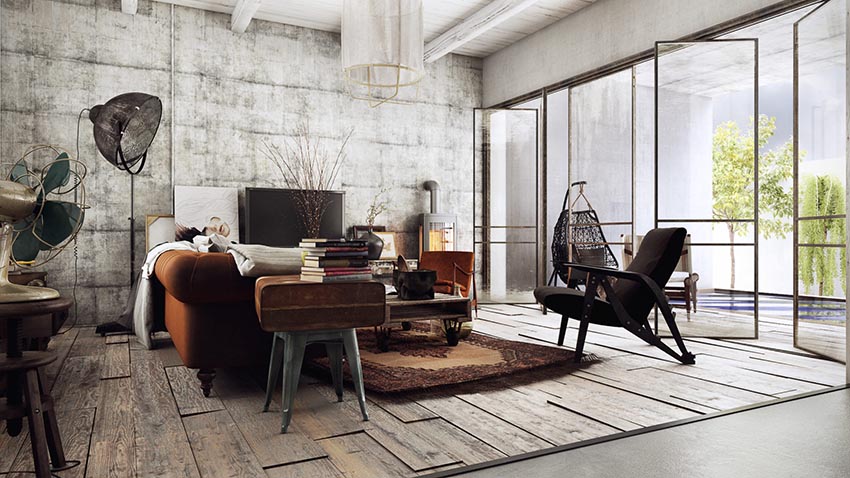
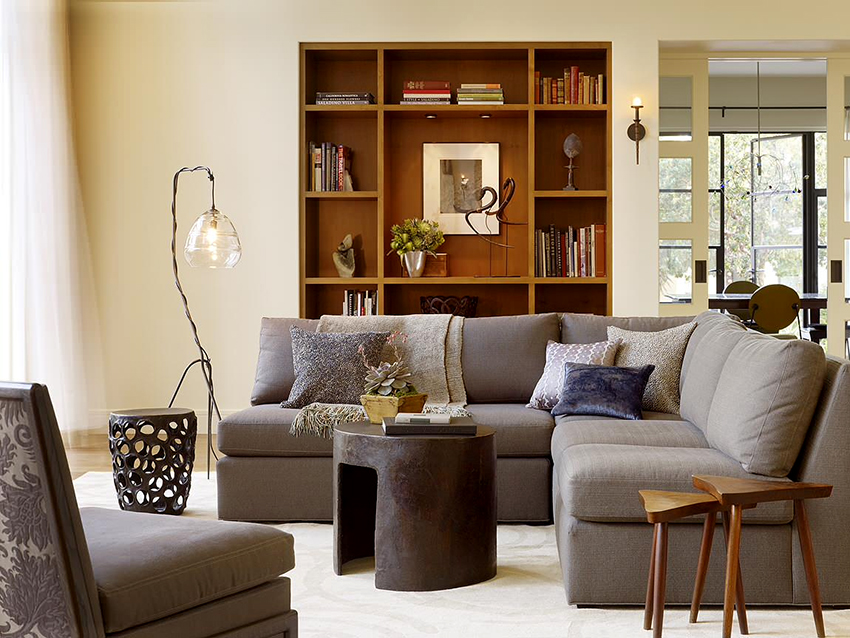
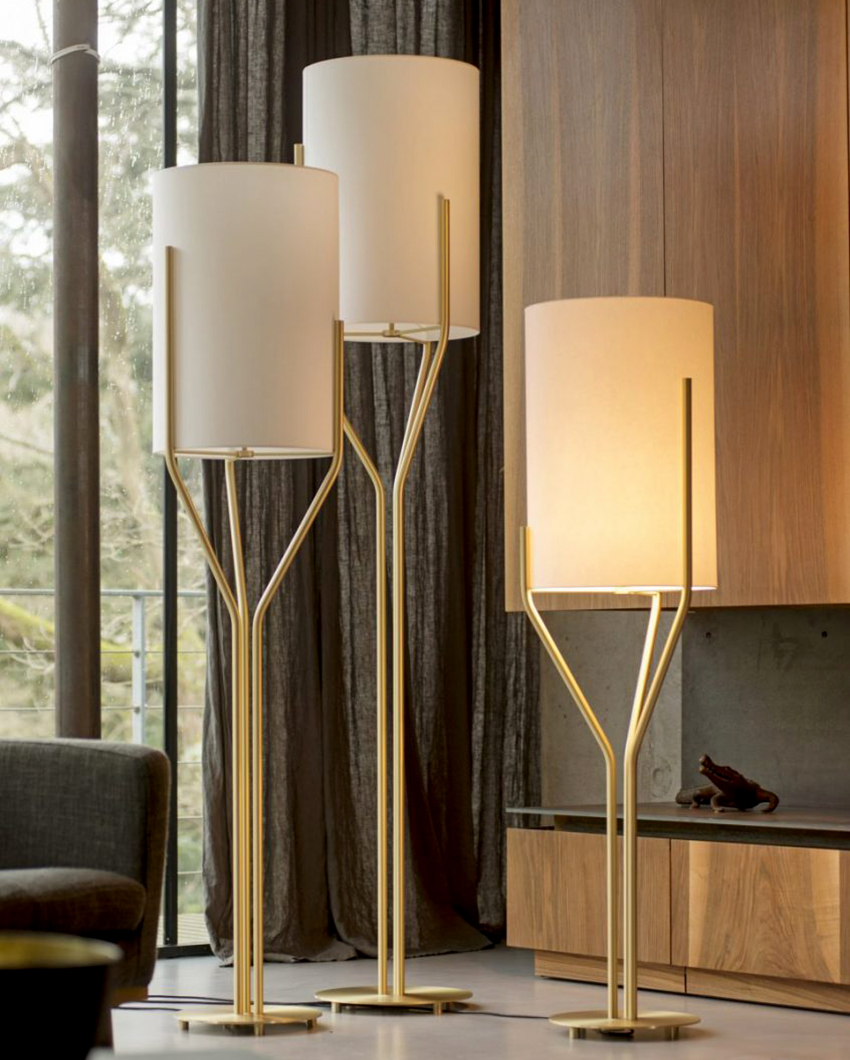
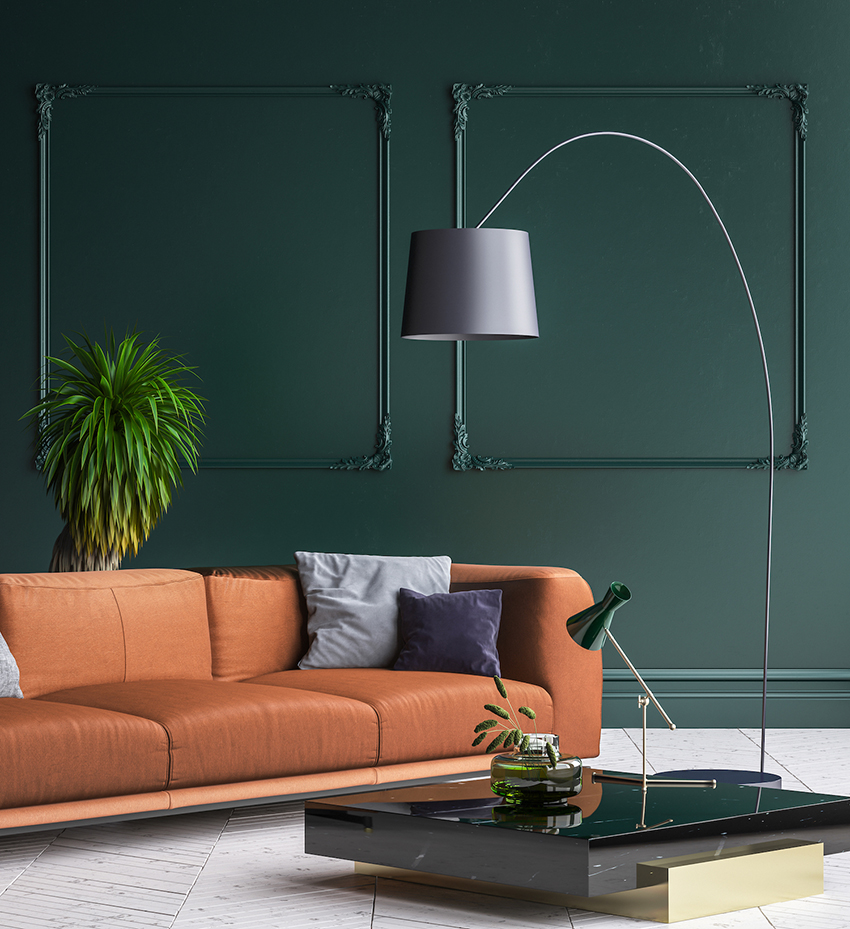
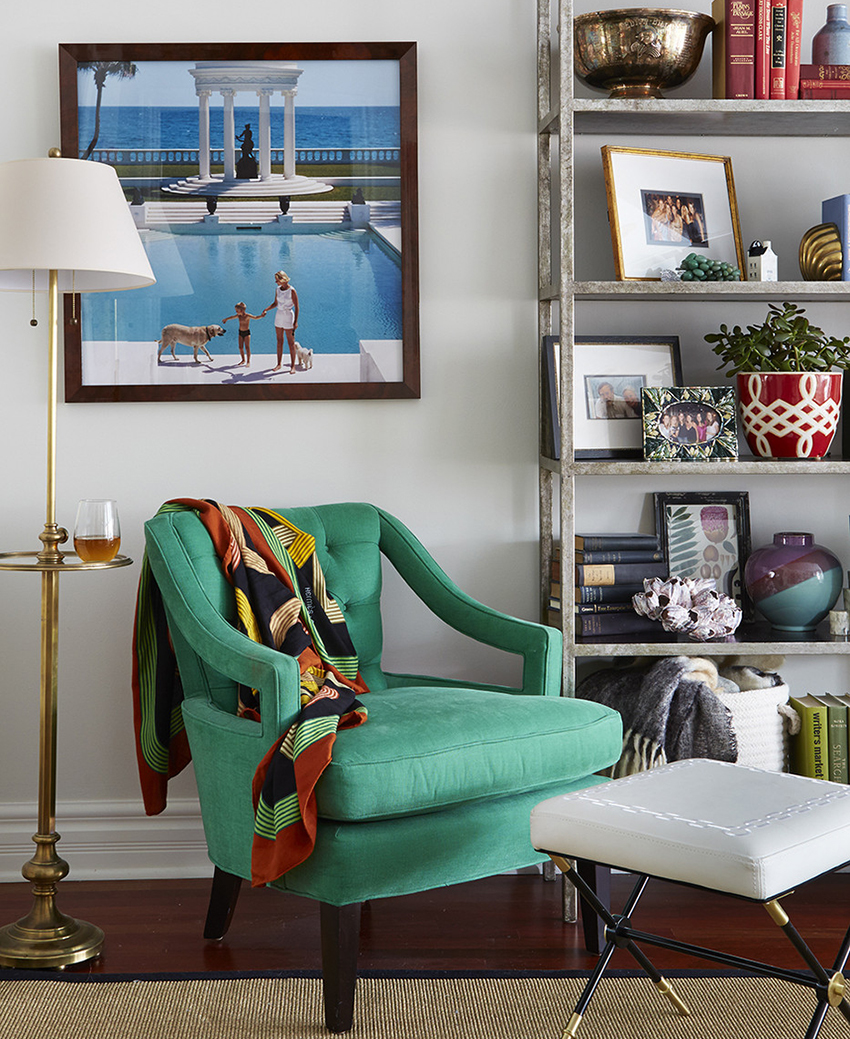
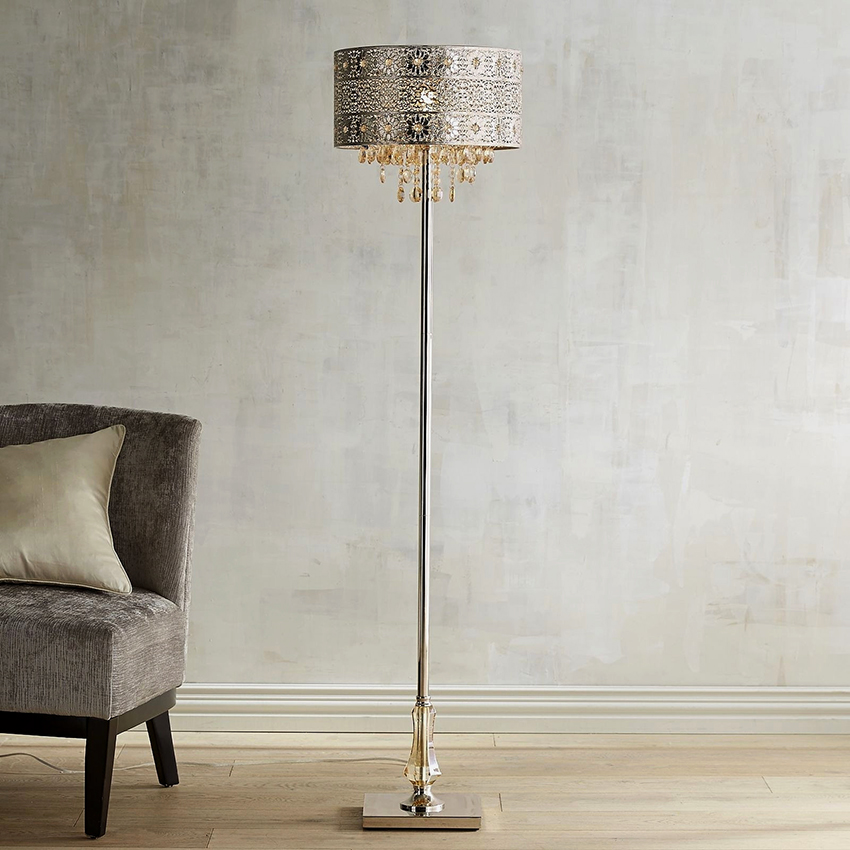
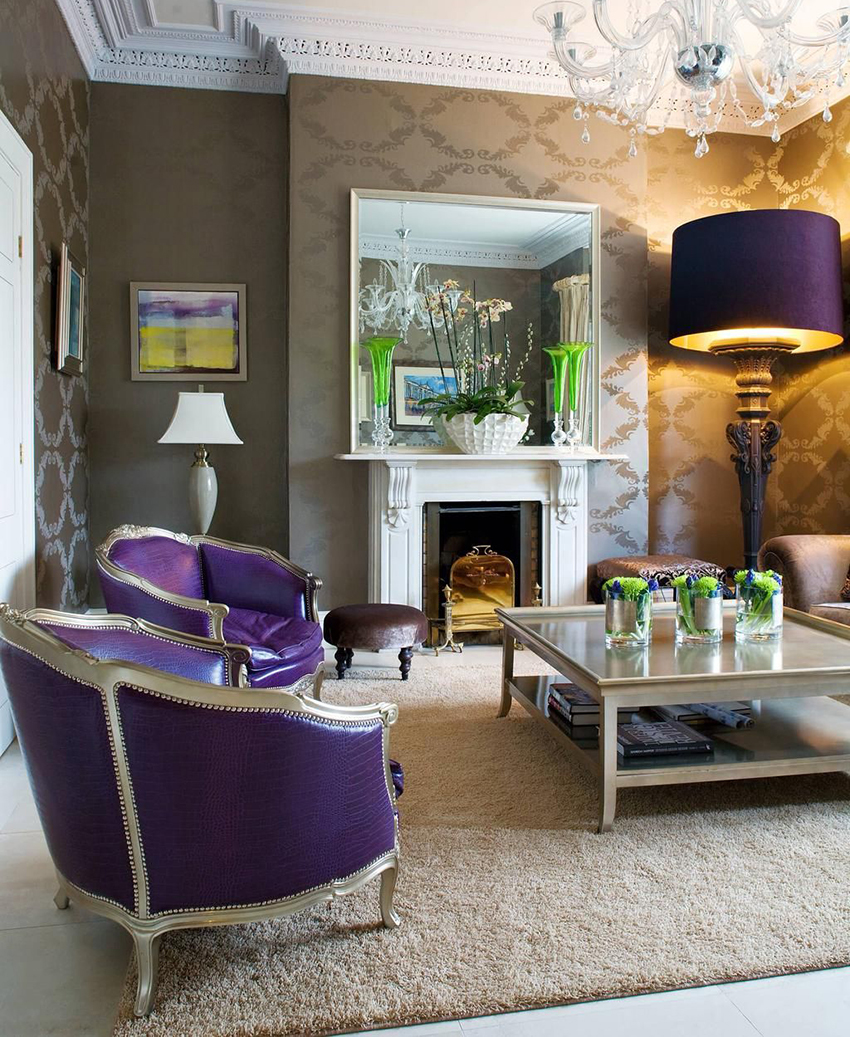
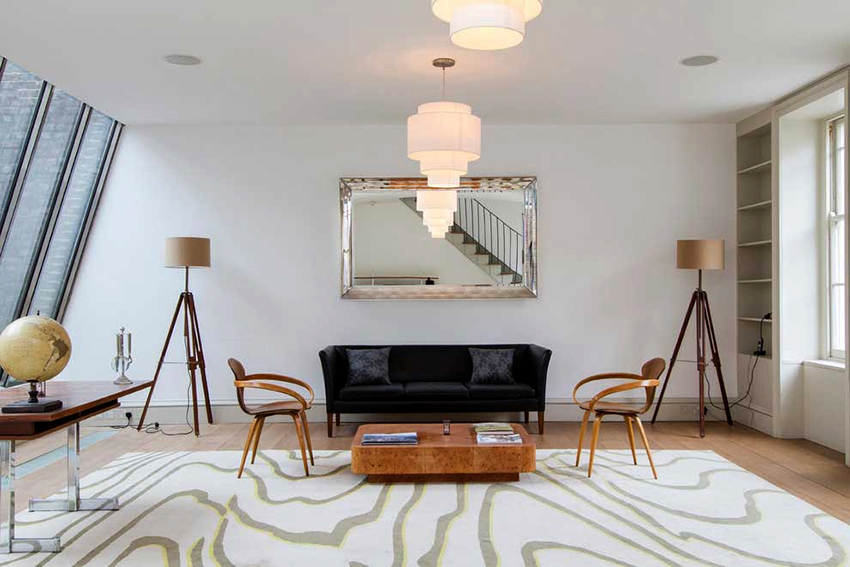
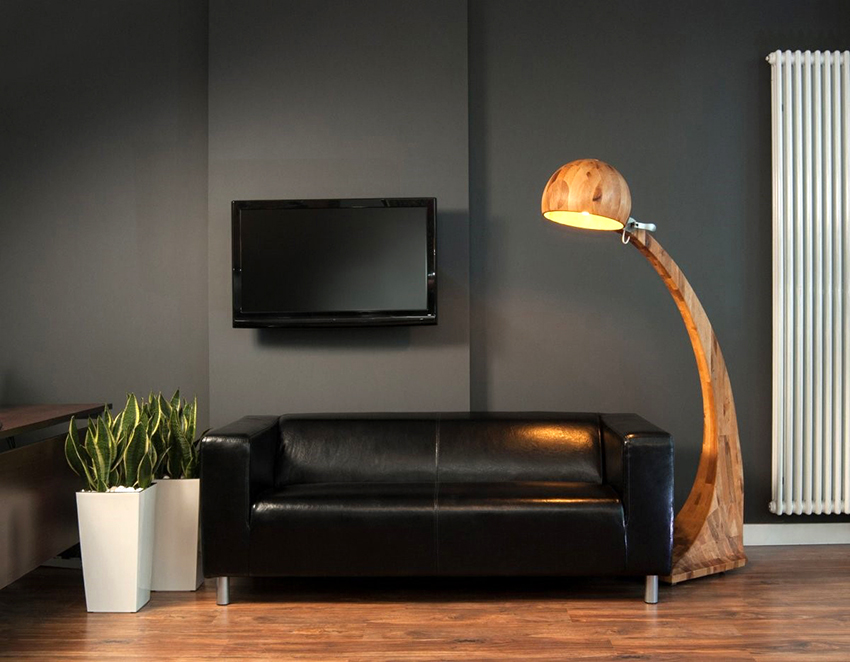
Floor lamps are considered one of the most successful options, allowing not only to complement the interior, but also to correctly organize lighting. A self-made floor lamp fills the room with warmth, and most importantly, it illuminates the part of the space that is needed. By itself, the classic design of the luminaire looks like a stable base with a rod attached to it. The most noticeable and significant part of the device is the lampshade, the performance of which will determine the belonging of the device to any type or style.

By creating a floor lamp with your own hands, you can save money
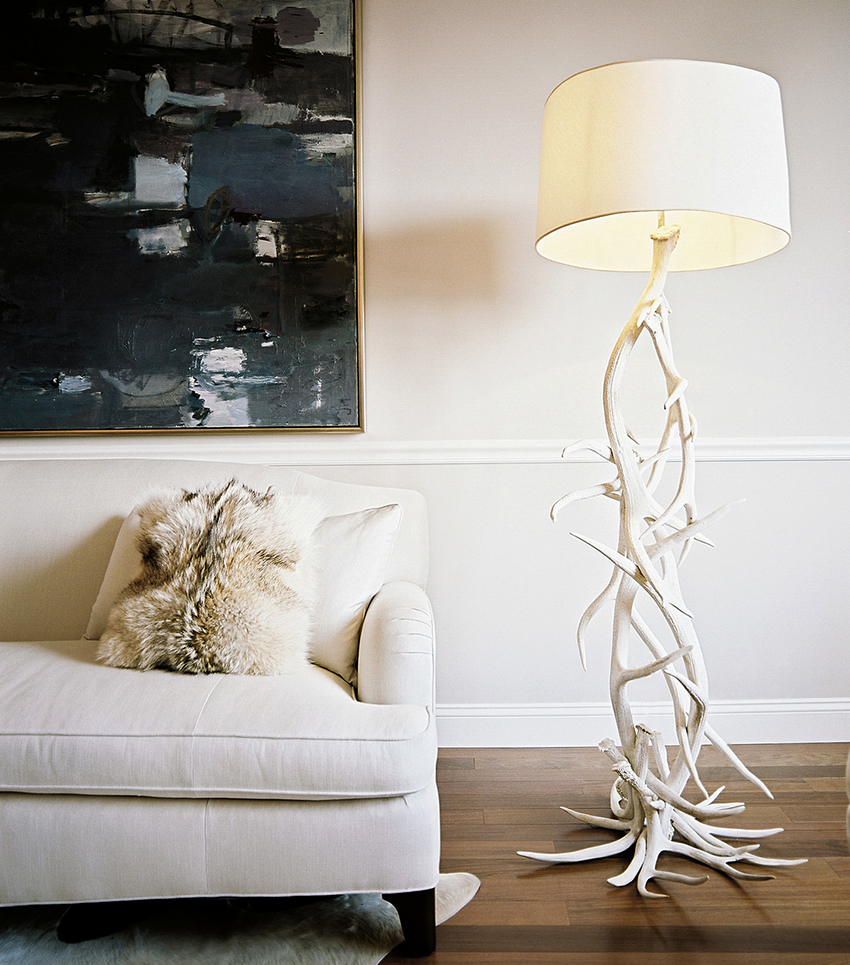
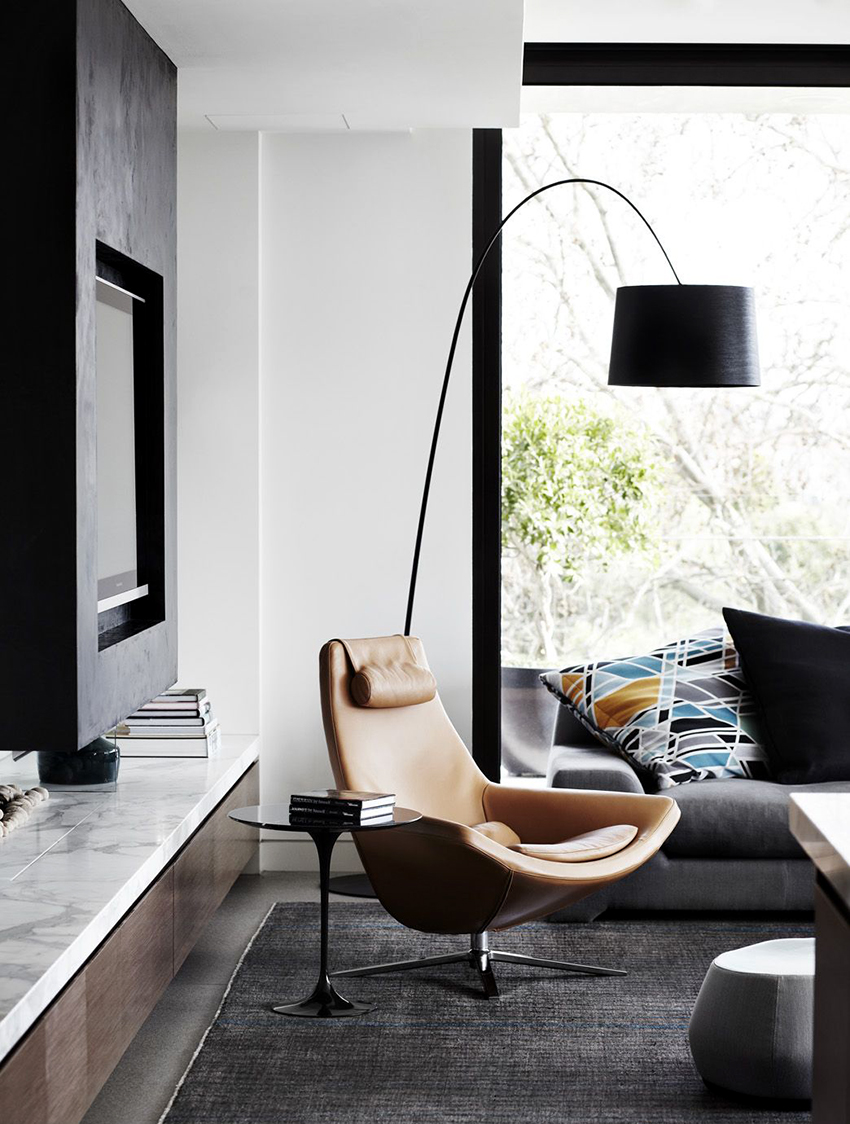
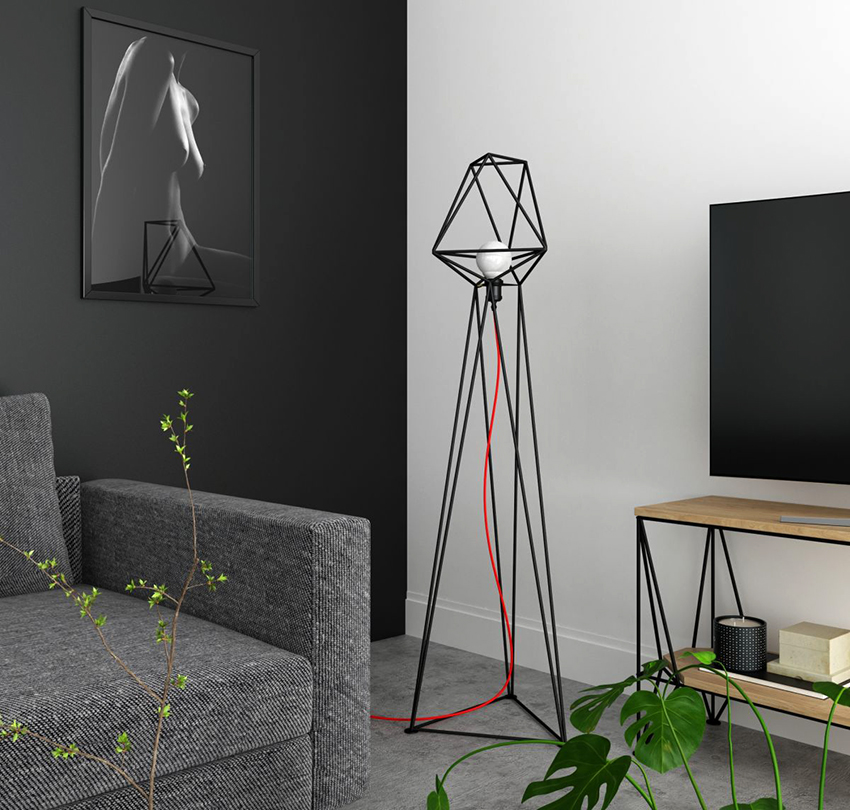
Helpful information! The classic shape of a floor lamp, which is a lampshade located on a high rod, is not considered the only one today. Modern floor lamps can be without a lampshade. Nowadays, floor lamps with a table or devices with a completely closed shade, creating a romantic light, are very popular.
To make a floor lamp with your own hands, you need to select the desired material, which can be searched among old things in the country or attic, and also purchased in specialized stores. The main advantages of using floor lamps include:

A DIY floor lamp will be absolutely exclusive
- Mobility. Despite the massive construction, the device can be easily moved and rearranged depending on needs.
- Energy saving. If you choose the right light bulb and the shape of the shade, the light from the floor lamp will be enough to illuminate the entire room, which allows you not to use the main ceiling light, for which several bulbs are often used.
- Easy way to connect.The design features make it possible not to bother with the connection methods and allow you to turn on the device using a cord directly into the outlet, which cannot be said about wall sconces or chandeliers that require preliminary wiring.
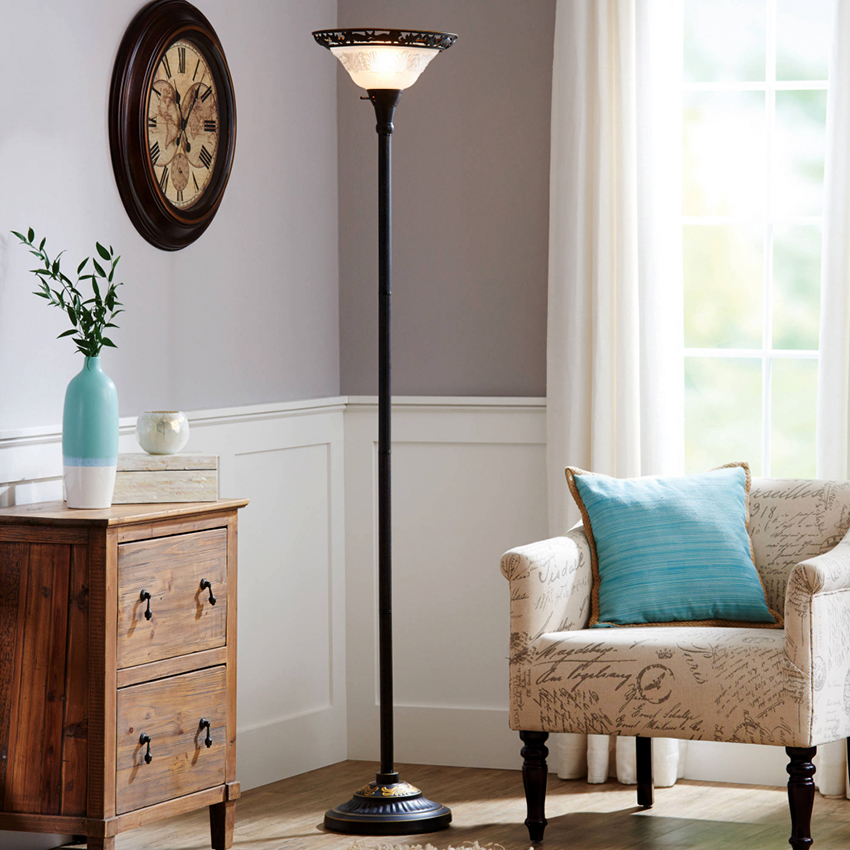
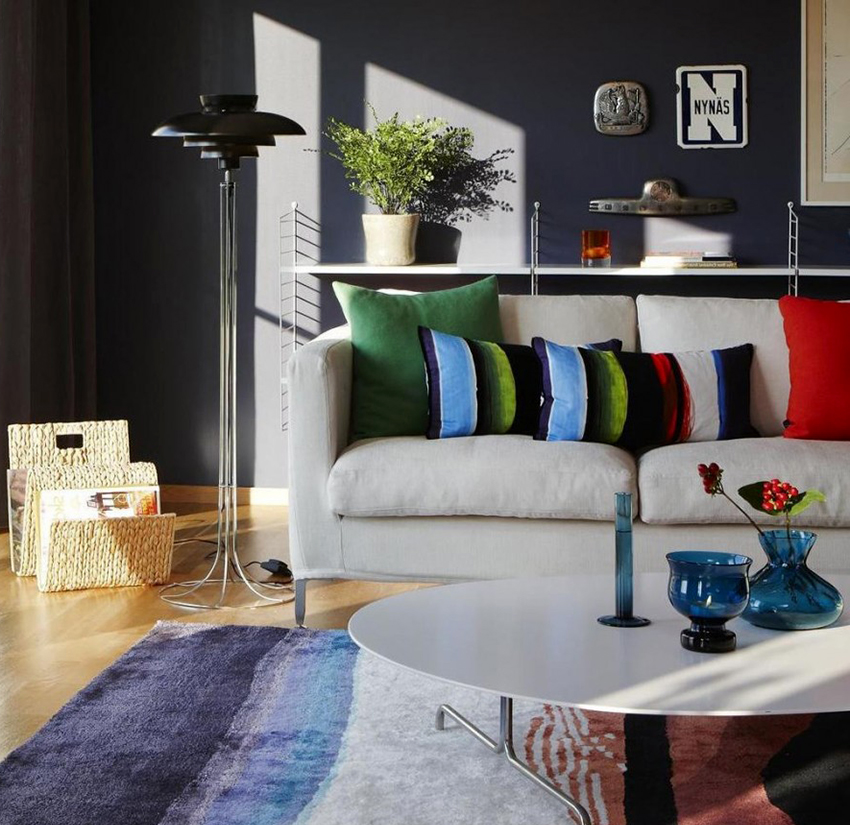
- Using directional light. Most floor lamps provide soft lighting that is pleasing to the eye.
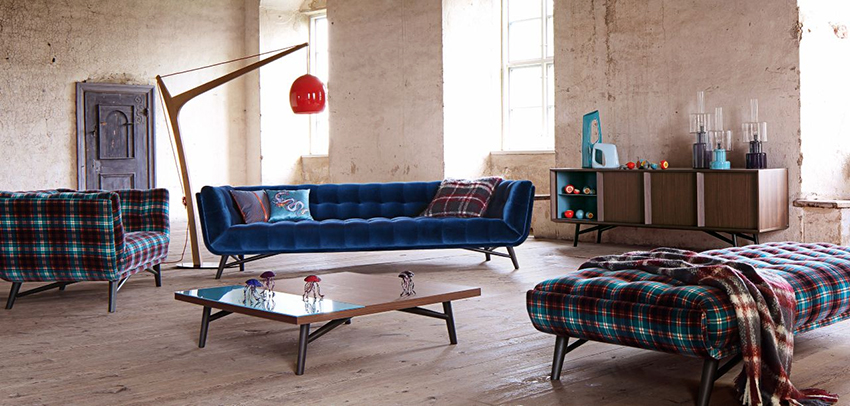
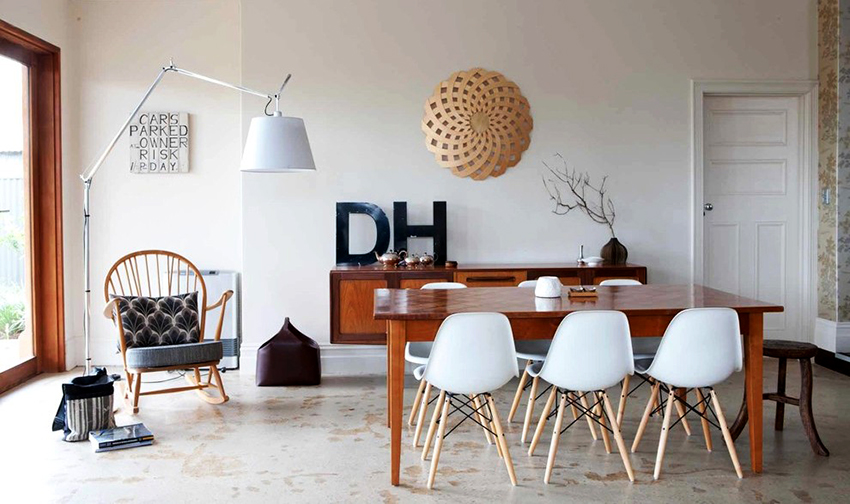
- Can be installed in any interior. Do-it-yourself floor lamps from scrap materials are easy to fit into any interior, the main thing is to choose the right color, shape and type of construction.

The product created by yourself will be exactly the way you want
In order not to be mistaken with the choice of the type of lamp, before making a floor lamp with your own hands, you should determine its main function. If the main purpose of using the device is decorative, then more attention is paid to the appearance, which should become an integral part of the interior. If the main task of the floor lamp is lighting, then it is necessary to correctly choose the shape and color of the shade, take into account the optimal height of the bar and correctly approach the technical side of the issue, especially when it comes to choosing a light bulb.
Another advantage can be considered the versatility of the device, because it can be used in any room, even in the hallway or corridor. It is important to correctly determine the dimensions so that the device does not interfere with free movement around the room.
DIY floor lamp: how to make the base correctly
Before making a floor lamp at home, it is recommended to first draw up a sketch of the intended product, in which you need to reflect not only the desired design, but also the height of the leg, the shape of the ceiling. First, you need to choose a specific place where the lamp will stand most often, and transfer the measurements to paper. The tools that may be needed in the manufacture include:

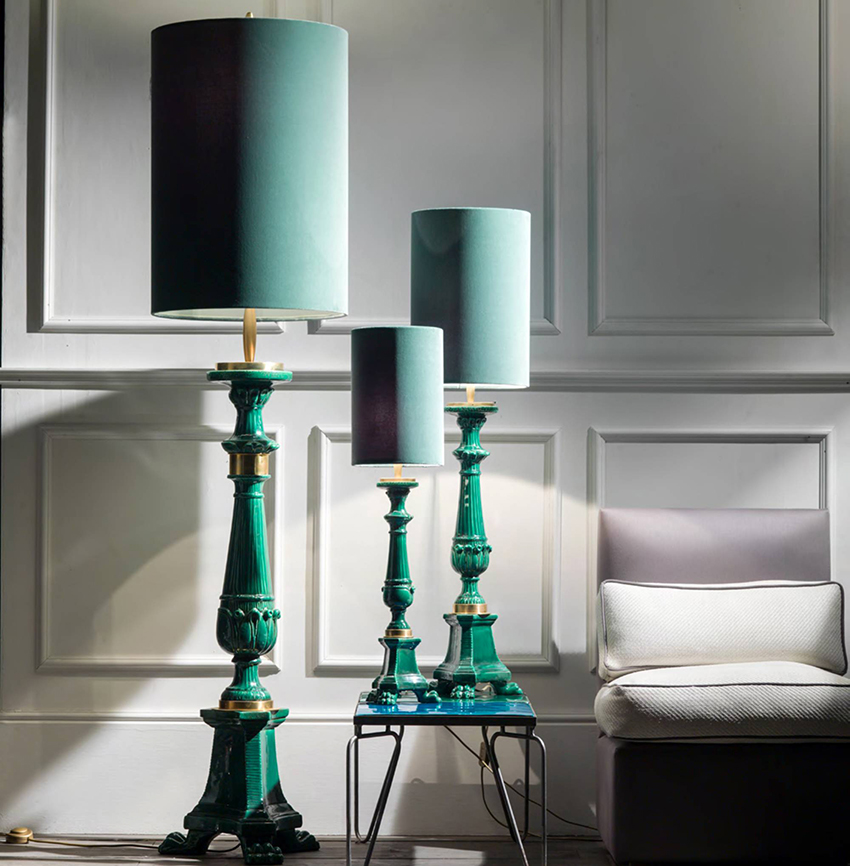
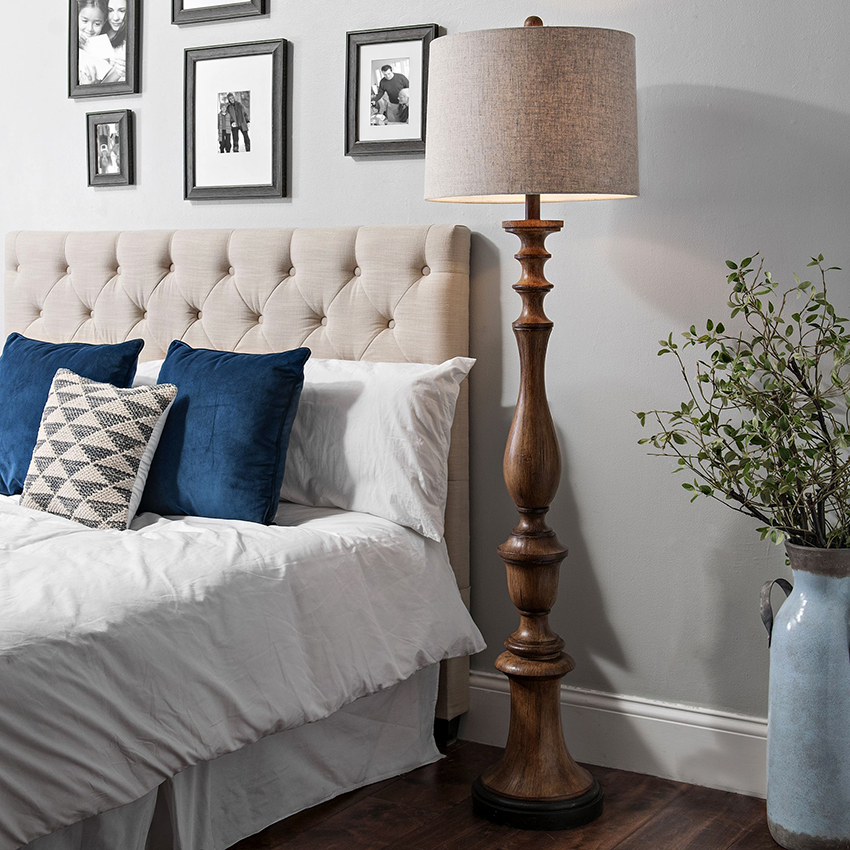
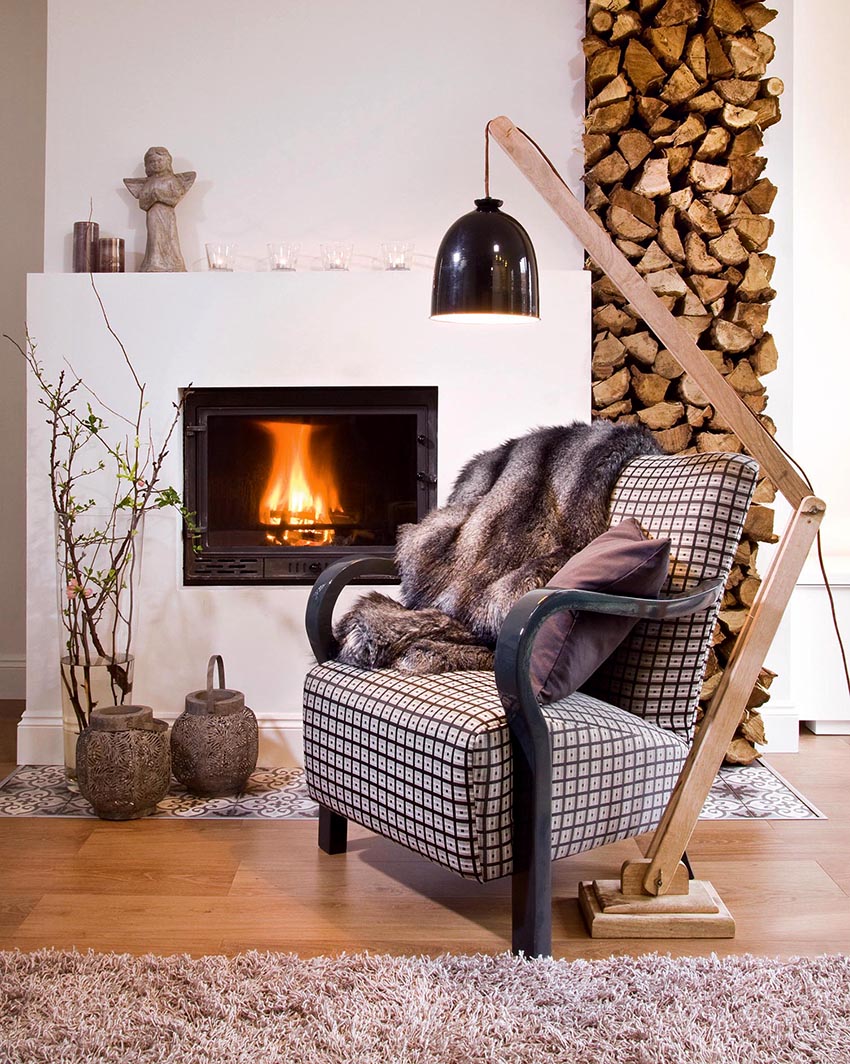
If you have the skills, you can make a base of wood on hinges
- scissors;
- tape measure or ruler;
- pencil;
- screwdriver or screwdriver;
- glue;
- jigsaw;
- drill;
- stationery knife.
In addition, you will additionally need to prepare the material from which it is planned to make the frame and lampshade. Of the special elements, one can single out the fastening system, elements for connecting to the mains: cable, plug, socket, light bulb. Separately, you should think about the development of a base that will serve as a reliable support for the lamp and determine its stability. It is important to understand that the device must stand firmly on the floor, therefore the base must be not only strong, but also heavy.

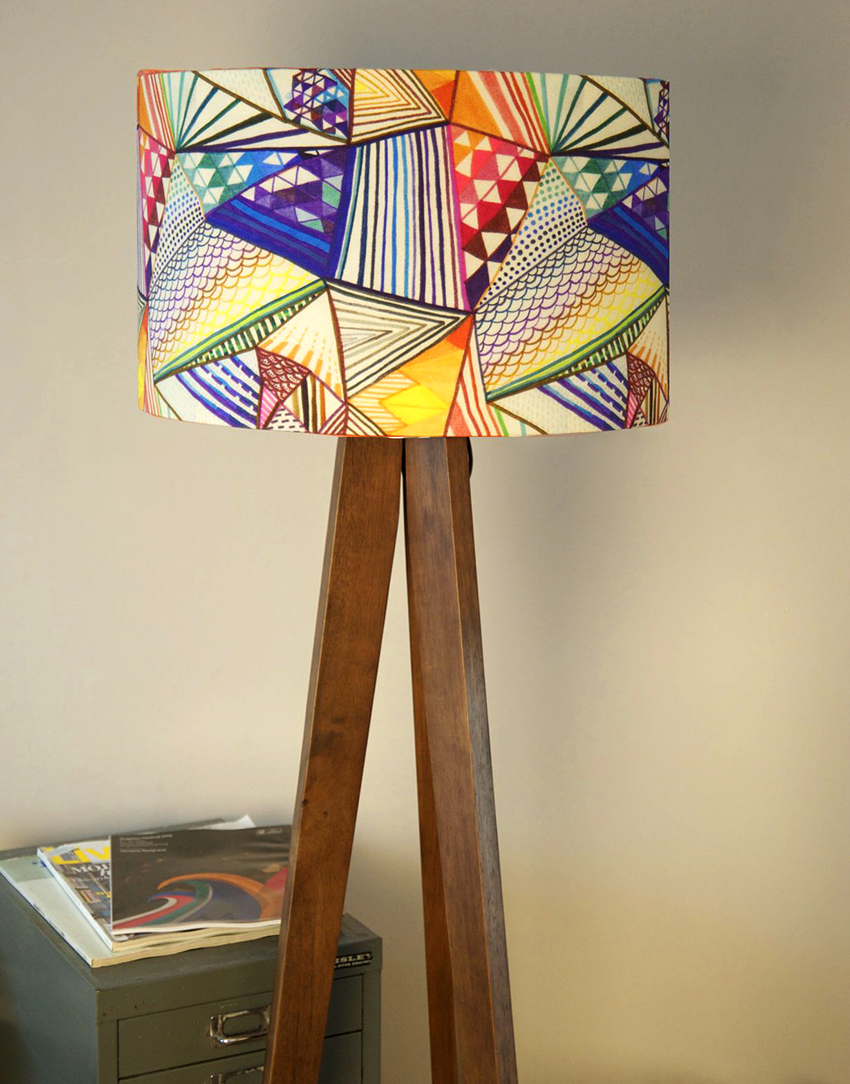
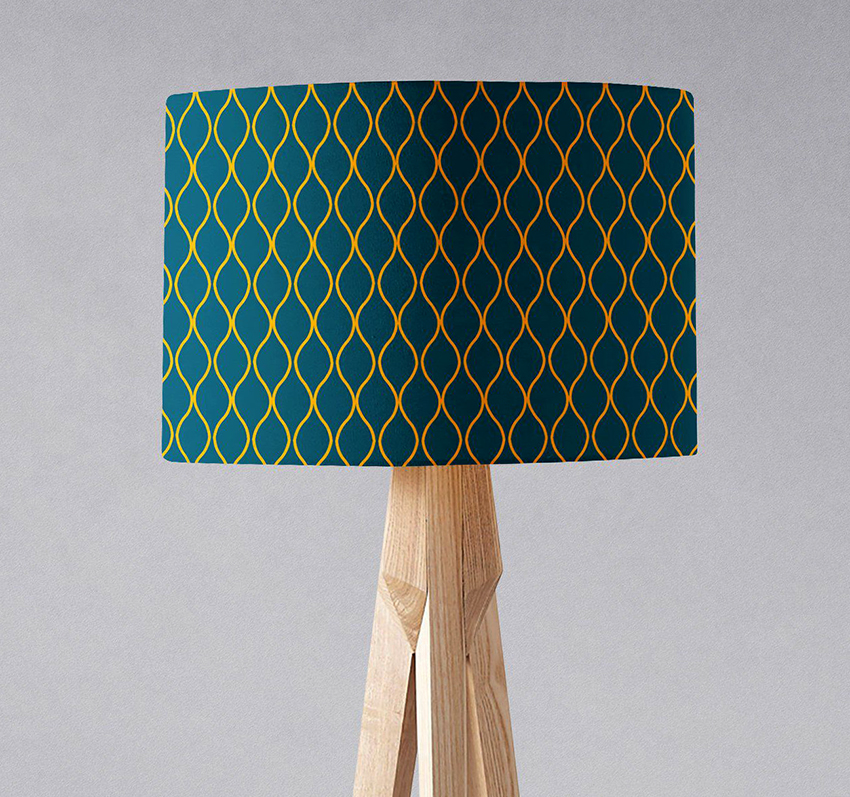
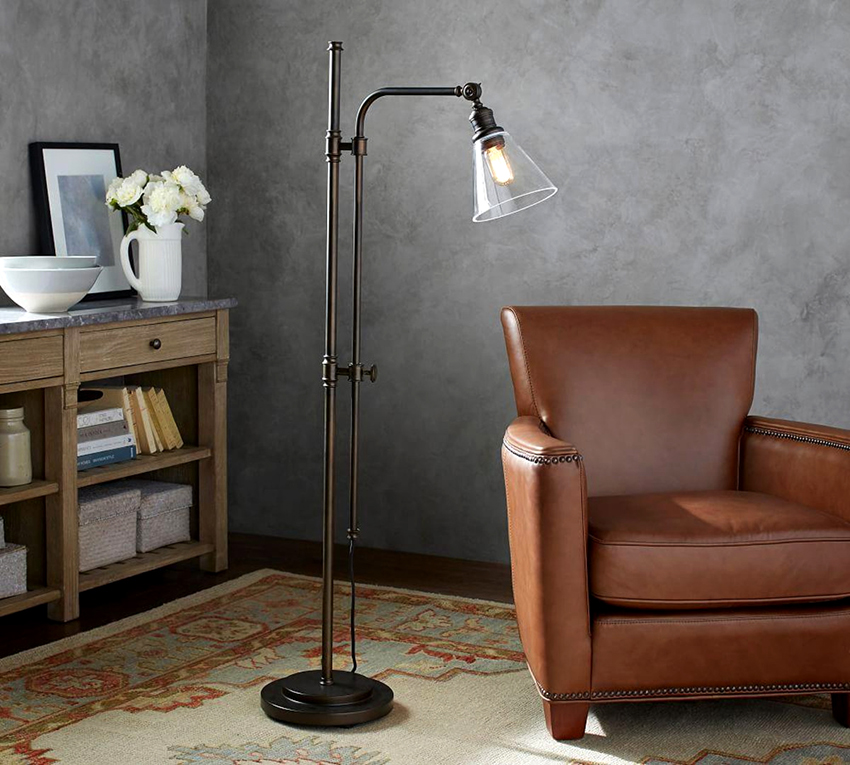
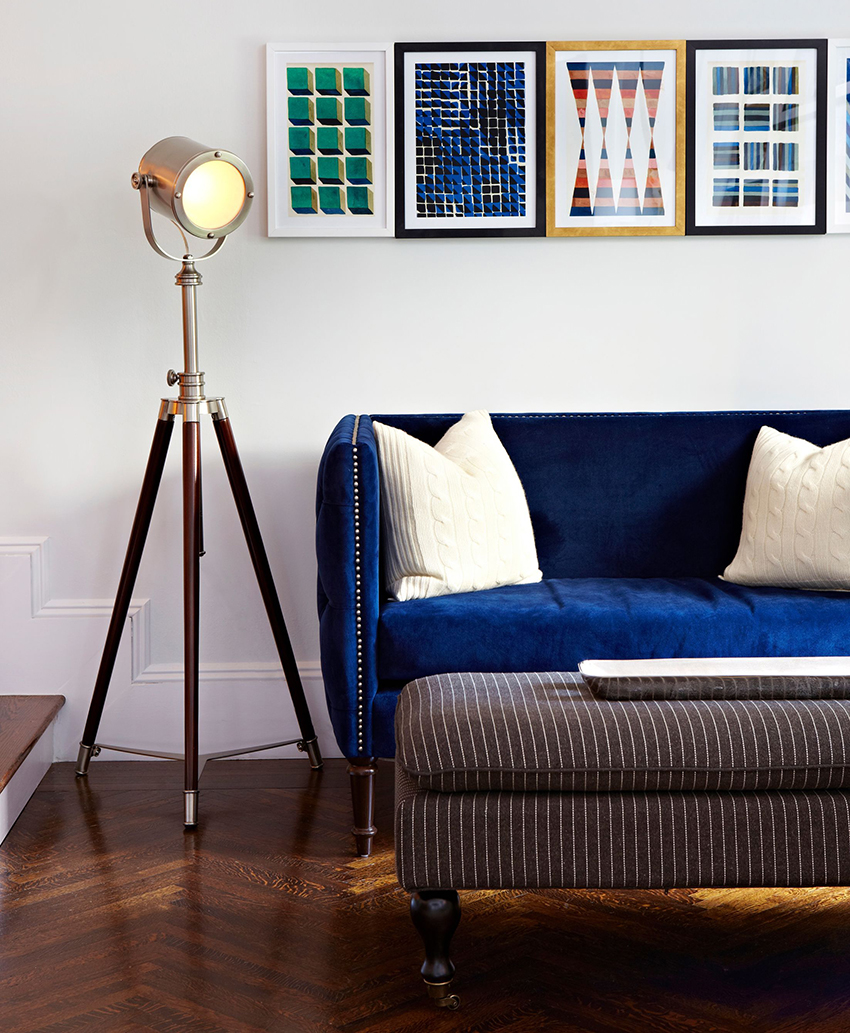
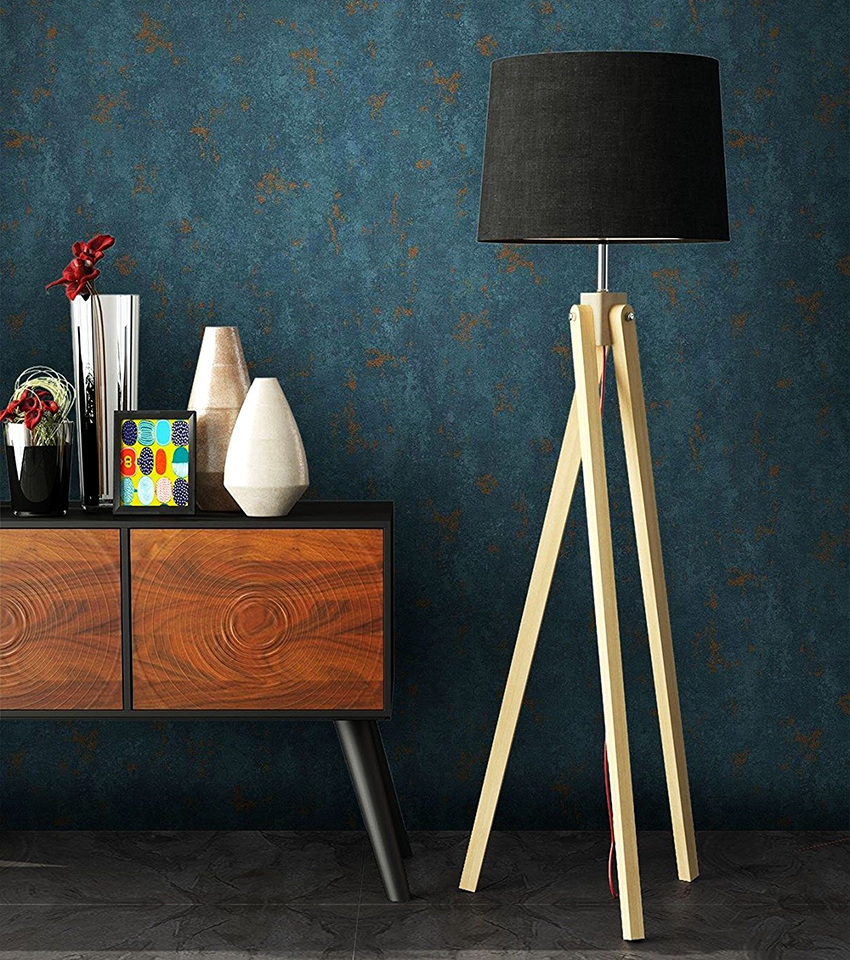
A tripod-tripod will look original as a basis.
To make a wooden base for a floor lamp, you can take a piece of a log or glue together several rectangular bars and then give the blank the required shape using a jigsaw. To make the detail look attractive, it must be sanded well until smooth, and then opened with a special impregnation that will highlight the texture of the wood. Also varnish or paint of the desired color is suitable for this purpose.
Plaster is considered another popular material for creating a base for a frame for a floor lamp with your own hands. Moreover, the production process is quite simple. For manufacturing, you just need to take gypsum diluted with water and pour it into the mold, where the lamp leg was previously fixed. For this purpose, you can use a split baking dish, which will then be easy to clean. The plaster blank is almost perfectly white, which allows you to repaint the product in any shade you like.
Useful advice! So that cracks do not quickly appear on the gypsum base, it is recommended to mix PVA glue into the mixture of water and gypsum. In this case, it is better to add more water to the solution.

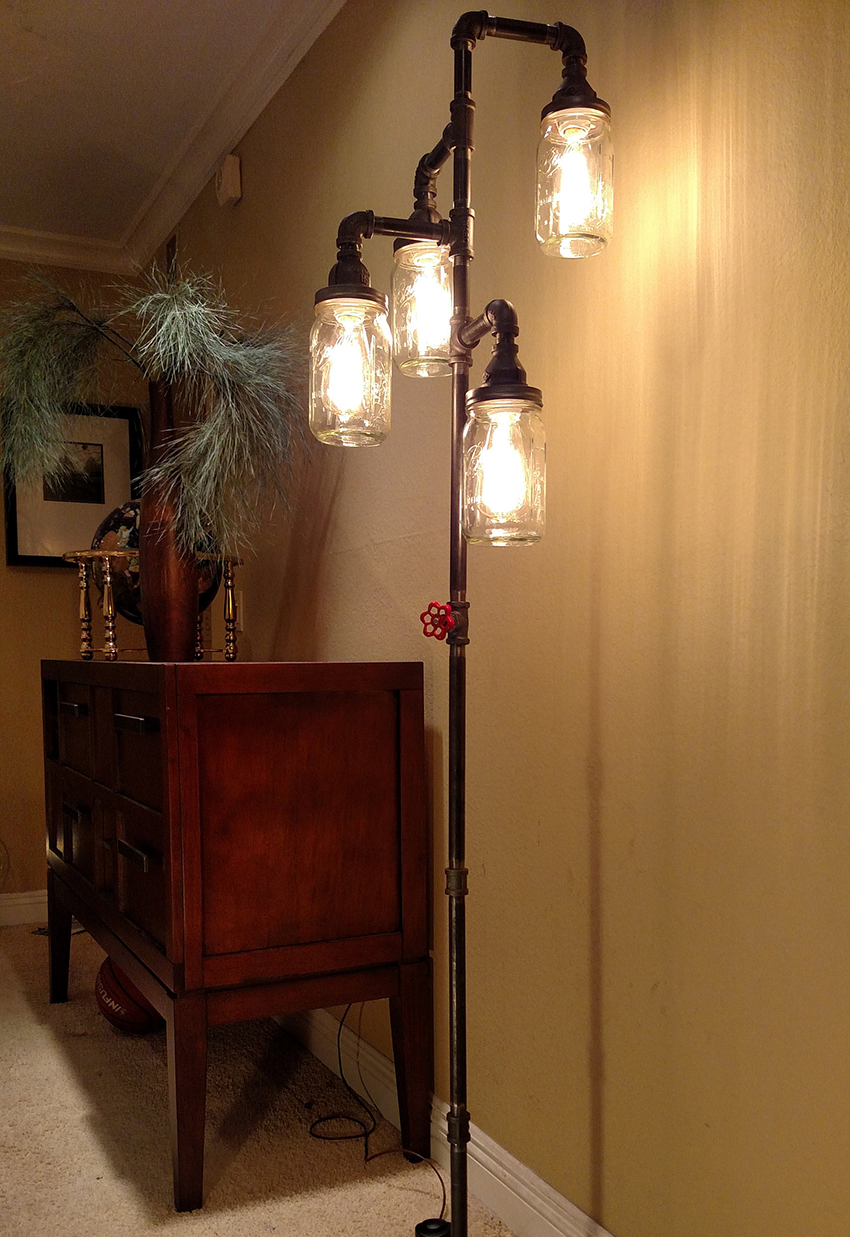
In fact, you can use any materials at hand for the base.
In general, for making a lamp with your own hands, you can use various elements and materials that are at hand. Also, master classes that offer to give a second chance to floor lamps that have lost their appearance, or those that have ceased to match the appearance of the room, are especially popular on the network. The base of the luminaire is a hollow or one-piece rod made of metal, plastic or wood. Hand-made tripods made of metal or wood are especially convenient.
A lamp holder is easy to buy or you can take this part from another unusable lamp. The most commonly used base is E27, which is considered standard. Depending on the type of lamps used in the apartment, you can choose another base - E40, E14, or a bayonet version suitable for connecting LED lamps.
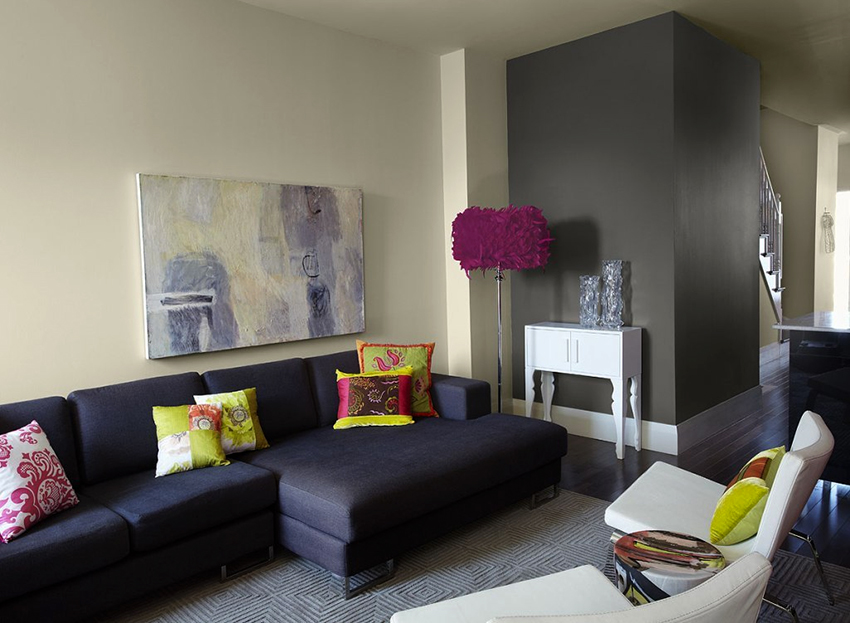
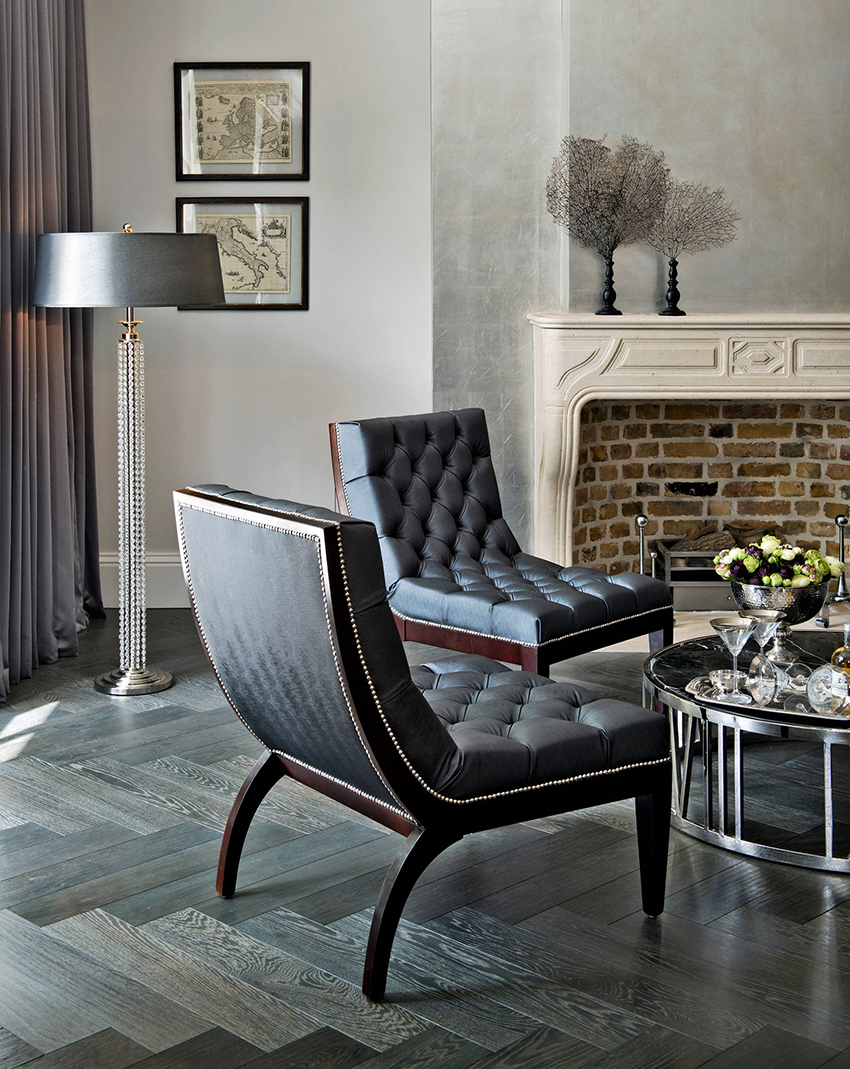
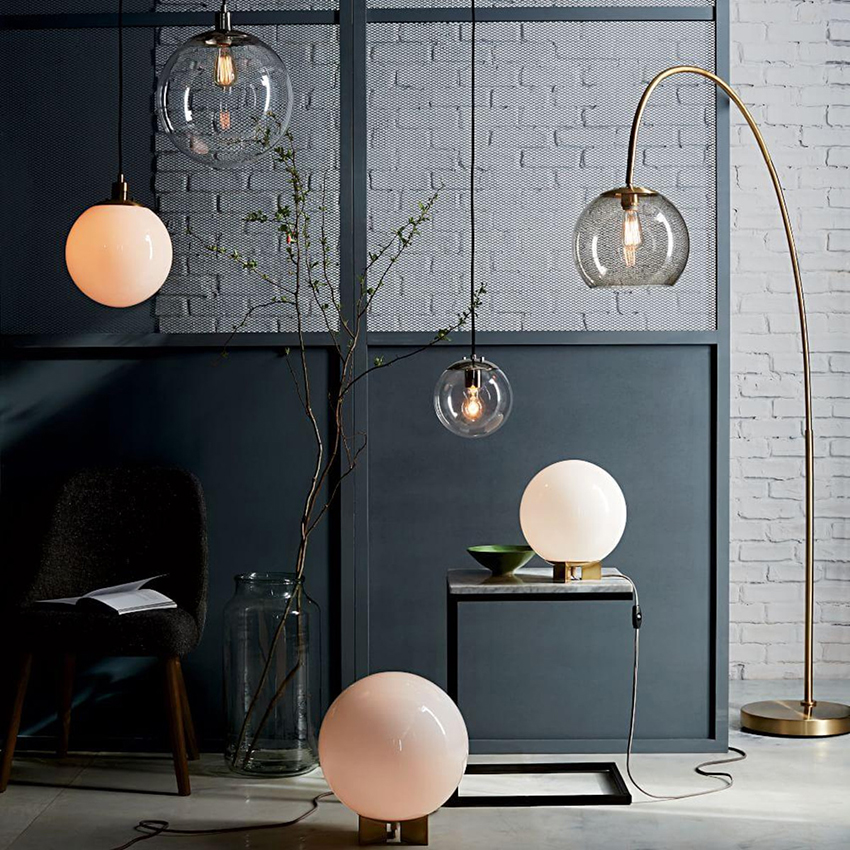
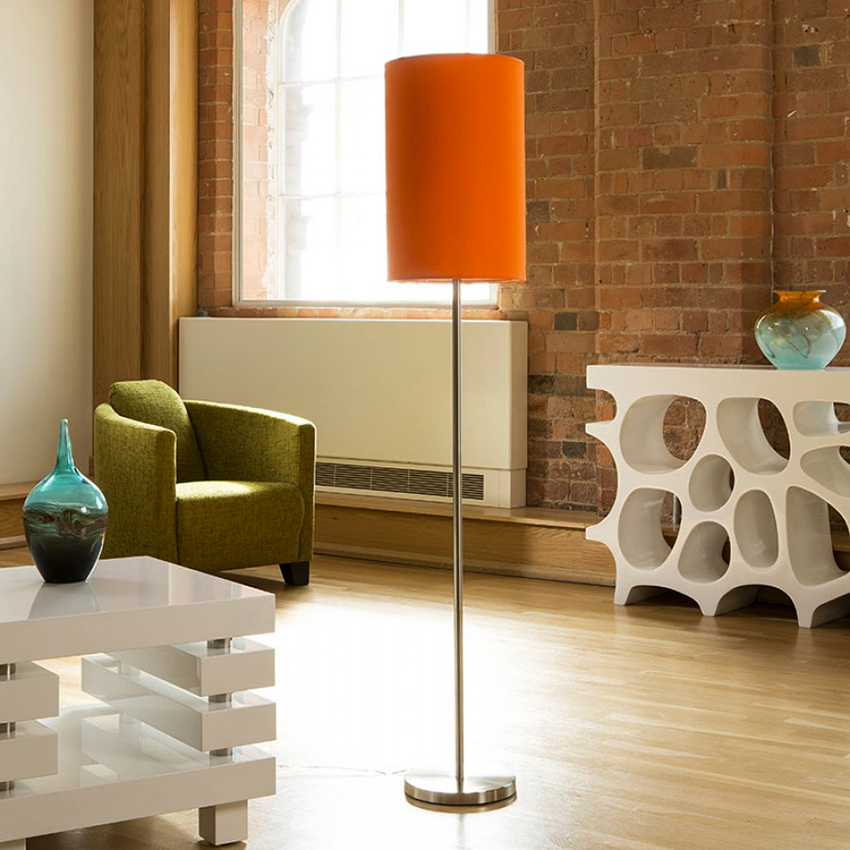
Beautiful do-it-yourself floor lamps: photos and features of choosing a light bulb
No self-made plafond for a floor lamp or the lamp itself will be of no use if the bulb is not correctly selected for it. You should not insert the first available option into a homemade device, because many factors affect the choice of the type of light bulb:

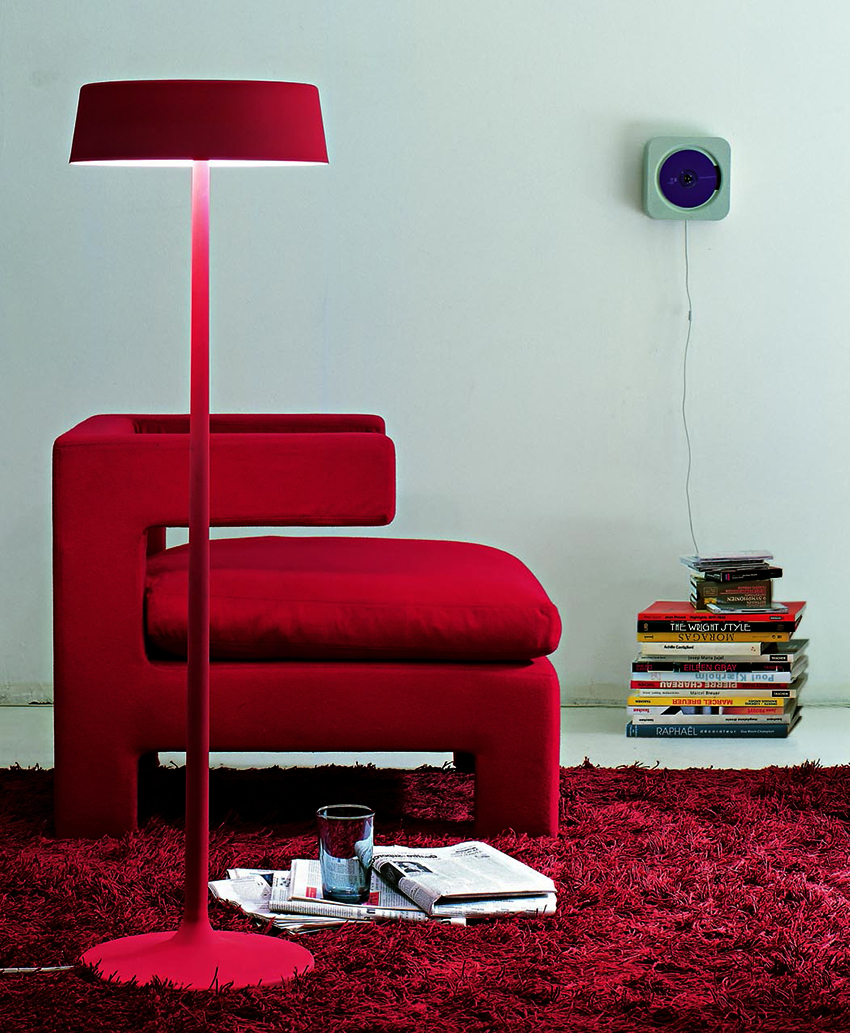
First of all, the choice of a light bulb will depend on the purpose of the floor lamp and the area of the room.
- the purpose of the floor lamp;
- shape and parameters of the room;
- plafond size;
- material used to make a lamp.
The first thing that determines the quality of lighting is the power of the light bulb. On average, bulbs from 40 to 120 watts are chosen for lamps. It should be borne in mind that the higher the indicator, the more the device will give light, but at the same time it will heat up more, especially for old incandescent lamps. Therefore, if you plan to use a floor lamp for a long time, you should choose the lamps that heat up the least. Other product parameters that you need to pay attention to:
- the form;
- base type;
- life time;
- warmth of light;
- cost;
- the presence of hazardous compounds in the composition.

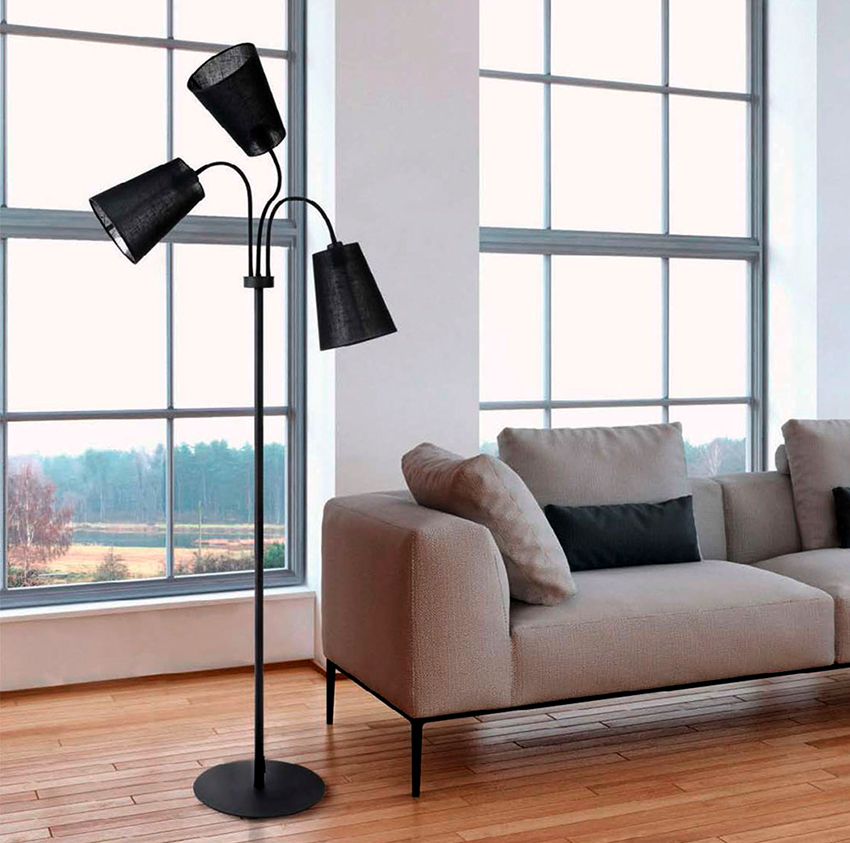
For a floor lamp, you need to select a light bulb with a power of 40 to 120 W
In general, there are the following main types of lamps on the market that are used for installation in luminaires:
- Compact fluorescent. They are distinguished by their small size and energy-saving capabilities. Another plus is the fact that these lamps give light close to natural solar radiation. Products that are labeled “Energy Star” on the packaging are most cost effective.
- Luminescent. Universal energy-saving lamps that save 20 to 40% of electricity. Thanks to the standard base, they can be used instead of incandescent lamps, they are considered the most optimal for installation in a floor lamp.
- Halogen. They feature white light and deliver more lumens of lighting per watt of power. The main disadvantage is strong heating during operation, so they are not advised to be used in hand-made wooden lamps, in structures with a plastic or paper lampshade.
- Incandescent. The most common option, which is characterized by a low price, but at the same time has the shortest service life, unlike other varieties. Another disadvantage is intense heating, even with short use.
- LED. The most energy efficient light bulbs with a long lifespan. The popularity of these lamps is due to the possibility of choosing the color of the lighting and the complete absence of heating, even with prolonged operation.
- PAR lamps. These lamps are characterized by the ability to regulate the level of illumination, which is achieved due to the fact that they contain a reflector and a glass diffuser. Any type of lamp can be marked PAR.

Also, important parameters when choosing a light bulb are the size and material of the lamp.
How to make a lampshade for a floor lamp with your own hands
The main part of do-it-yourself floor lamp master classes demonstrates ways to update a device that has lost its appearance or has ceased to fit into the interior of a room after moving or renovating. Updating an old lamp is quite reasonable, because buying a new one is quite expensive, and you can correct an old one at minimal cost, since a ready-made base is already available.
Related article:
Floor lamp with a table: a functional and convenient way to decorate a room
The advantages of the models. How to make the right choice: basic models, styles and shapes. Materials for manufacturing. Installation features.
In order to restore or make a plafond with your own hands, ordinary dense wallpaper is most often used, the scraps of which very often lie in the pantry. Wallpaper is glued on a special glue sold in hardware stores. When choosing a wallpaper option, you need to shine it through a lamp in order to immediately determine whether it is allowing enough light to pass through itself.
Useful advice! Before making a plafond with your own hands from an already existing frame, you should carefully examine it and, if rust or a violation of integrity is found, clean it and re-paint it. In the absence of an old frame, you can purchase an inexpensive option at a flea market and perform the same manipulations with it.

To correctly select the desired piece of material, you should remove the old lampshade and measure its circumference. After that, the base is degreased and processed with wallpaper glue, then the material is tightly pressed against it. In this case, you should not over-press the wallpaper, so that bumps or irregularities do not subsequently appear, which will spoil the appearance of the lamp. After that, the finished structure is screwed to the base.
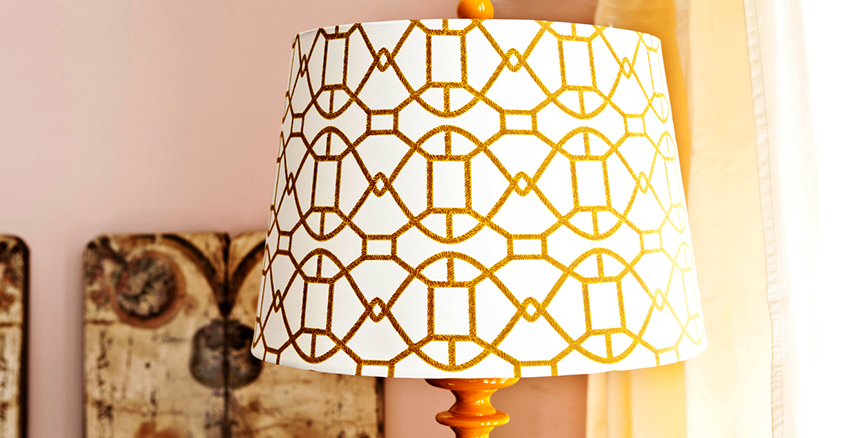
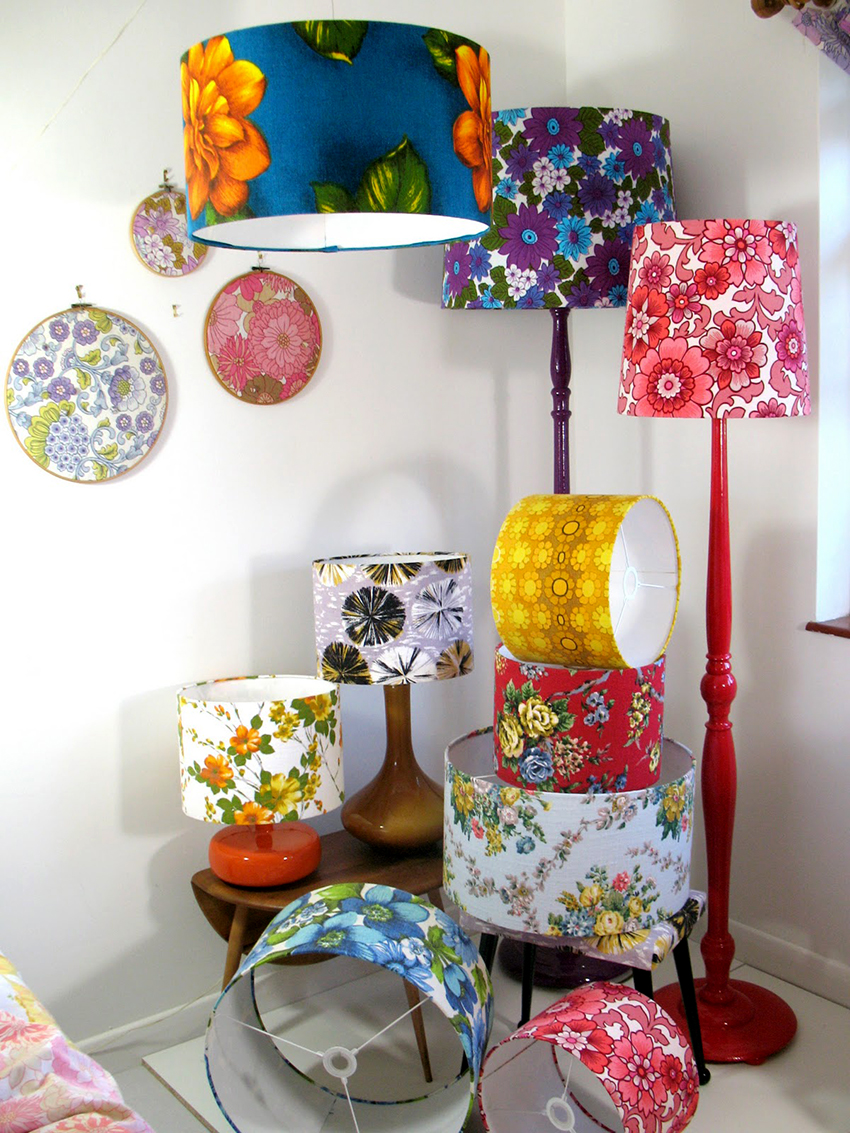
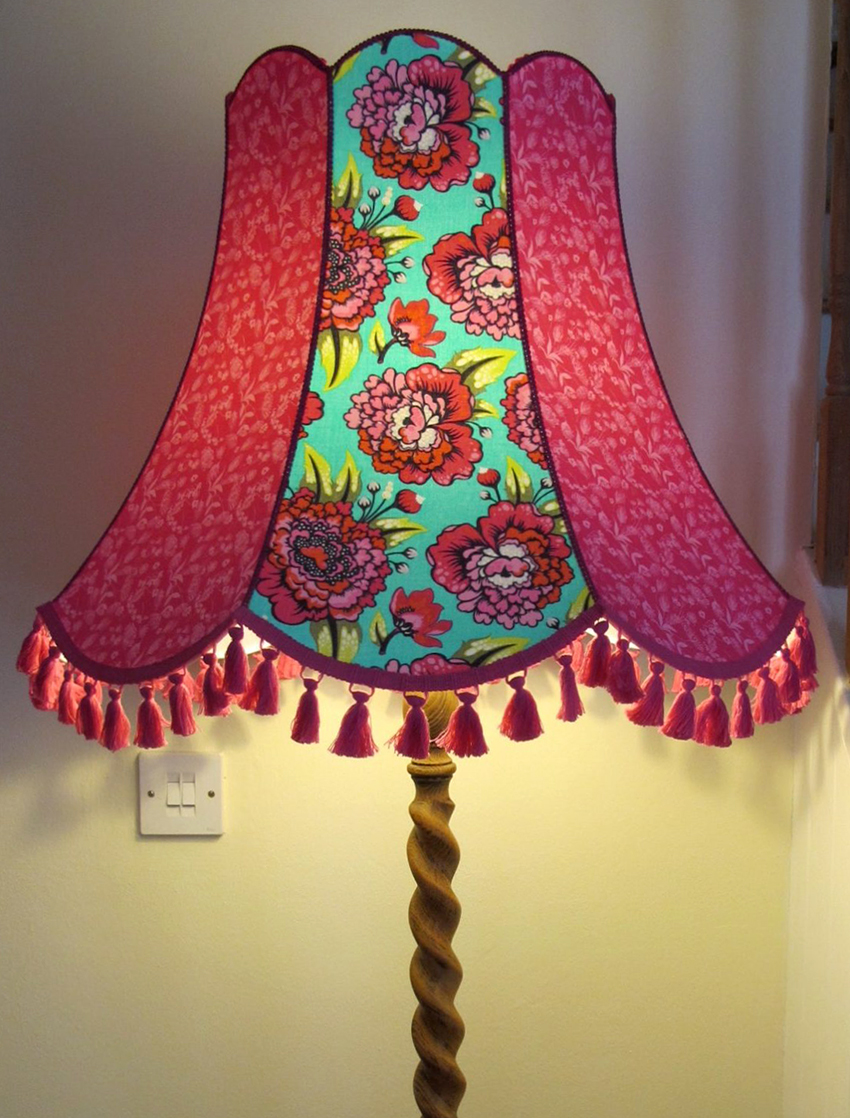
For the restoration of the lampshade, the decoupage technique is also suitable, which involves the use of beautiful paper napkins, the design of which matches the decor of the room. To do this, first treat the base with white matte paint, and after drying, decorate with napkins. In the photo, do-it-yourself lampshades pasted over with napkins look bright and unusual, and the manufacturing process itself is not particularly difficult:

It is quite easy to update an old lampshade, the main thing is to give free rein to your imagination.
- the first layer is white ground paint;
- the second layer is wallpaper glue or PVA;
- the third (directly top) - napkins with a pattern;
- the fourth is transparent glue or varnish.
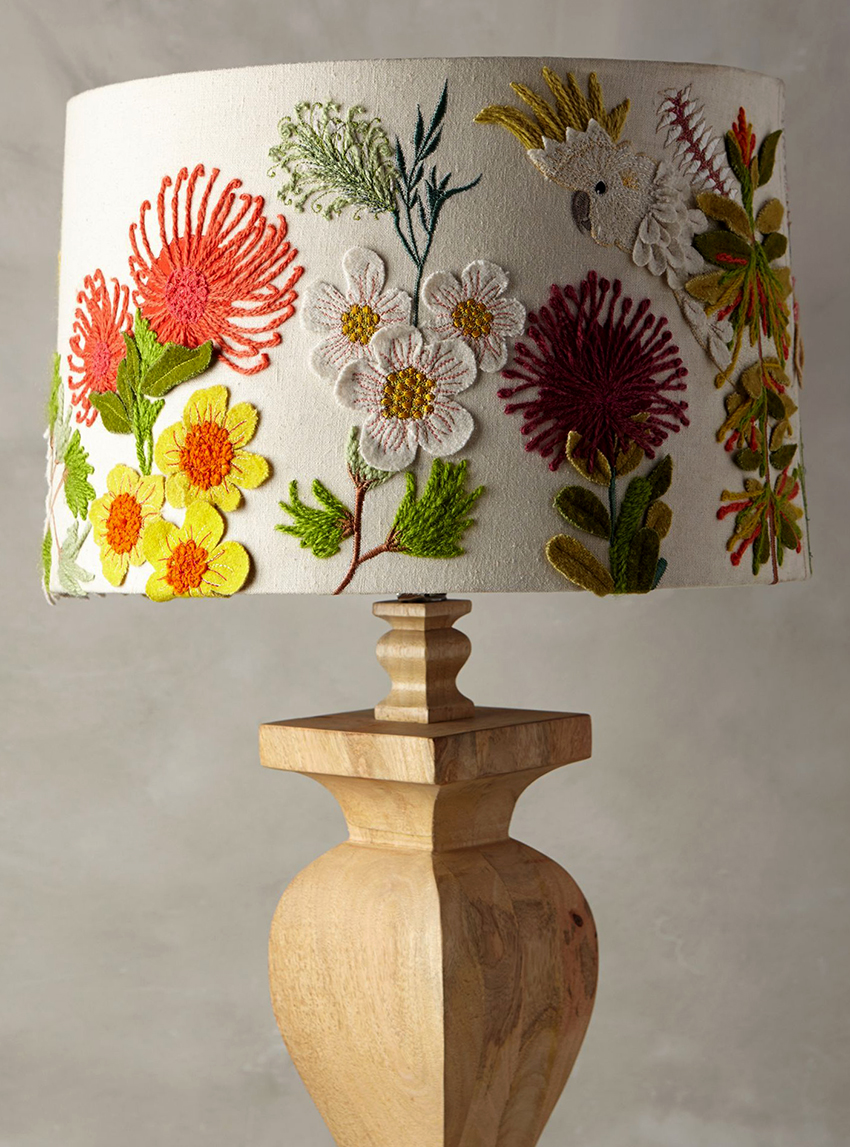
If necessary, you can decorate the shade with beads, sequins, ribbons, bows, embroidery or other decor, which is fixed using a glue gun.

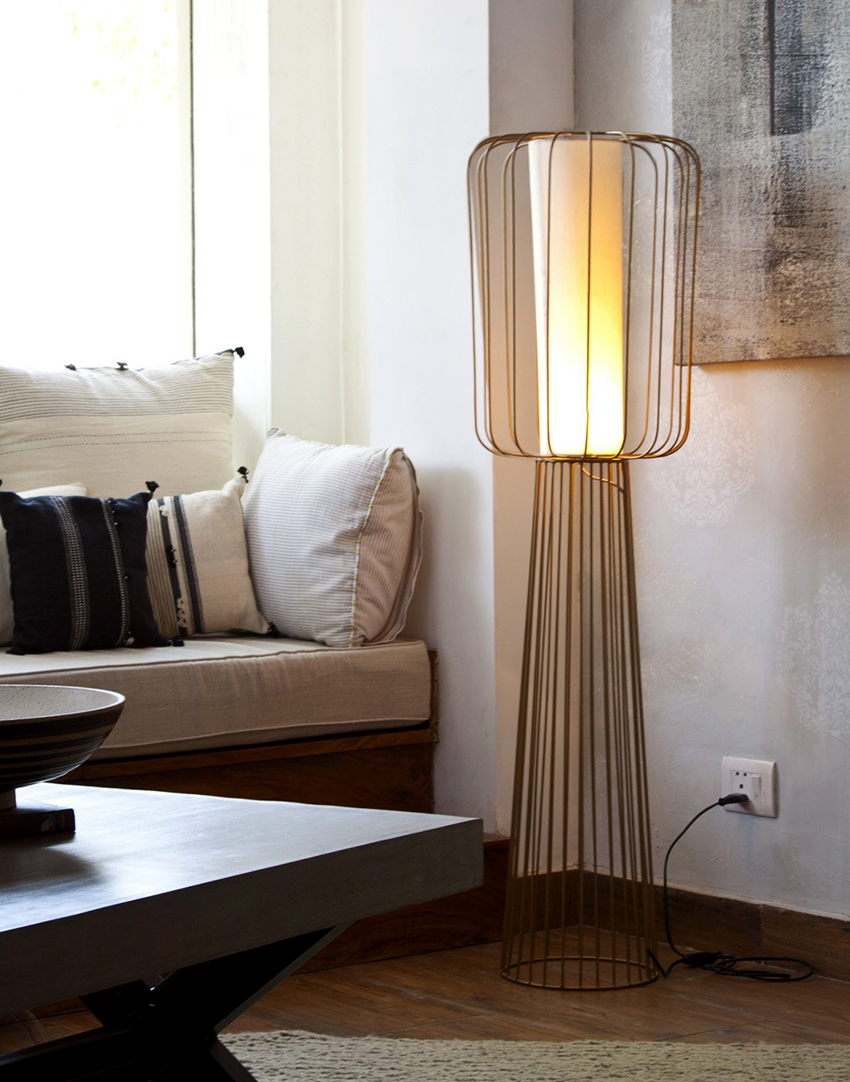
How to make a frame for a lampshade with your own hands using available tools
If you look at photos of floor lamps with your own hands, you can often find products for the manufacture of which garbage baskets made of wire or plastic are used as the basis of the lampshade. The main thing is to choose an option, the shape of which most closely matches the chosen design.
Interesting information! Before making a lampshade for a floor lamp with your own hands, you should decide on the material of the frame. Most often, wire, wood, bamboo sticks, plastic or glass bottles are used for this.

You can use parts from an old unnecessary floor lamp as a frame
If a wire is used for a homemade frame, then in this case the craftsmen recommend taking aluminum, which is easier to work with, but it must be borne in mind that the finished structure easily crumples and can deteriorate. By using aluminum wire, the lampshade can be shaped to the desired shape. It is much more difficult to work with steel wire, but the finished frame will be more reliable and resistant to deformation.
To make a lampshade for a floor lamp with your own hands, you need to use pliers and pliers.In general, the frame of the lampshade consists of two rings, interconnected by uprights, the number of which depends on the size of the bases. In this case, the rings can be of the same or different diameter. The optimal distance between the posts is 5-6 cm. The simplest way to attach the posts is to create a hook that clings to the ring and presses tightly. When steel wire is available, welding is the best method of fastening. To hide the attachment points, the base is wrapped with tape in the color of the case.


To make a floor lamp with your own hands, you can also use a five-liter plastic bottle as a frame, and the size of the finished product will depend on the selected capacity. To do this, the upper or lower part of the container is cut off, where a ring is then formed under the bulb holder. If the top of the bottle has been cut off, the neck will be the ideal base for some cartridges. After that, excess plastic is cut off, rims and stands are formed. It is impossible to leave the plastic cover in one piece, because the warm air will have nowhere to go.
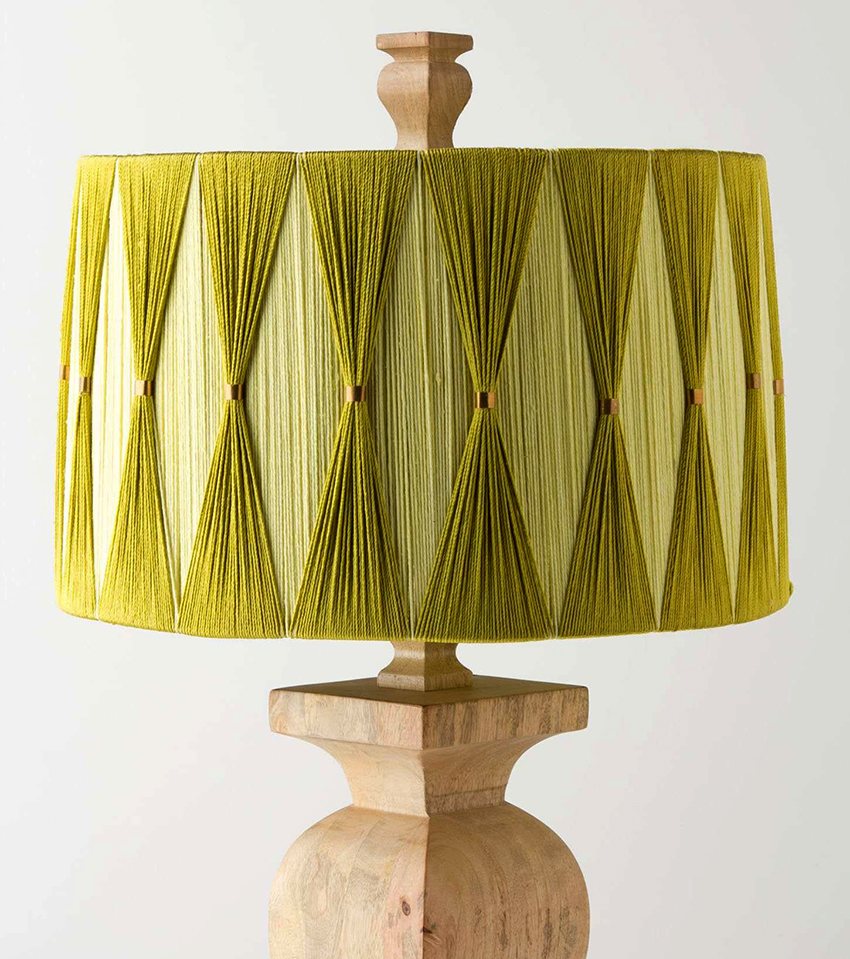
When the frame is ready, you should decide what the lampshade will be, especially since a large number of options are available. You can sew a lampshade for a floor lamp with your own hands from fabric, knit it with a crochet or knitting needles, braid the base with thread, rattan or rope. Often a combination of materials is used to make a lampshade. For example, the base can be made of fabric, and then pasted over with tapes. Accordion lampshades are popular.

Wire is best suited for making a frame in a floor lamp
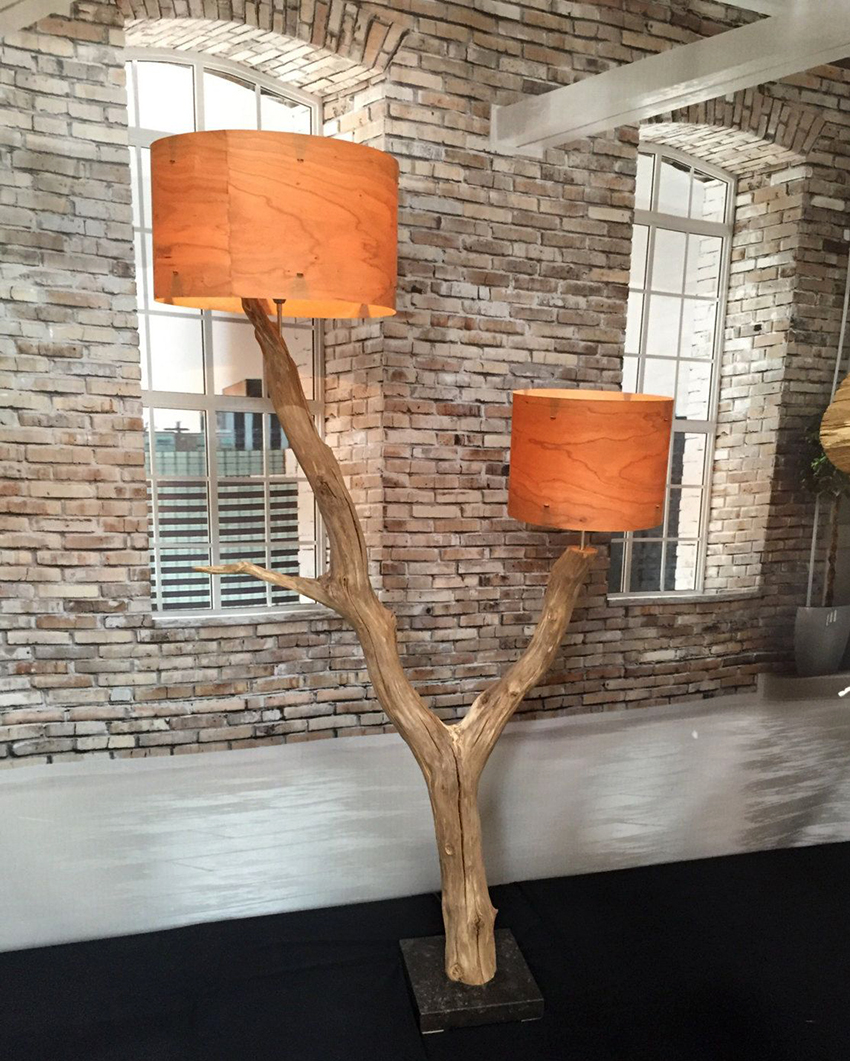
If you plan to make a floor lamp from a tree with your own hands, then it is recommended to use a vine, thin branches of trees or shrubs as a material for finishing the frame. Using them, you can create the entire product or take these materials as a basis for a lampshade, which is then decorated in any way.
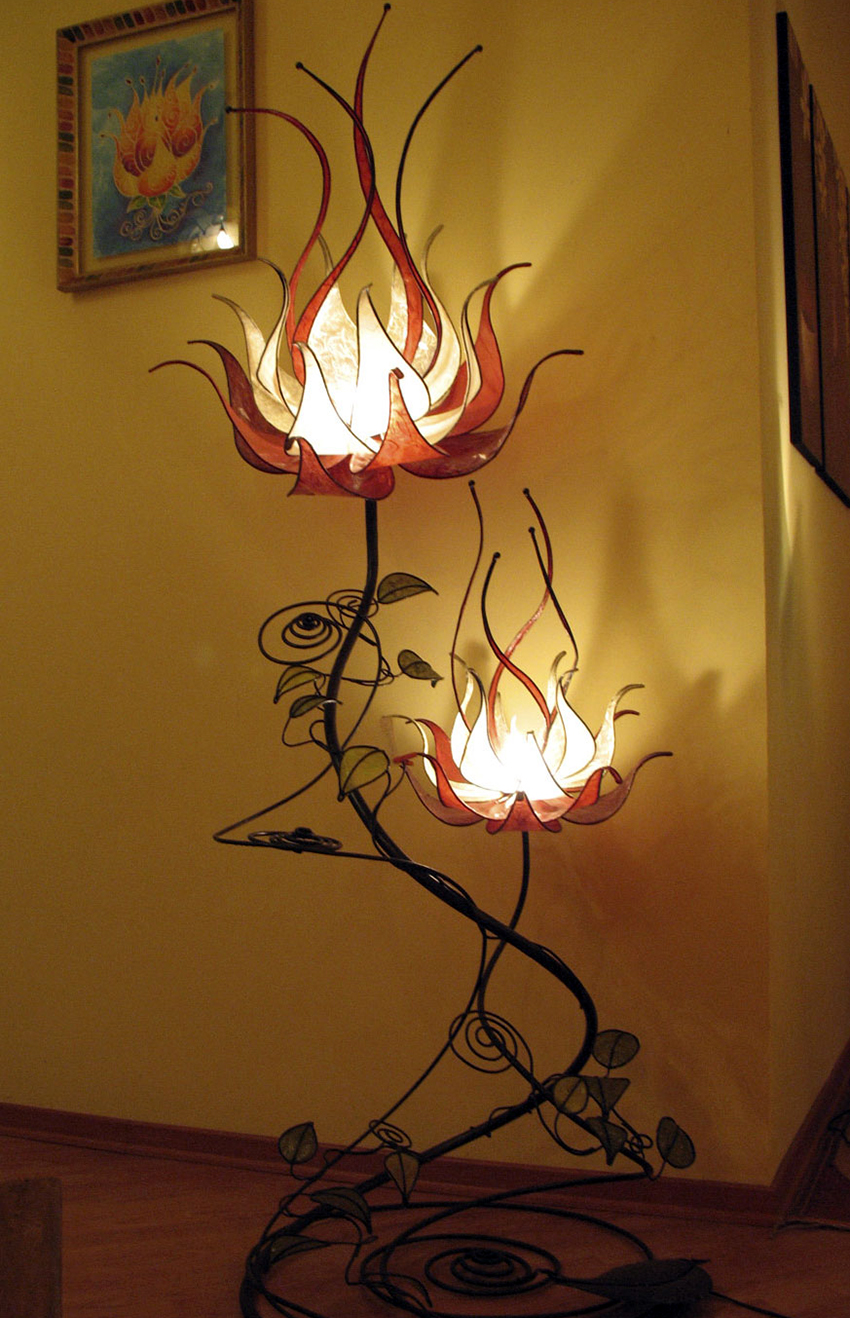
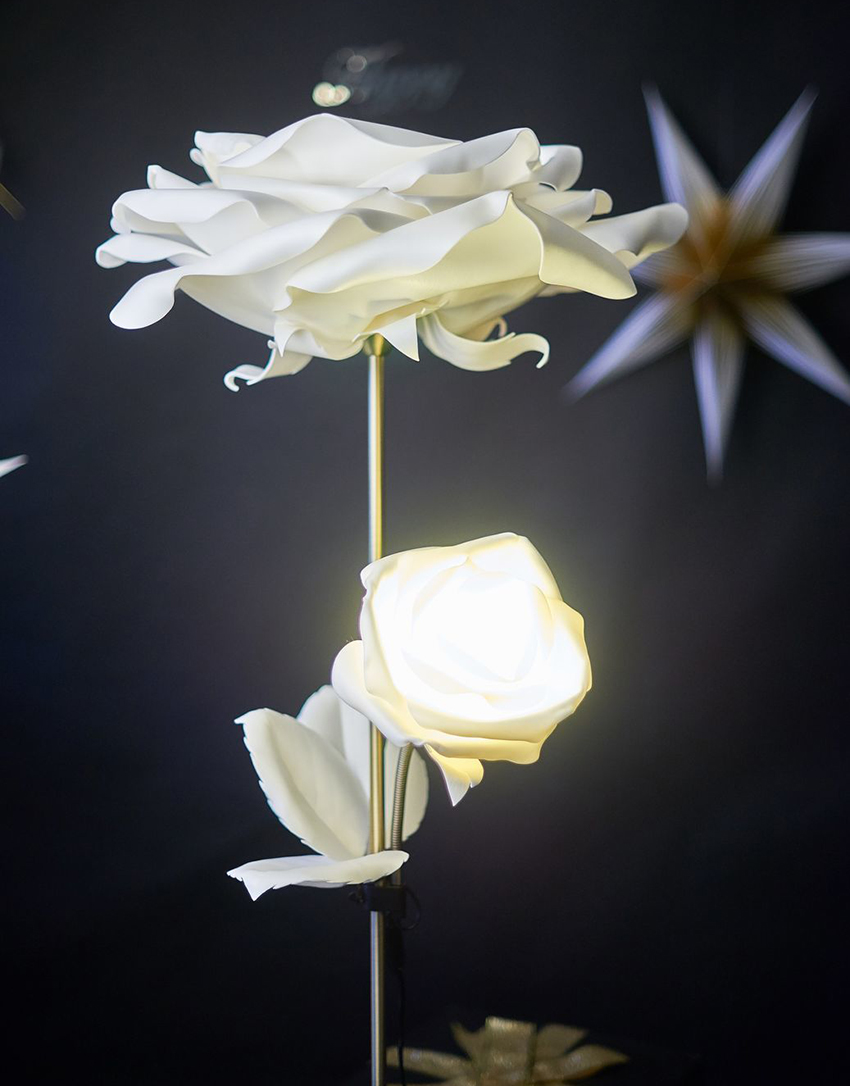
Features of making a floor lamp from Isolon with your own hands in the form of a flower
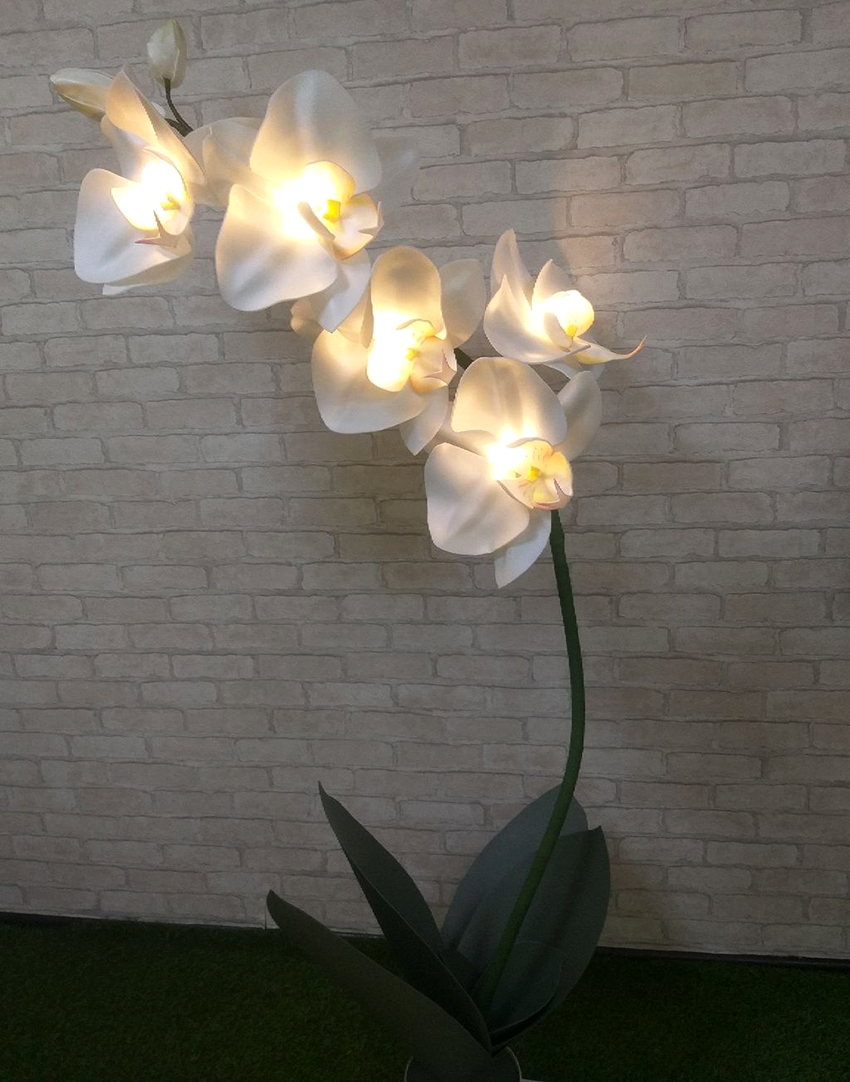
A do-it-yourself floor lamp-rose made of isolon will not leave indifferent any housewife. After all, a dark room illuminated with such a lamp looks unusually romantic and cozy.
Interesting information! Izolon is the most malleable material from which voluminous artificial flowers are made. Material of various thicknesses is available on the shelves - from 0.2 to 1 cm.If you plan to make a large rose floor lamp from Izolon with your own hands, it is better to purchase material 2 cm thick.
When buying, many people choose a white isolon, and then use rubber or acrylic paint to give it the desired shade. In addition, you can find a store that has a large selection of materials in different colors. Isolon itself does not burn, it only melts under the influence of hot air. In order to form beautiful curves of a rose floor lamp with your own hands, you will need to take an ordinary hair dryer, which has two operating modes - hot and cold. If you don't have a hair dryer, you can heat the material over a gas or electric stove. Before making a flower floor lamp with your own hands, you should check the presence of such items:
- a roll of isolon of the desired color, at least 2 mm thick;
- household hair dryer;
- a reinforced plastic pipe that will be used as a stem;
- glue gun and silicone sticks;
- stationery scissors and a knife;
- screwdrivers.

A flower-shaped floor lamp made of isolone will decorate the room
You will only need acrylic or rubber paint if you want to make a rose-shaped floor lamp with colorful petals with your own hands. If you look at the photo of the lamps with your own hands, you can often notice that a flowerpot is used as a base, where a metal-plastic pipe is installed, which acts as a stem. Then all this is poured with gypsum, cement or concrete mixture.It is important to consider that the larger the flower, the heavier the base should be. To complete the construction, you will need a cable with a plug and switch, as well as a lamp holder.
Useful advice! Before you make a rose floor lamp with your own hands, in order not to make a mistake when calculating the dimensions of the lamp, you should choose a place for it in advance. The device looks most attractive in the living room or bedroom against the background of massive curtains made of velvet or other dense material.
To make the design look the most realistic, it is recommended to have a sample on hand. It is better if it is a real rosebud, which can be rotated and carefully examined. In this case, it will turn out to completely repeat the bends, and for a more realistic recreation, you can disassemble a living rose into petals and completely repeat their shape and quantity when making a floor lamp-flower with your own hands. In general, for a medium-sized luminaire, you will need to make several options for petals of various sizes:


- the largest - 45x45 cm;
- medium - 30x30 cm;
- small - 15x15 cm;
- small - 10x10 cm.
The smallest petals located inside the flower should be at least 4-5 times smaller than the larger ones. Depending on the dimensions of the device, different options for the size of the petals are selected, which can be from two to five. To make a self-made floor lamp-rose from isolon look more attractive, the size of the leaves on the stem should correspond to the size of the small inner petals.
Simple master class: do-it-yourself isolon floor lamp
The petals of the flower should be formed starting with the smallest ones, which form the inner bud. Having held the finished petal blank over the hot air, it is given a shape that is most close to natural. First, a ready-made cartridge with a wire is taken, which is inserted into a plastic box. Transparent silicone is applied to the base with the cartridge and the prepared petals are glued, starting with the smallest elements and ending with large ones. All parts are fastened together with a stapler and silicone glue.

It is necessary to form a flower from an isolon starting from the middle of the bud
Stem leaves are made in the same way as petals. The metal-plastic pipe, which is used as a stem, is either painted in the desired color, or pasted over with green tape, after which the leaves are glued to it with the help of silicone. Do not forget to secure a few green leaves directly under the flower itself. After attaching the finished flower to the stem, the electric cable is pulled inside the pipe, and a plug is attached to the end of the cord for connecting to the mains.
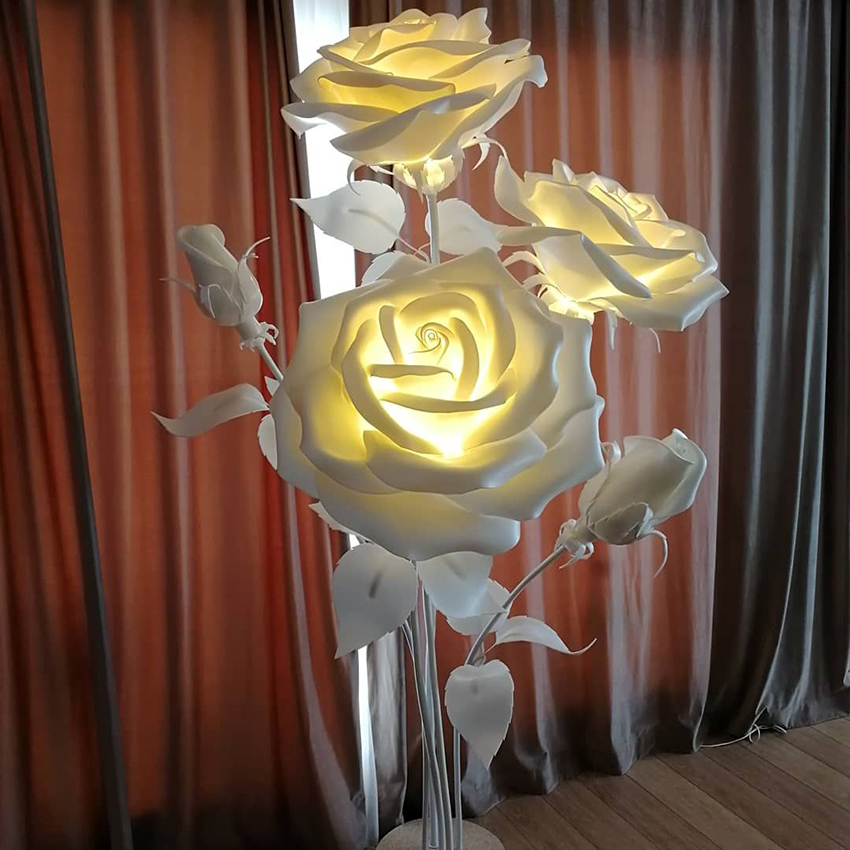
It is necessary to install a light bulb in the cartridge that heats up the least in order to prevent deformation of the petals. You can often find master classes on how to make an isolon floor lamp with your own hands using a diode tape. To do this, a ribbon is taken, ideally matching the color of the petals, and fixed on the inside of the bud elements. Such a device will serve as an excellent night light for a girl's room or a source of romantic lighting in the bedroom. It should be noted that even large white floor lamps look unusually beautiful.
What is a self-made foamiran floor lamp
Foamiran resembles isolon in its properties and is a material with a foamy base. It is easy to use, it is easy to give it the desired shape, and most importantly, it does not contain dangerous elements. In appearance, foamiran resembles suede or soft sponge. Material with a thickness of 1 mm is considered optimal for manufacturing. Initially, the name "foam" was found on sale, but then, thanks to the Israeli manufacturer, the word "foamiran" was assigned to the material.

Foamiran is a foamy material that is easy to work with and to shape.
Helpful information! Unlike isolon, foamiran lends itself well to staining, and at a cost it is several times cheaper, which allowed it to gain popularity among needlewomen.
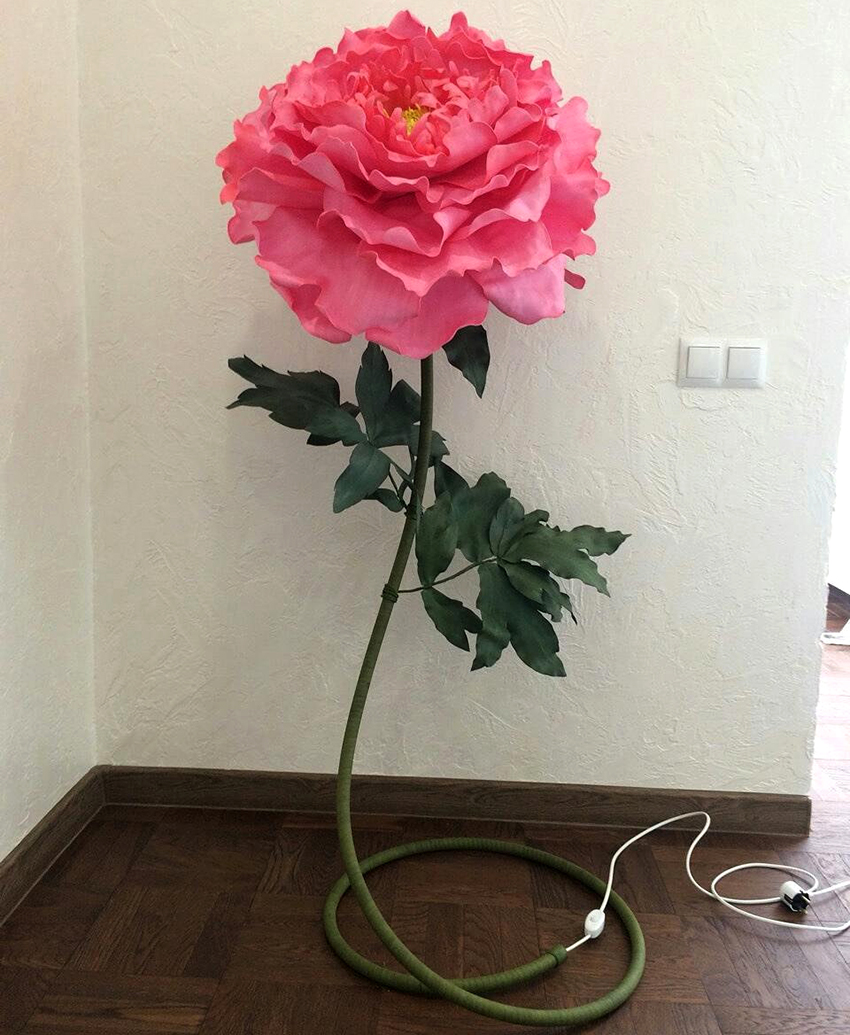
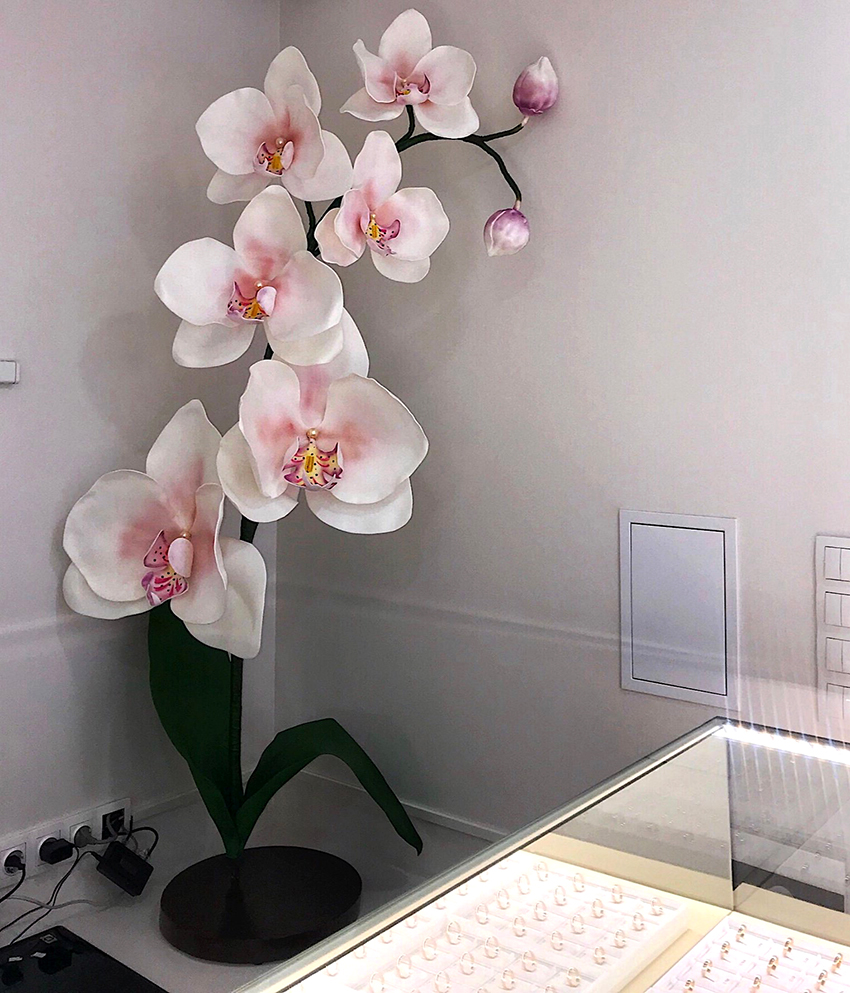
If you look at the master classes of floor lamps with your own hands from foamiran, then it is easy to notice that the same items are useful here as for making lamps from isolon, only one material is replaced by another. A variety of flowers are considered the most popular options. From foamiran, floor lamps are created in the form of growth roses, lilies, hydrangeas, peonies, etc.

Most often, foamiran is used to make decor for lampshades for floor lamps and lamps
The choice of a flower depends both on the personal preferences of a person and on the features of finishing the horizontal surfaces in the room. To give the flower individuality, you can additionally glue transparent stones that simulate dew drops, which, with the right choice of lamp, will look very realistic.
Do not think that making a floor lamp with your own hands from improvised means is an impossible task. Now a large number of master classes are available on the network, demonstrating how unusual and one-of-a-kind objects are obtained using an elementary set of tools and parts. The main thing when making your own is to find the strength to start work, because after that fantasy will turn on and the manufacturing process will begin to bring pleasure. If you try hard, you get a convenient and beautiful device that will harmoniously complement the interior of any room, be it a kitchen or a bedroom.