From this article, you can find out what features this type of electrical fittings, such as a socket, have: how to connect and install the structure into the network, in what order the actions are performed, common schemes and recommendations of safety specialists. The text contains useful practical tips that will come in handy during the installation of the product with your own hands.
Content
- 1 Socket: how to connect a structure in a residential type room. Basic installation information.
- 2 How to connect a socket with grounding: installation technologies for common types of products
- 2.1 Step-by-step technology for installing a box under an outlet
- 2.2 How the socket is installed in the socket
- 2.3 How to connect a double socket: recommendations for the installation of block products
- 2.4 Technology for connecting a computer outlet to the Internet
- 2.5 How to connect a TV outlet with your own hands
- 2.6 How to connect a telephone socket without the help of a wizard
Socket: how to connect a structure in a residential type room. Basic installation information.
Connecting the outlet to the power grid is a responsible procedure. The implementation of this process requires knowledge of all the nuances of electrical work, as well as safety rules. The fact is that the load on wiring assemblies depends on the number of power consumption points. The more operated outlets in the network, the higher these loads. For this reason, any violation of the requirements will entail unpleasant consequences.
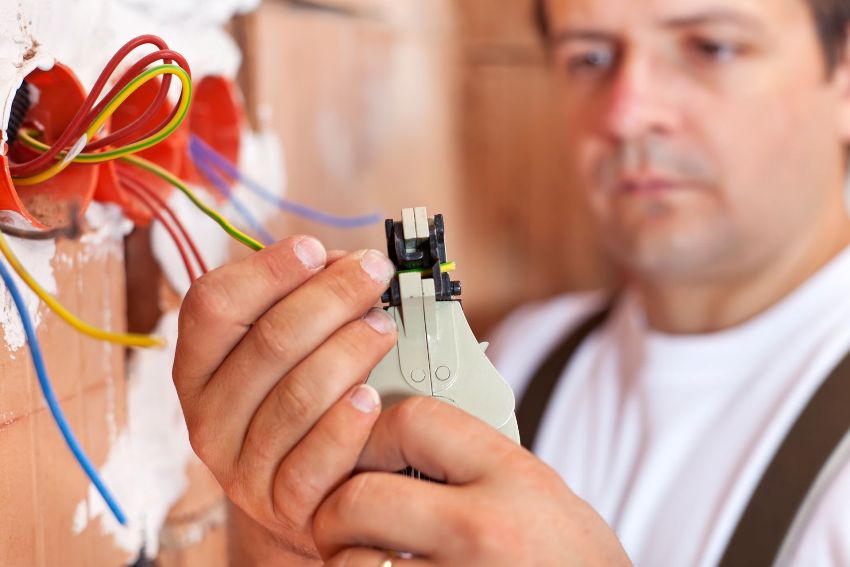
You should start working on the installation of sockets only when there is absolute confidence that there is no voltage in the network.
An error during the installation of sockets and switches can cause such phenomena as:
- melting of contacts;
- overheating of electrical appliances;
- the occurrence of a fire hazard.
Important! Without having the appropriate knowledge and skills, it is better not to take on work affecting electrical wiring. The specialist will be able to safely and correctly install the outlet, the price of such a service is not so high as to risk it.
The average cost of installing an outlet and what it depends on
The advantage of professional service is that it fully adheres to the technical requirements of the network.
An experienced electrician, before starting work, will take into account all the factors that may affect the quality of the result and safety:
- total power of connected electrical appliances;
- the degree of humidity in the room;
- the type of plug that the connected devices are equipped with;
- the need to use a built-in electronic component.
Professional installation of sockets, prices for electrician services:
| Name of work (installation) | price, rub. |
| Internal socket in plaster | 120 |
| Internal socket in brick | 150 |
| Internal socket in concrete | 170 |
| Single TV socket | 250 |
| Telephone socket | 250 |
| TV socket through | 300 |
| Electric socket slabs in concrete | 300 |
| Junction box in plaster or brick | 300 |
| Junction box in concrete | 350 |
| Socket for el. slabs in brick | 400 |
| Computer socket | 450 |
The exact cost of work depends on many factors, this indicator is influenced by the following parameters:
- total volume and complexity of work;
- base material;
- operating conditions of the premises;
- socket type (laid on or built-in), etc.
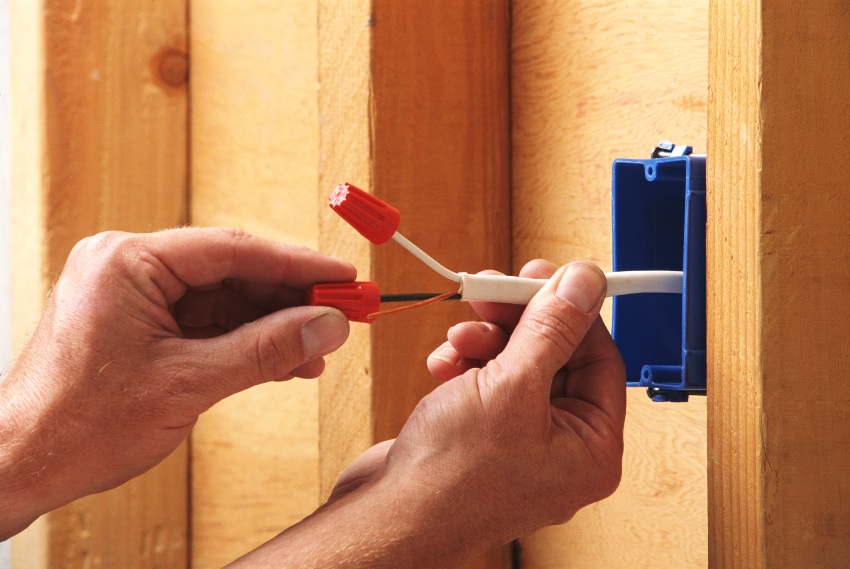
High-quality electrical work implies not only competent installation, but also a responsible selection of the entire range of equipment and materials used
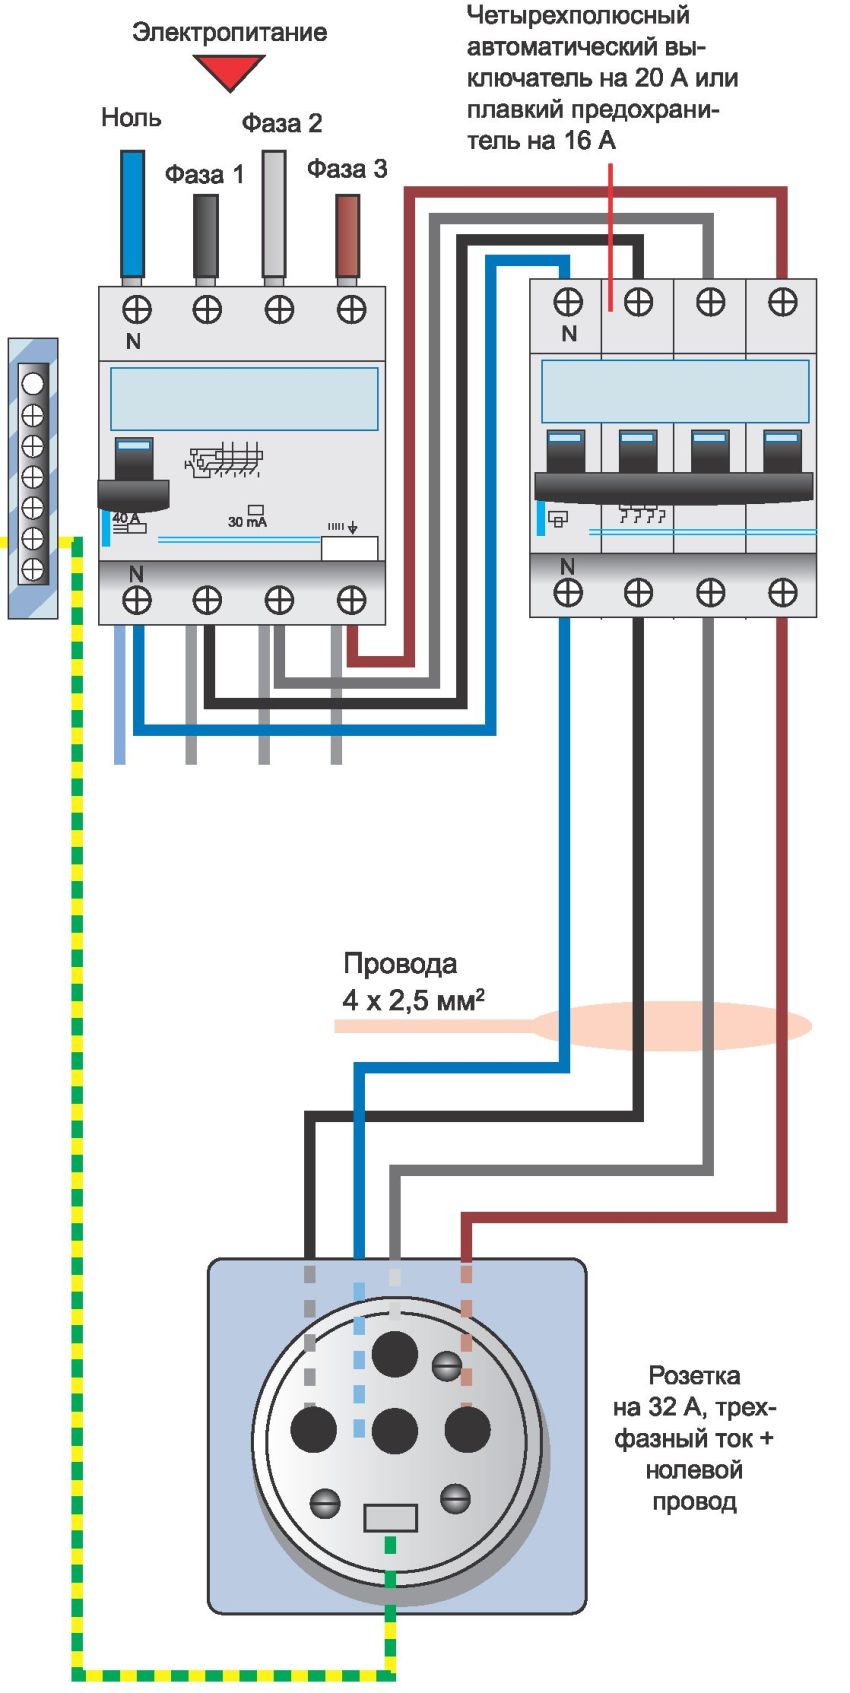
The cost of work may vary depending on the current in the outlet, as well as what is its voltage. As a rule, in home networks the current is alternating, and the voltage is 220 V. Private houses are usually powered from a three-phase network of 380 V. If the price of installing a socket for an electric stove in a standard network is about 250 rubles. (excluding base material). That similar work for houses with three phases (380 V) will be more expensive - 380 rubles.
The cost of work may increase if the installation of the outlet requires the formation of a new hole or significantly enlarges the old one. In addition, there is a difference between the price of installing the device, when the installation affects only the mechanism of the product, or it involves a complete replacement of the socket. The final amount is also formed through the use of additional accessories.
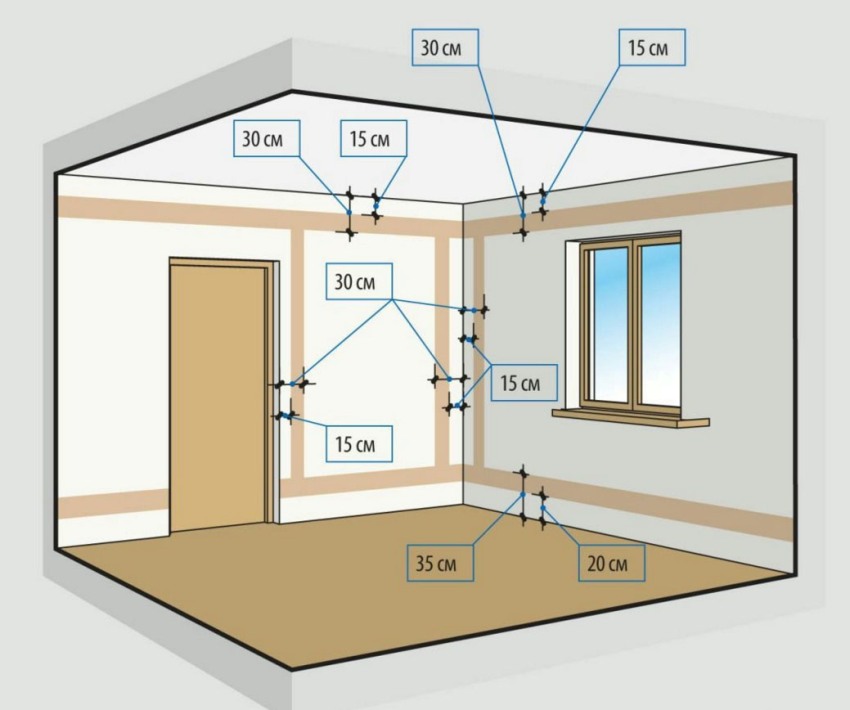
Another factor of influence is regulatory documents that determine the installation height of sockets and switches, depending on their purpose. Standard regulations require the outlet to be positioned 40-45 cm from the floor and the switch 100-105 cm.
What is better to buy sockets and switches for installation in a residential area
There are many types of outlets on sale. Some of the products have a universal purpose, others are endowed with certain capabilities. Not every type of socket and switch is suitable for home use. The choice of the device depends on the type of room in which it will be installed. For example, models with waterproof properties are designed for swimming pools, kitchens and bathrooms.
Helpful advice! A three-wire cable is required to connect a grounded socket. One of them is connected to the phase, the other to zero, and the third to ground. Products without a ground connection require a two-wire cable.
Popular types of sockets and their features:
| Marking | Feature |
| C1a | no grounding contacts |
| C2a | side-mounted earthing contacts |
| C3a | pin type grounding contact |
| C5 | no grounding contacts |
| C6 | wide fork holes |
Constructions marked C1a are switchgears without the possibility of grounding. Installation of sockets of this type is carried out on those sections of the power network where the value of the alternating current does not exceed 16 A, and the constant current does not exceed 10 A. They are designed to service low-power devices.
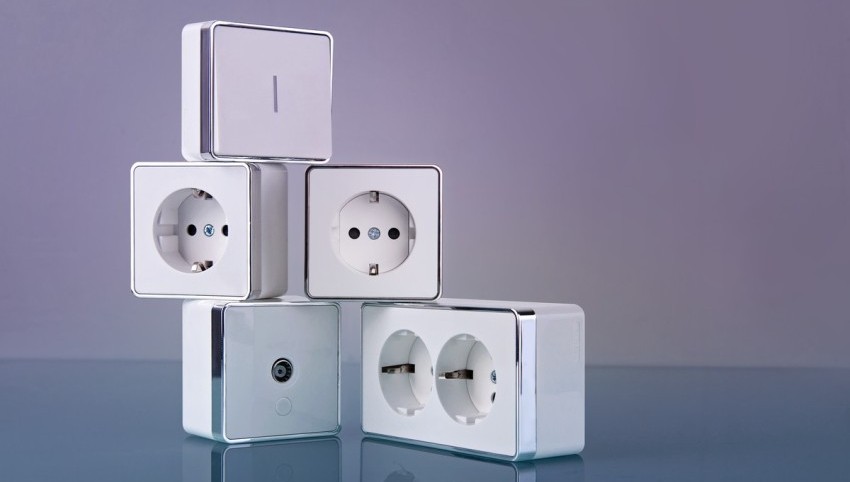
Modern types of electrical outlets cover all technical requirements and standards for the safety of electrical wiring
The C2a sockets have an internal terminal for the PE cable. These products are designed for servicing electric cookers, pumps, washing machines and dishwashers. The constructions marked with the C3a marking are very similar to the previous version.The distinguishing feature is the location of the grounding contacts as well as the configuration.
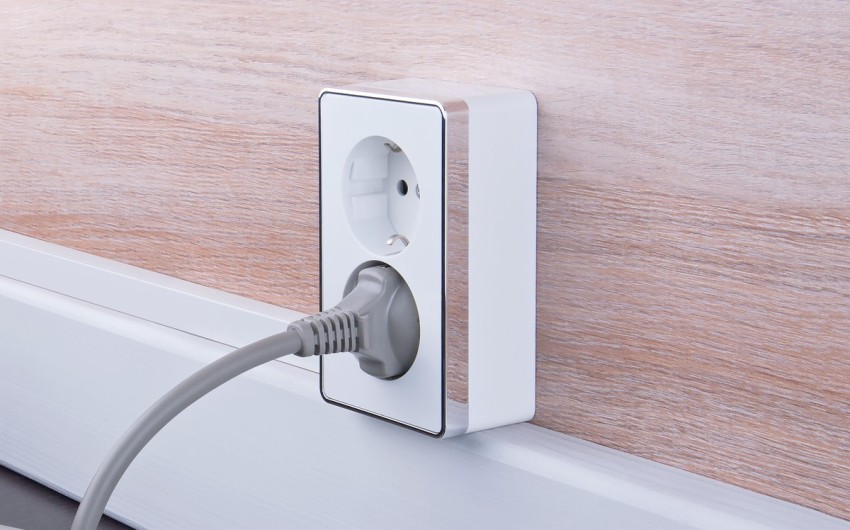
The socket with the C5 mark belongs to the category of traditional Soviet-made designs. These round fork cutout products are square in shape. These models are suitable for servicing old electrical appliances. The maximum permissible current is 6 A. Products with the C6 marking are considered Euro sockets. They are comfortable and versatile.
There are the following types of switches:
- keyboards;
- push-button;
- rope;
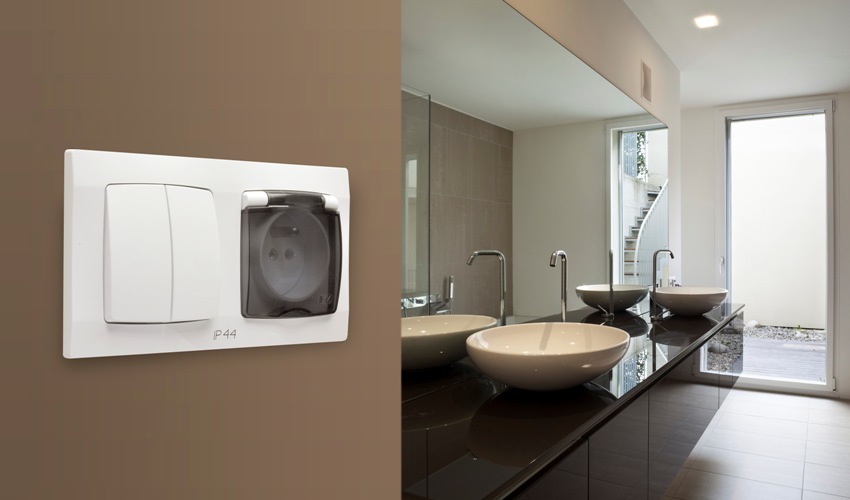
Socket combined with a two-button switch for controlling electrical networks from two or more hidden installation locations
- dimmers;
- swivel;
- sensory;
- acoustic.
As well as sockets, according to the type of installation, switches can be external and internal. On sale, they are found in the form of independent devices or as an integral element in a block with an outlet.
Common methods and diagrams for connecting sockets
If the socket is installed on a concrete base, for this you will need to make a special channel in the wall by slitting. Next, the holes for the socket are drilled, the wires are laid and the box with the mechanism is installed. The process of installing outlets in drywall is performed in the same order. The only difference is that it requires much less effort.
Installation on adobe and wooden walls involves fixing the socket in an open way. Otherwise, operation will be fire hazardous. On such surfaces, the structure is installed together with a socket outlet.
Helpful advice! If a paired product is used, then a special plastic box - a cable channel can be used for laying wires.
There are several ways to connect outlets:
- "Star" - parallel connection type.
- "Loopback" is a serial connection type.
When connected using the “loopback” method, each subsequent product is actually powered from the previous one. This method allows you to connect a triple outlet or assemble 5 or more structures in a horizontal or vertical row. The disadvantages of the loopback method include low reliability. It is not recommended to connect powerful equipment to such outlets.
Connection of products according to the "star" scheme involves direct connection to the junction box. In this case, each element receives its own wires, so you can safely connect such type of equipment as a computer.
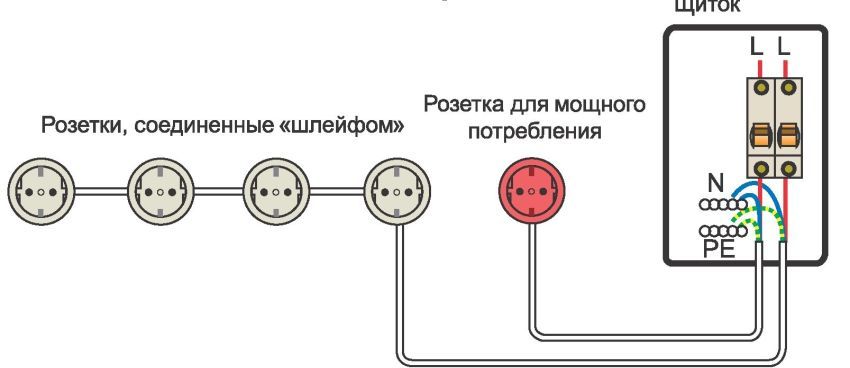
Two types of wire connection: socket - shield ("star") and shield - socket - socket - socket ("loop")
How to connect a grounded outlet: installation technologies for common types of products
The wiring to the outlet can be carried out in an open or hidden way. The choice of technology depends on a number of factors.
These include:
- chemical activity of the environment;
- fire hazard;
- degree of air humidity;
- dustiness;
- explosion hazard.
External wiring is carried out on the surface of the walls. For this, various fasteners are used. This method has both advantages and disadvantages.
Advantages of open wiring:
- Simplified repair system as the cables are outside.
- No need for wall chipping.
- Simple installation system that does not require a lot of time.
Related article:
A socket with a switch in one case and the specificity of this design
Schemes and common methods of connection. Design selection and overview of popular brands.
The disadvantages include not the aesthetics of the result, since the stretched wires can spoil the interior of the room. In addition, an open system is influenced by external factors. There is a risk of damage to the wires.
To install a grounded outlet, an open wiring system can be configured in different ways:
- put on the surface of the walls and ceiling;
- hide in boxes;
- mask with flexible metal elements;
- put through the pipes;
- hide inside skirting boards or electric trims.
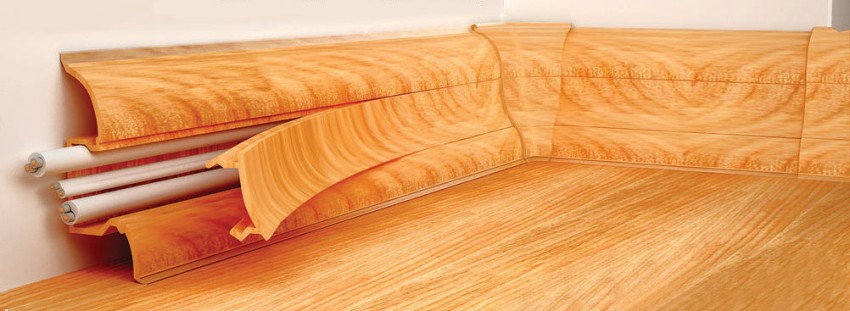
By hiding the cable in a box, you can not only solve the aesthetic issue, but also provide the best protection for the wiring
Helpful advice! When laying the cable in the groove, you should leave a conductor reserve, about 10 cm. It is inserted into the socket box.
Step-by-step technology for installing a box under an outlet
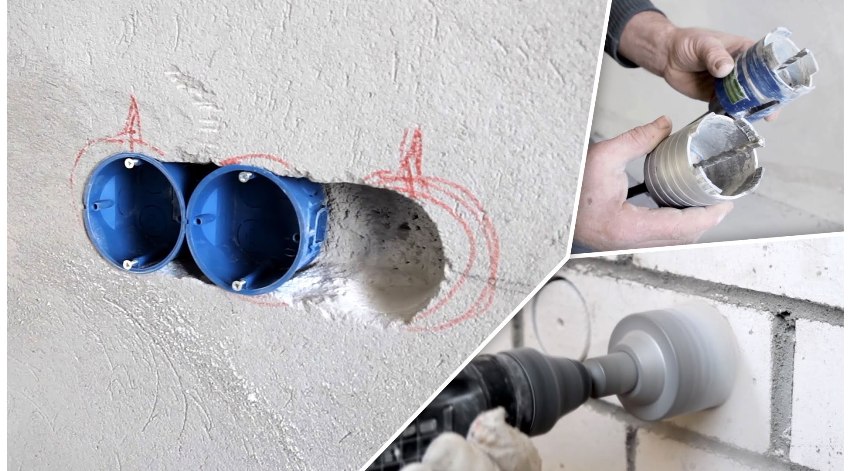
To arrange a recess for an outlet, you will need a drill and a special nozzle - a crown. Pre-markings are applied to the wall. The minimum distance from the ceiling is 15 cm. Gas equipment should not be located near the wires. The minimum allowable distance is 50 cm.
Step-by-step formation of a depression:
- A crown is installed on the drill.
- According to the markings, a recess is drilled in the established place.
- The drilling process is interrupted at the moment when the bottom of the nozzle rests against the wall.
- The core of this area is removed using a perforator and a nozzle in the form of a chase. Alternatively, a chisel and hammer can be used for this type of work.
- The back wall of the recess is leveled.
All that remains is to pre-install the box. If the socket is well installed, then you can squeeze out the plug and pull the cable through the hole. After that, the side and back walls of the box are covered with a small amount of alabaster and "pressed" into the depression.
How the socket is installed in the socket
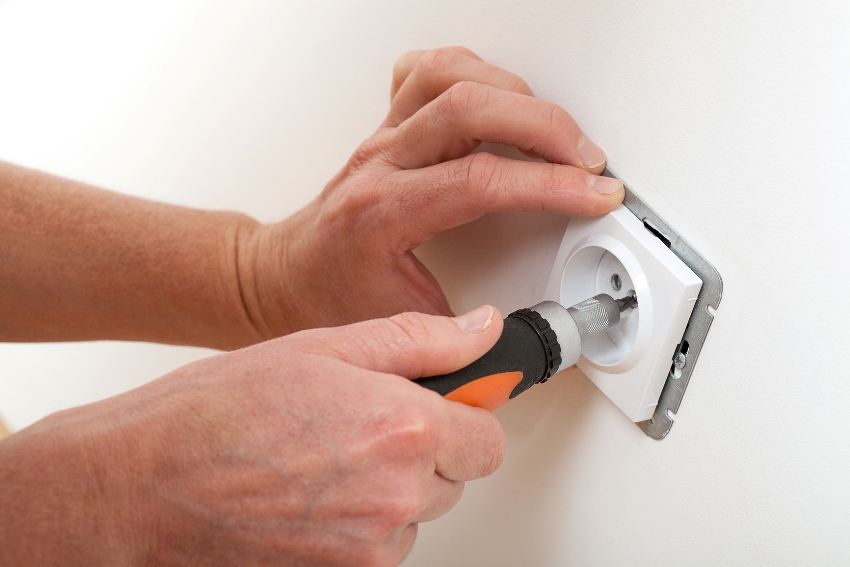
The installation process of electrical fittings consists of several stages. To begin with, the network is de-energized. To do this, turn off the circuit breakers located at the current inlet to the apartment, or unscrew the plugs. Before proceeding with the installation of the internal socket, make sure that there is no current in the network. You can use a multimeter for this.
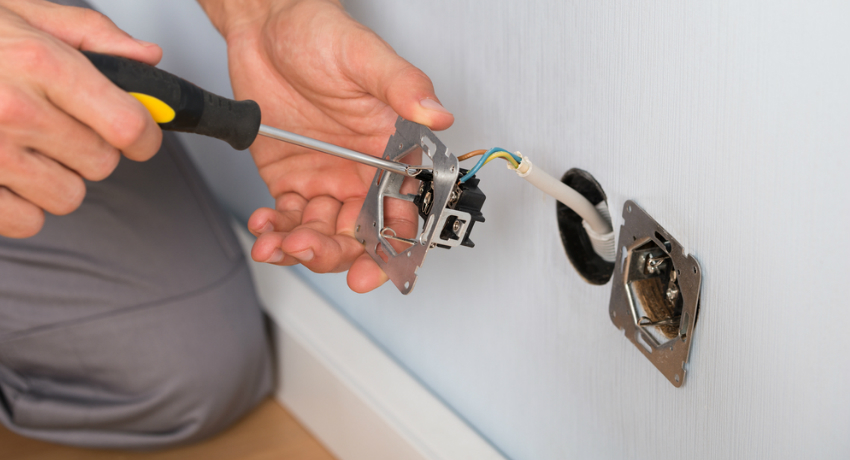
If the socket is replaced, dismantle first. For this, the cover is removed on the old device, and the screws of the clamping elements are unscrewed. After that, you need to slightly pull the outlet out of the box and disconnect the wires that supply it.
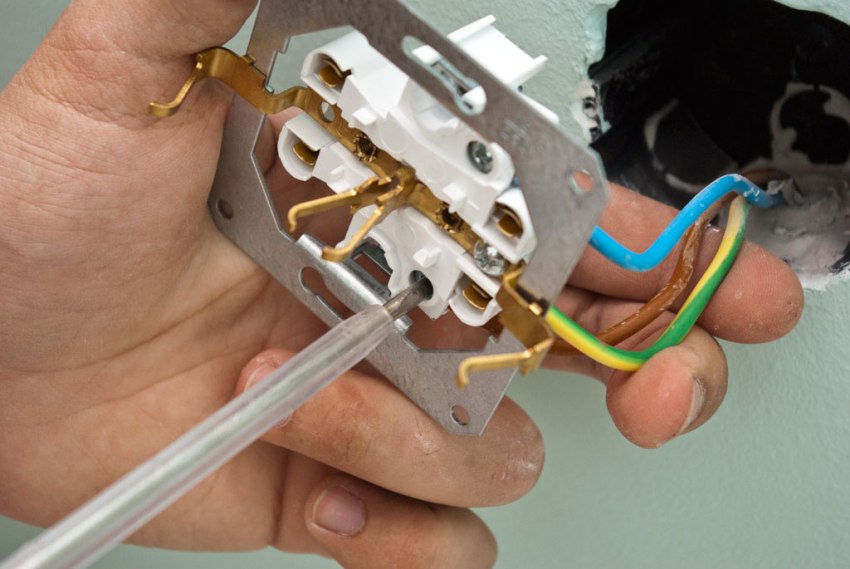
Installation of sockets in mounting boxes - socket boxes, into which electrical wires are drawn through special holes
Next, stripping is performed. At the end of the wire, which is brought through the hole in the socket, it is necessary to remove the insulation along the length of about 15-20 cm. If the insulating material is single, it is enough to disconnect the cores from each other at a length of 5-10 cm. To connect the socket, it is necessary to connect its contacts to the power cable. The exposed part of the wire is inserted into the terminal, after which it is tightened with bolts.
Note! Tighten the bolts very carefully, otherwise the wire can be pinched.
To make the connection more reliable, the wire should be bent into a small ring with a diameter of 4-5 mm. If you are connecting an outlet strip or one grounded product, then the grounding cable must be connected to the terminal provided for it. When all supply wires are connected, the structure is installed in the box. It is necessary to ensure that the working part of the product is exposed evenly, without distortions.
Then you need to hide all the wires in the box and fix the socket with the clamping elements and screws. All that remains is to screw on the outer cover.
How to connect a double socket: recommendations for the installation of block products
The installation procedure for a double socket depends on the type of its design. It can be prefabricated or stationary.Installation of the second option involves the use of clamping contacts, which are provided by the manufacturer in the socket. The supply wires are connected to different conductive plates. It is not allowed to fix the phase and zero on one plate. This option of assembling the system is potentially dangerous. There is a possibility that a short circuit will occur when the machine is turned on. As a result, the wires will be damaged.
In fact, installing a pair of elements in a combined unit is no different from connecting two single-type sockets. The result is the same as if an extension cord was connected to the network. However, having a couple of outlets instead of one, you should not turn on several very powerful devices at the same time, for example, heaters. In this case, the load will be applied to the wire through which the first socket is connected. Fire may result if this cable is not designed for such use.
It is very important to find the right location before installing the socket strip. If electrical fittings are installed on the kitchen, it can be placed above the worktop so that electrical appliances are conveniently connected. In the living room, block products are used for TV and computer. Sockets and all cords can be located directly behind the appliance body. For the bathroom, you can use a design with three elements.
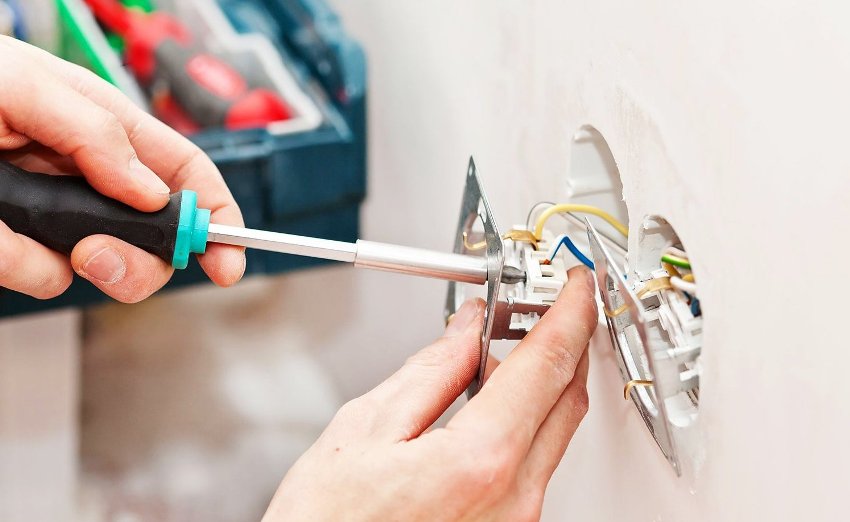
In living rooms where several household appliances are working at the same time, it is better to install sockets with a switch in one housing
Note! The minimum distance from the outlet to the water in the bathroom is 60 cm. Do not place the device closer. It is better to choose a model with a waterproof housing for this room.
Technology for connecting a computer outlet to the Internet
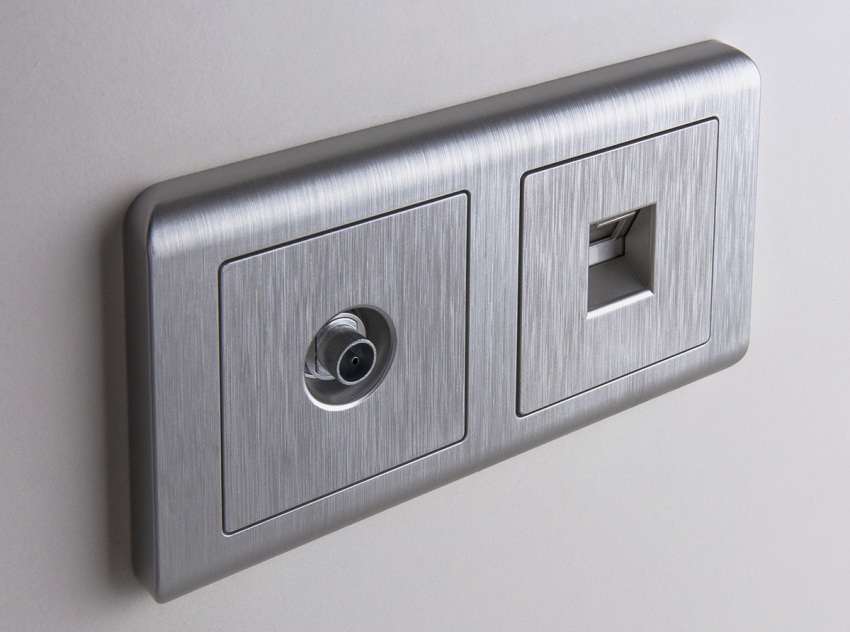
Products intended for servicing the Internet are of the low-current line type. In this case, the connection to the power outlet can be performed as one of the components of the triple unit, where there is:
- standard 220 V socket;
- television construction;
- internet socket.
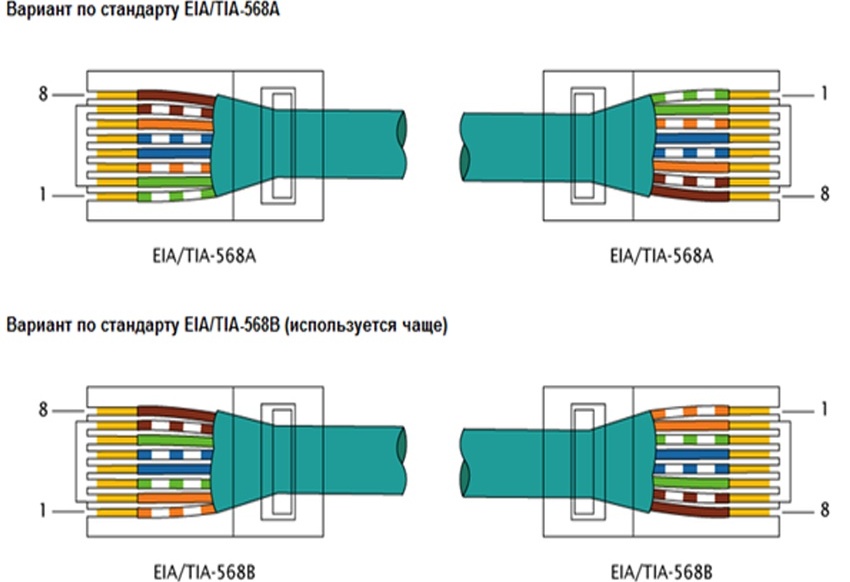
The process of installing a computer outlet begins with installing a router in a low-current panel. It is connected to a 220 V power outlet. Next, you need to lay a cable with 4 pairs of wires. It is better to use the UTP variant belonging to the 5E series. To place it, a strobe, which is not connected with power lines, or a cable channel is suitable.
Installation is carried out directly from the panel to the box. The cable runs in socket with a margin of 15 cm. The cover plate is removed from the outlet and the caliper is pulled out. The frame is installed if the design allows this part at this stage. The entire product is fixed with screws 25x3 mm. After that, you need to bite off and leave the supply wire in the socket with a margin of no more than 15 cm in length, remove the top layer of insulating material on it with a stripper on a 2.5 cm segment. The exposed cores must be untwisted so that they are separated from each other.
Further actions look like this:
- The inner part of the socket is taken out.
- According to the marking on it, the wires and contacts are connected by color.
- The cover snaps into place for connection.
- The protruding ends of the veins are cut off from the outside.
After that, the socket is returned to the support, the front part and the decorative frame are installed. All that remains is to correctly connect the cable to the router located in the communication board.
How to connect a TV outlet with your own hands
A modern TV has many functions. In addition to broadcasting standard and cable channels, this device has additional capabilities:
- Internet access;
- viewing video and photo content using mobile devices;
- using game consoles, etc.
Therefore, many apartment owners have the question of how many sockets to place under the TV and what they should be.
The minimum set includes:
- electrical outlet (2 pcs.);
- television (1 pc.);
- internet socket (1 pc.).
Note! Digital television is not complete without additional prefixes... A receiver may be required to use a satellite dish. Therefore, the communication scheme should provide for the connection of the antenna socket, as well as the access point for the set-top box.
An antenna cable outlet is usually connected to TV setthat works from a cable or terrestrial antenna. Even if you do not intend to use additional options, in addition to digital television, it does not hurt to connect a standard antenna in case of a failure of the provider. This cable is fed to the outlet through a low current junction box. The connection to the Internet outlet is performed from the router in the manner described earlier. Standard products are assembled by daisy chaining or using the "star" method.
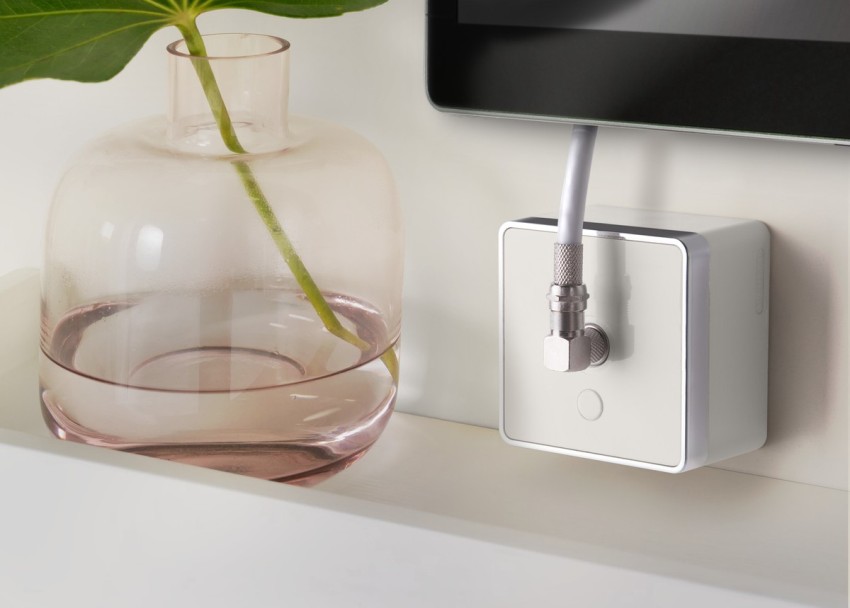
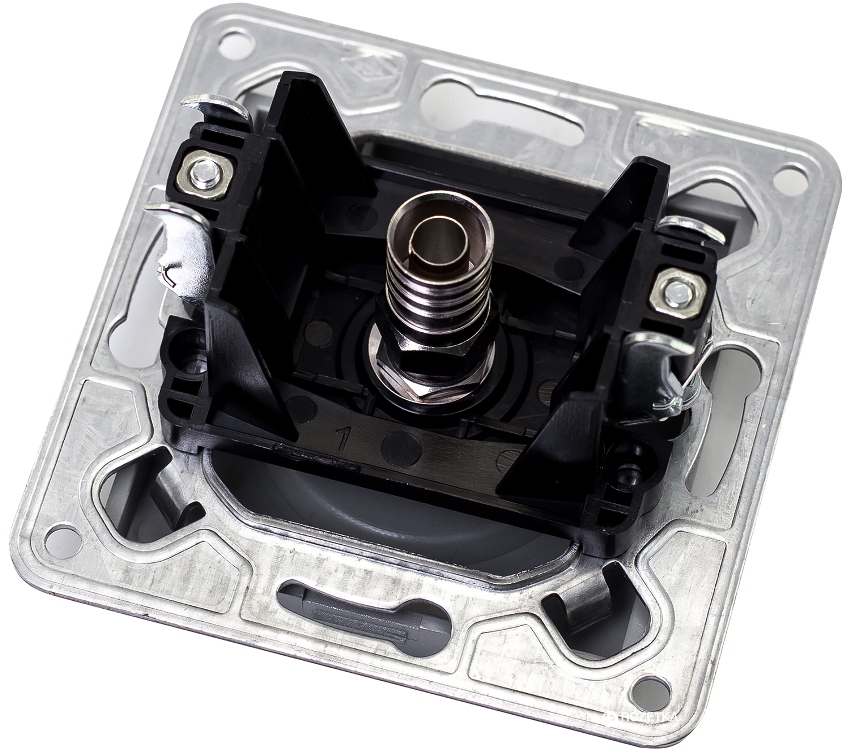
Externally, the design of almost all TV outlets is the same: a plastic bar, which is fastened with two screws, and a TV input right in the center
How to connect a telephone jack without the help of a master
Connecting this option is much easier than installing standard electrical outlets. The structure can be hidden or placed as a cover on the wall. The latter option does not look aesthetically pleasing, but, if necessary, makes it easy to carry out repairs.
With the open method, it is advisable to install the socket into the cable channel:
- The wiring is de-energized.
- The socket is fixed in the frame.
- The wire is brought out into the cable channel.
- The insulation is removed from the ends at a length of 1 cm.
- The frame is attached and the socket is installed.
- Wires are connected in accordance with the diagram.
- The socket is fixed and closed with a cover.
Other types of sockets are mounted in the same way in the cable channel. Internet products, switches can be connected to it.
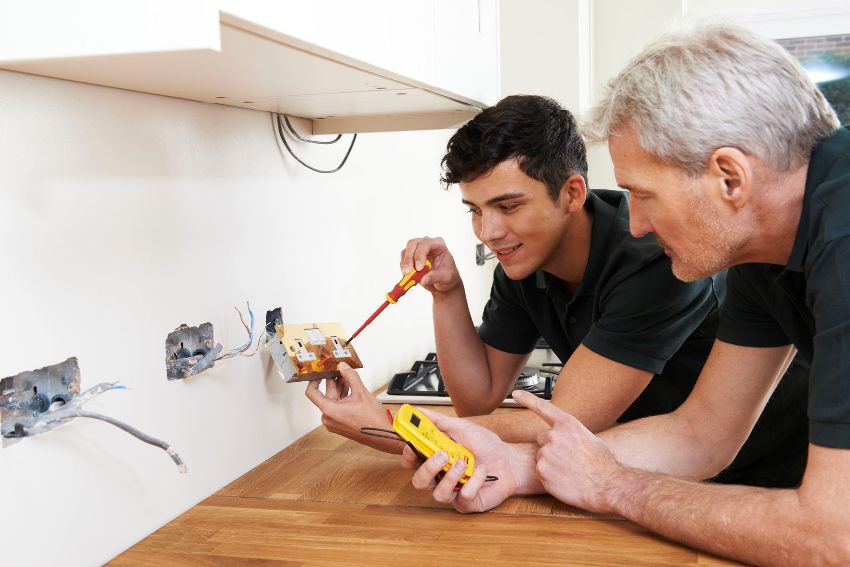
In order to observe the correct connection of the telephone socket, you need to check the polarity of the line using a multimeter or tester
The installation diagram looks the same in many cases. In this case, it is only necessary to take into account the parameters of the network and the design features of the products. Many of them have instructions detailing the installation procedure. It is necessary to clearly follow the manufacturer's requirements if the work is done by hand.
