Everyone wants to make their room unique and unrepeatable. DIY table lamps are one of the original ways to complement any interior. Even in spite of the fact that now shopping centers are full of a variety of shapes, colors and designs of lamps, anyway a device made independently from scrap materials will be a reason for pride. Of course, for this you have to try, spend time and show your imagination.

A DIY table lamp is a great way to decorate your interior
Content
- 1 DIY table lamp: the main advantages of the product
- 2 Diy table lamps: constituent products and its varieties
- 3 DIY lamps: photos and principles of choosing a light bulb for a device
- 4 How to make a lamp from a bottle yourself
- 5 DIY wooden lamps and floor lamps: photos of original ideas
- 6 The main methods to update the lampshade for a table lamp with your own hands
DIY table lamp: the main advantages of the product
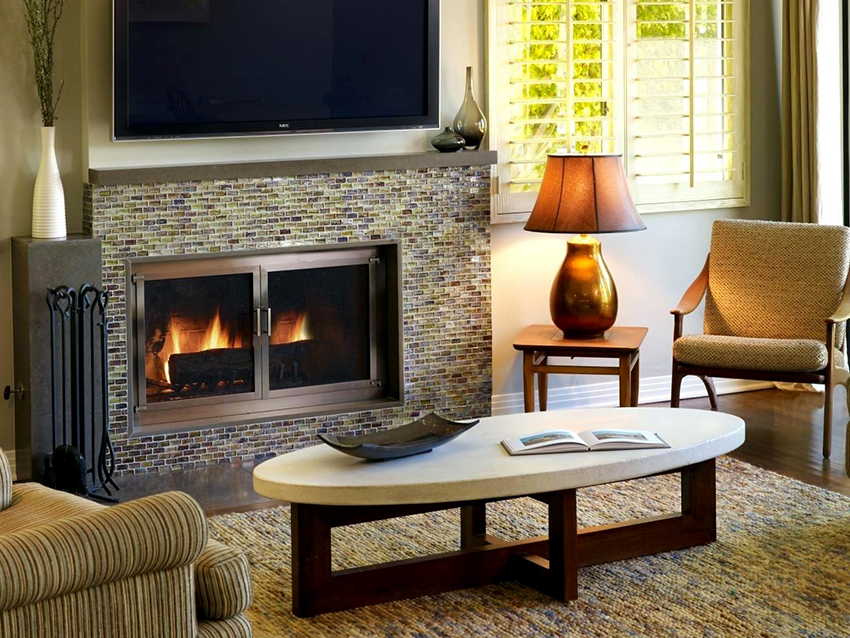
Table lamps are not considered the main light sources, their main task is additional light directed to the right place. This device is most often installed on a table, which for the most part is not sufficiently lit. A limited amount of light in the workplace can not only lead to problems with the visual organs, but also provoke diseases of the musculoskeletal system.

The main advantage of a homemade lamp is its exclusivity.
Important! Tableware, the light source from which does not rise above the table, are not lamps, but bedside lamps. Their main purpose is to create a dim light that relaxes the nervous system and allows a person to relax.
It is especially important to install the lamp in a place where there is an acute shortage of natural light. In this case, you should correctly fix the device on the table. Basic rules for placing a table lamp:

A handmade product will fully meet the needs
- If the main purpose of the device is to provide light when working at the table, it should be installed taking into account which hand the person writes with: for a left-handed person - on the left, for a right-handed person - on the right. In this case, normal operation will not interfere with the shadow falling from the hand.
- In any situation, for whatever purpose the lamp is used, it must rise above the table surface by at least 35 cm, but not higher than 40 cm.
- If there is also a monitor on the table, the light should be higher than its top edge.
- It is important that the light from the lamp does not fall directly on the face and does not blind the eyes.
All these rules apply to both self-made lamps and purchased ones. Homemade lamps, in comparison with models available in retail outlets, have their own advantages, which include:

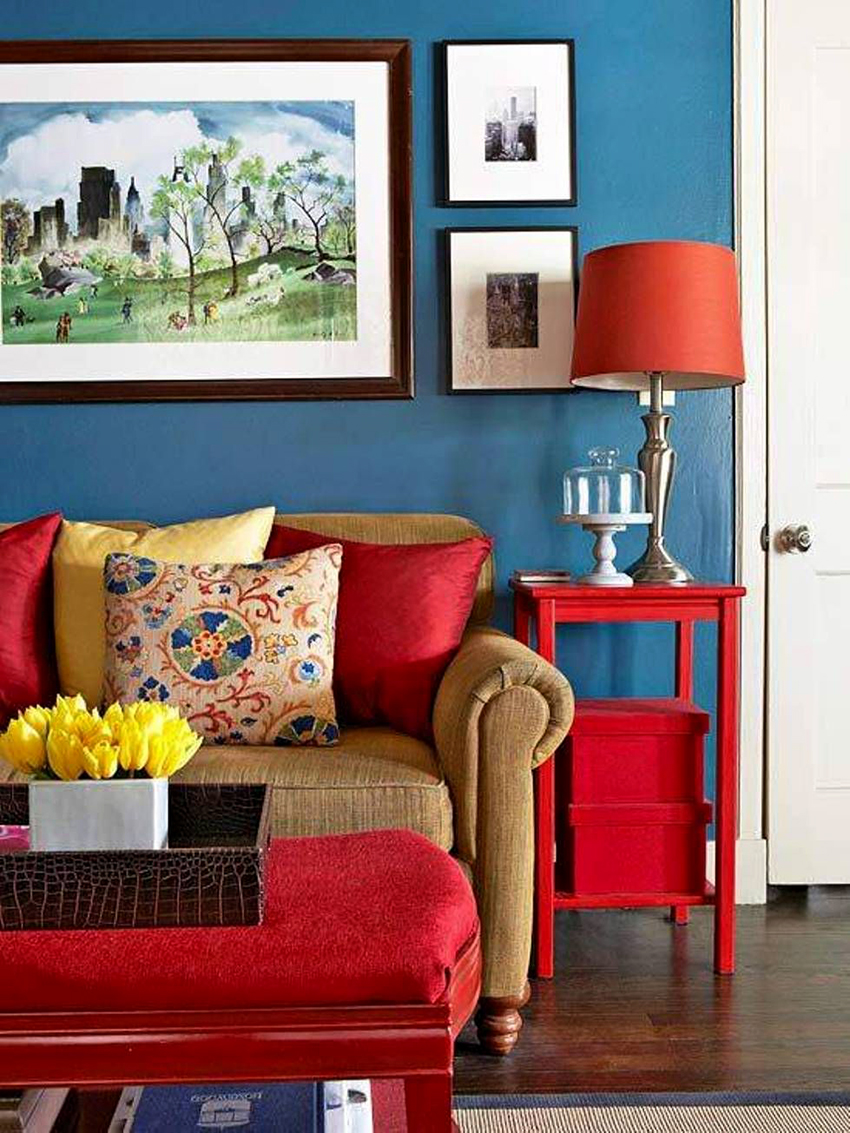
It is more pleasant to use a lamp made by yourself than a purchased one
- Exactly the right size. Before making a lamp with your own hands, you should carefully choose the installation location and the available amount of free space, which will make the device ideal in size.
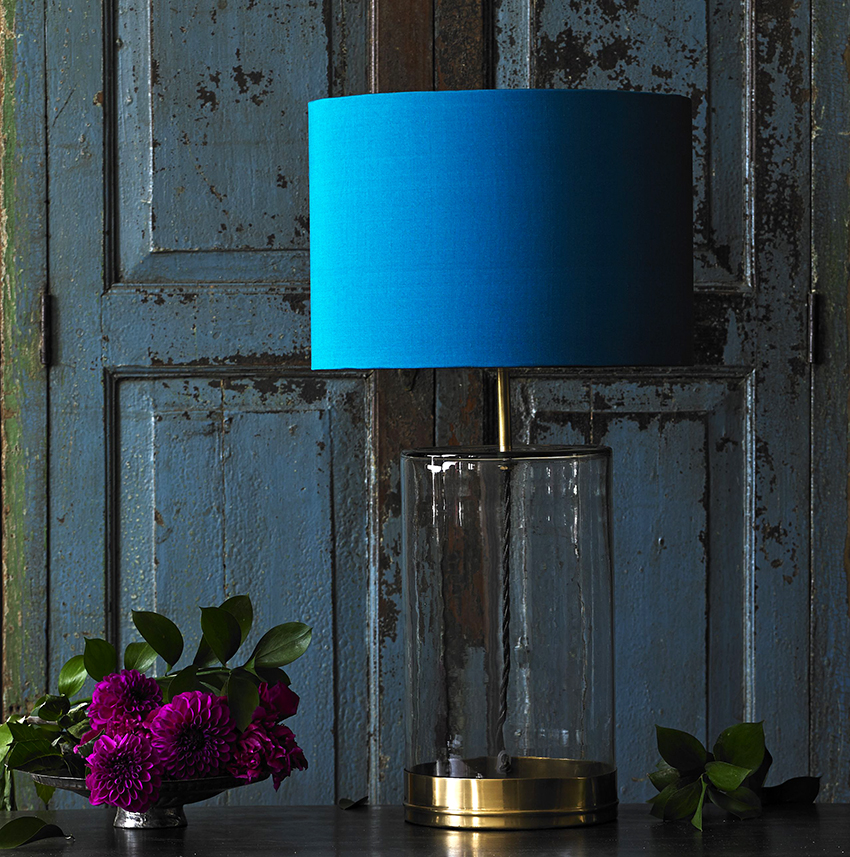
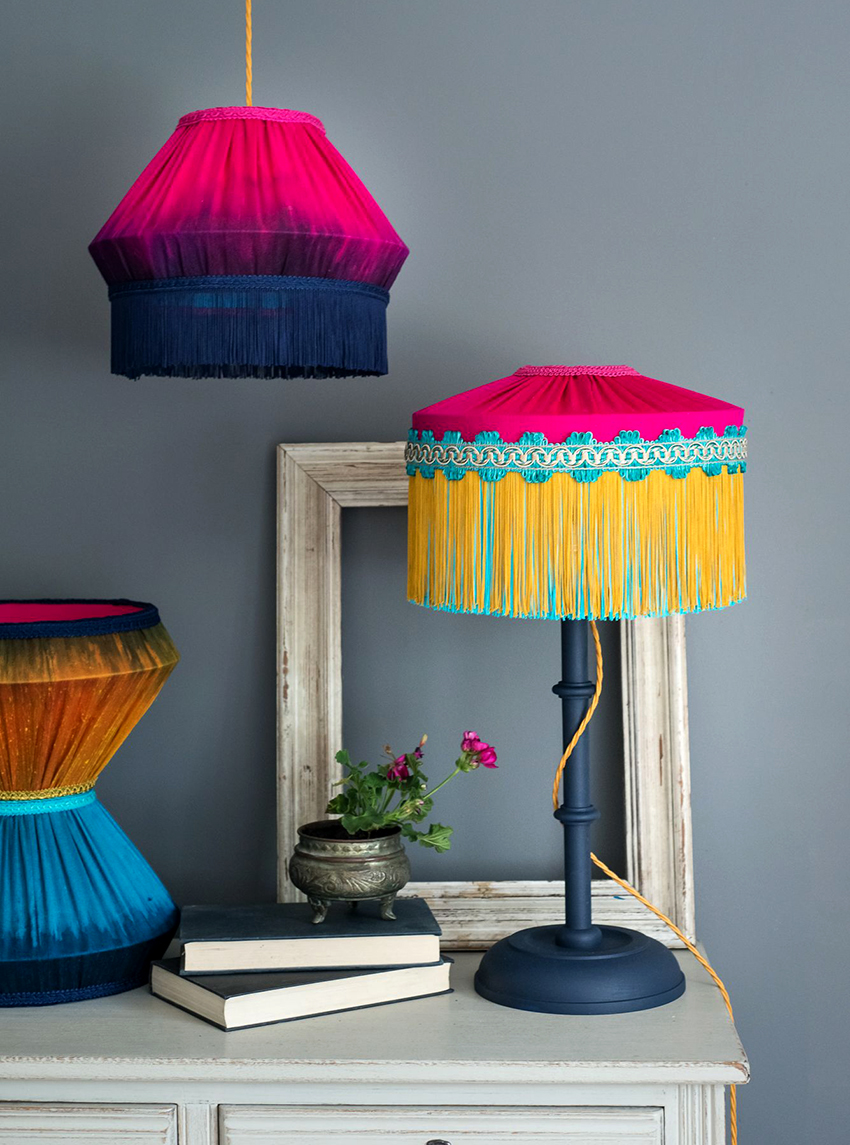
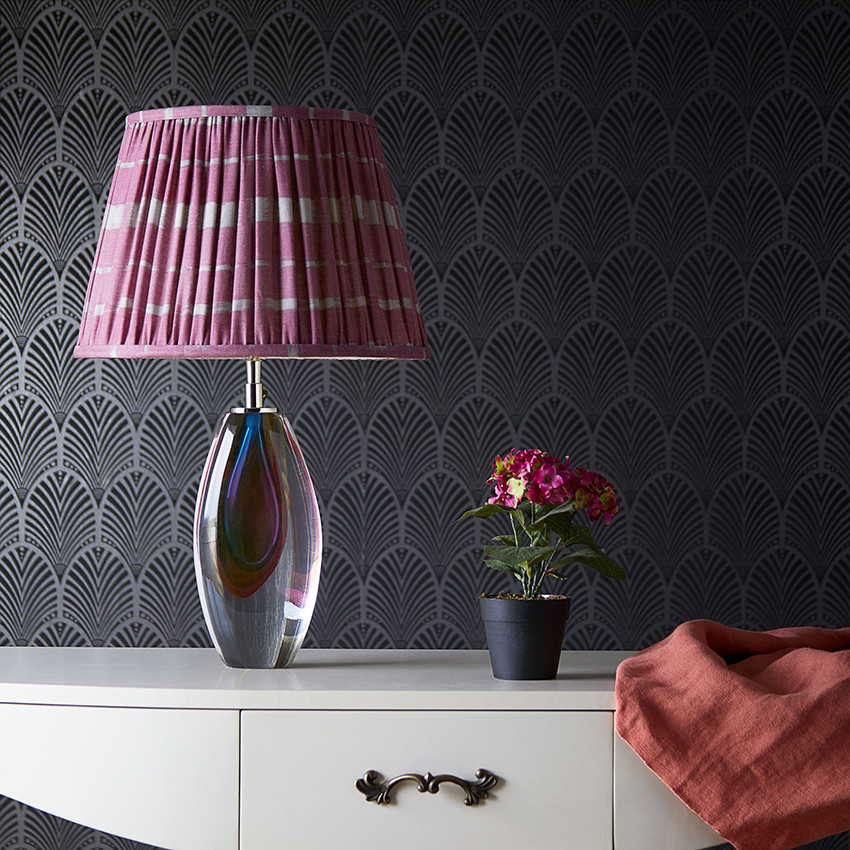
- Harmonious compliance with the interior. Beautiful self-made table lamps always harmonize perfectly with the interior, because materials and colors are selected taking into account the design of the room.
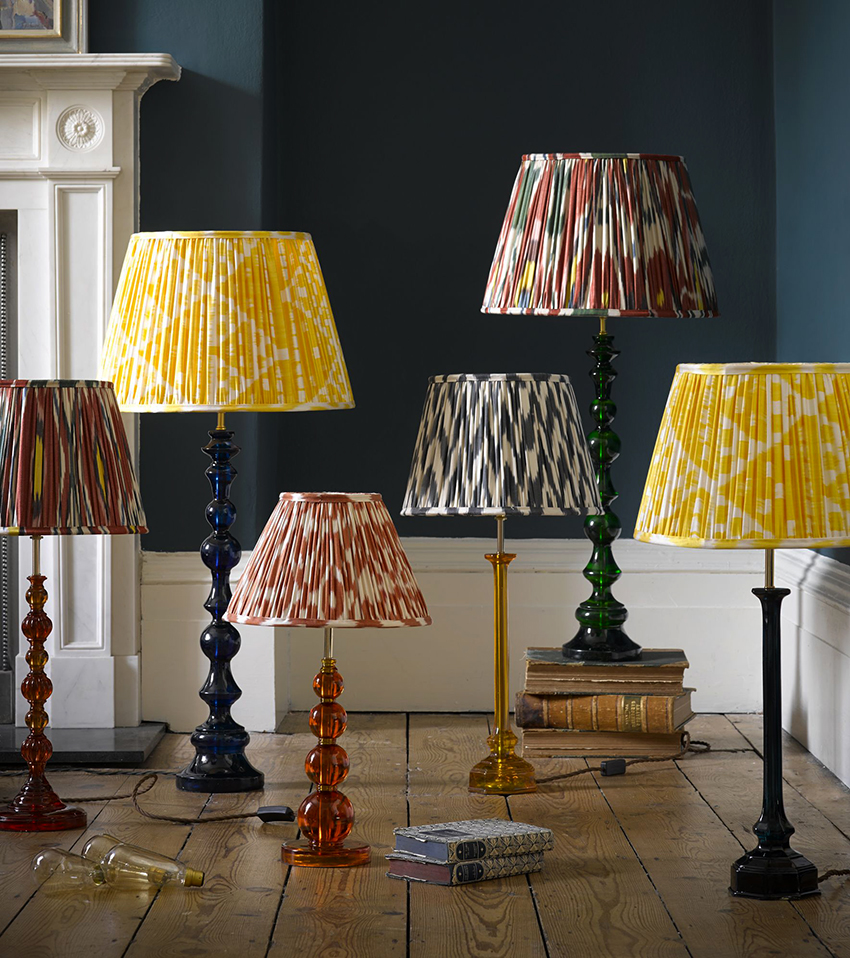
- A one-of-a-kind product. If you look at photos of table lamps made by yourself, you will not be able to find two identical options. Even if the products are made according to a similar pattern, they will still differ in decorative elements or some small details.
Diy table lamps: constituent products and its varieties
The main condition when choosing the type of luminaire is to decide on the tasks that it will perform, and based on this, start work. If the main purpose of a table lamp is lighting, you should carefully consider the shape of the shade and the design of the leg. If the main function is illumination, then it is worth stopping at a simpler form, and for a night lamp you can use the most elementary version. When you look at the lamp, in general, the following details stand out:

Any table lamp has a cord, switch, shade, column and lamp
- Column. The main element that ensures the stability of the lamp on the table.
- Lighting diffuser. The most visible detail, it can be a lampshade or plafond. It is the do-it-yourself lamp shade for the lamp that allows you to harmoniously fit the device into the surrounding interior.
- Cord. Serves in order to connect the lamp to power, a plug must be present at the end of the cord. If you make the device on a rechargeable battery or batteries, this element can be neglected.
- On / off button. Allows you to regulate the operation of the device without disconnecting the cord directly from the network.
- Light source. This refers to a light bulb that provides lighting. It is selected based on the type of shade, the required lighting and the purpose of the luminaire.
- Fixing the plafond. Promotes a secure position of the light diffuser.

Before starting work, you need to decide on the type of lamp
The most popular types of table lamp designs
Based on the purpose and design, various options for table lamps stand out. The most popular is a desk lamp, because it illuminates a large space on the surface of a work or dressing table and at the same time easily moves to the right place depending on needs.
Another advantage is that such lamps are easy to decorate, and the technical side of the issue is quite simple. Before making a table lamp yourself, you should take into account that such a product cannot be adjusted in height, but by adding a thyristor power regulator to the device, it will be possible to change the light intensity. And also the light, evenly falling on the surface of the table, reduces eye strain and prevents rapid fatigue. There are other types of table lamps (photo is a confirmation) that you can do yourself.

A lamp with a lampshade is made quite simply, therefore it is suitable for beginners
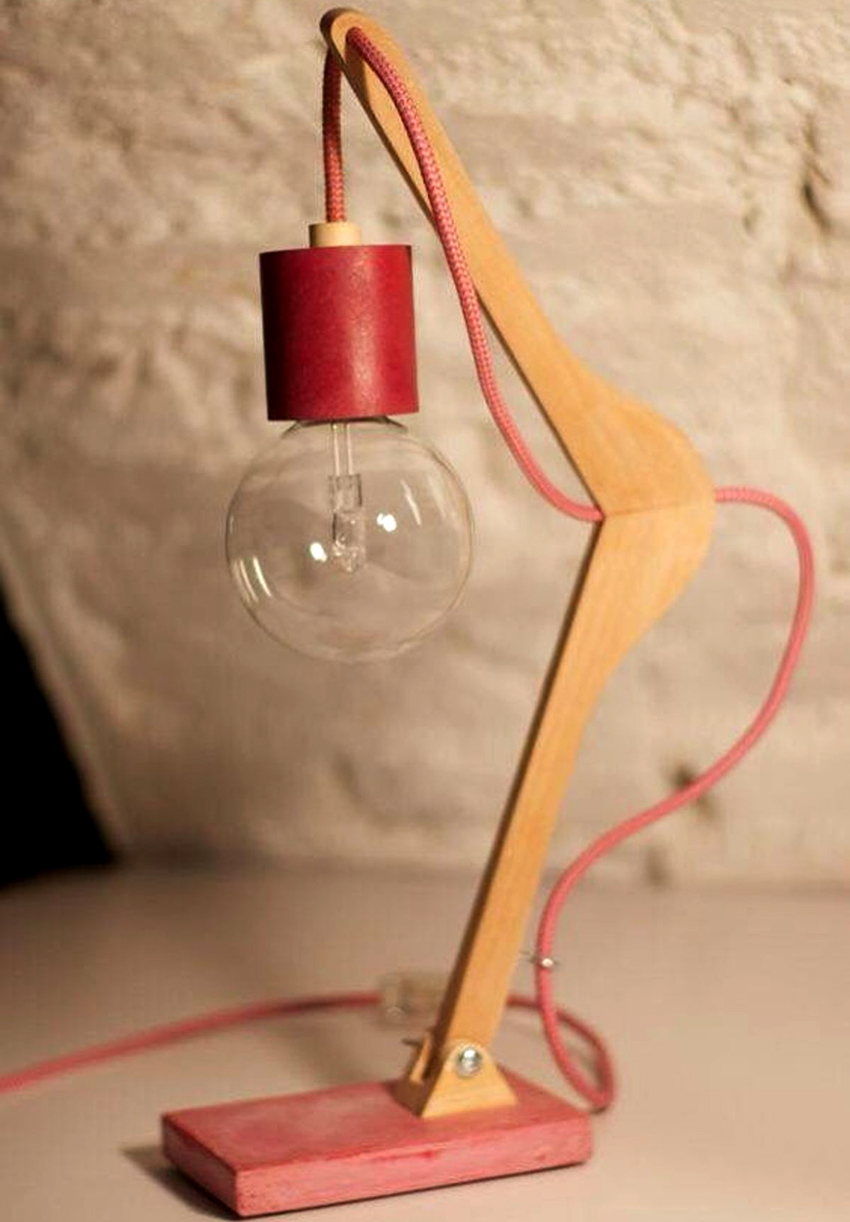
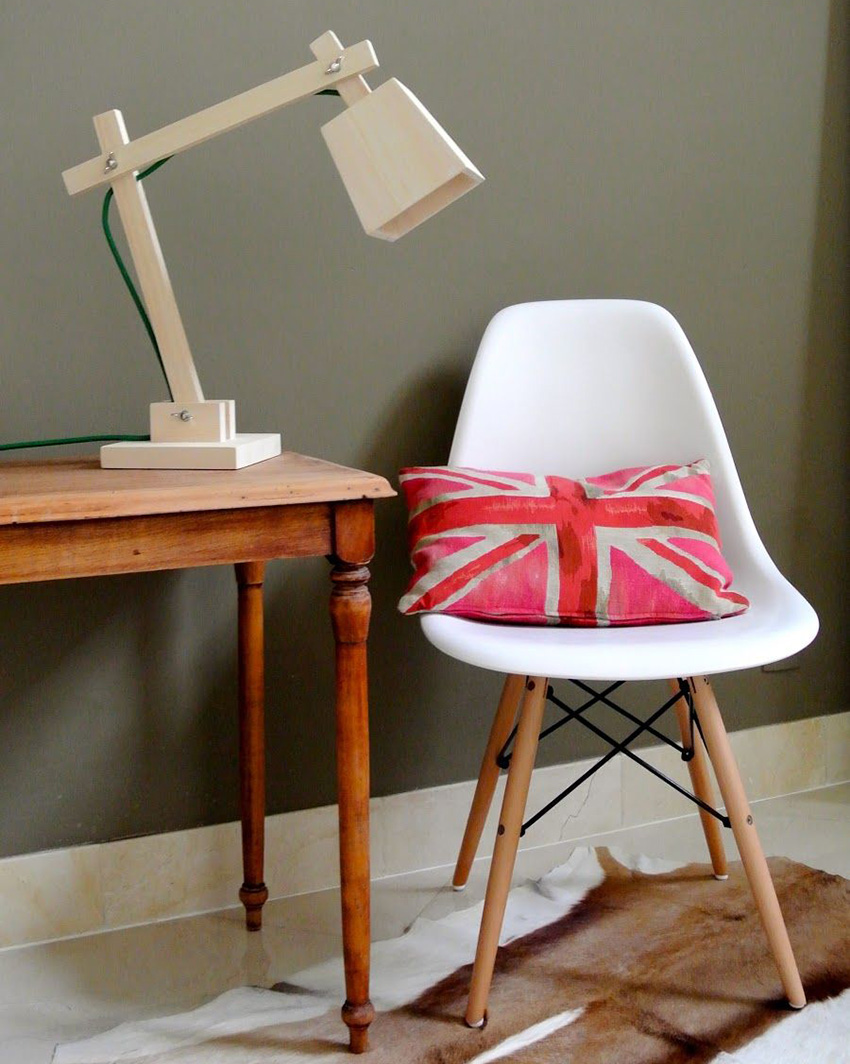
On the hinge. Such lamps are more suitable for people with an analytical mindset than for creative people who like to do decor.Before you make a table lamp on a flexible arm with your own hands at home, it is worth considering that it is not so easy to make such a structure, and the price of the finished product is likely to be higher than the cost of the purchased option. The main difficulty in creating this model, in contrast to the rack lamp, is that more effort will be required to ensure electrical safety. One of the advantages is the ability to adjust the angle of inclination of the incident light rays.
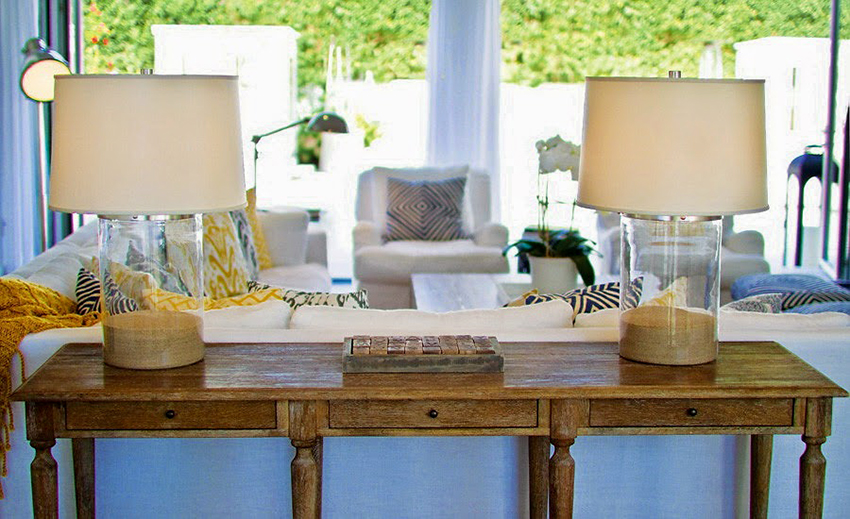
Console lamps. They are distinguished by their high weight due to the fact that the development of a heavy base is required, which firmly holds the device on the surface. These lamps, like the rack ones, are not adjustable in height or angle, but they give good light.
The easiest and safest lamp to use is a flexible LED tube that will serve as an excellent night light in a room. It is important that you do not need an outlet to connect the product, because the lamp can be powered from several 3W button batteries. Manufacturing requires an LED, a transparent tube, and a fluorescent liquid.

It is more difficult to make a lamp on a flexible arm, in addition, you will have to spend money on materials
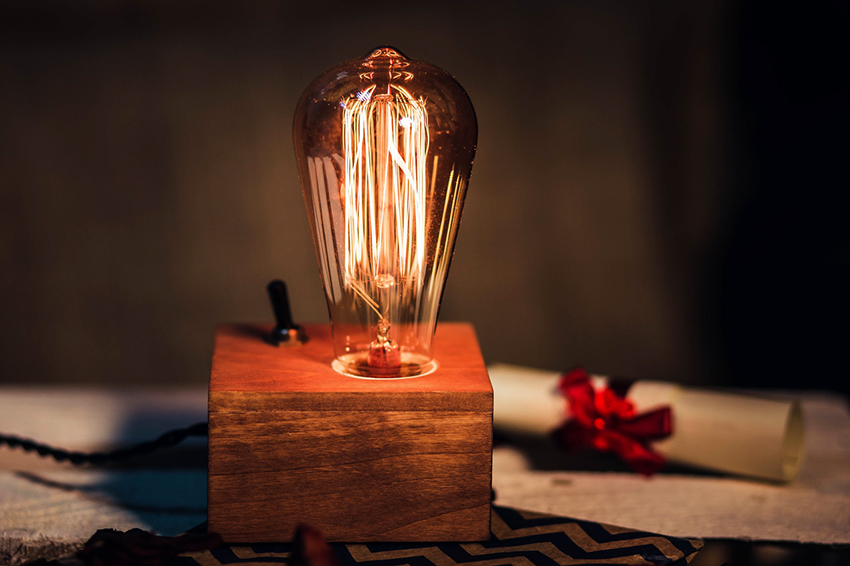
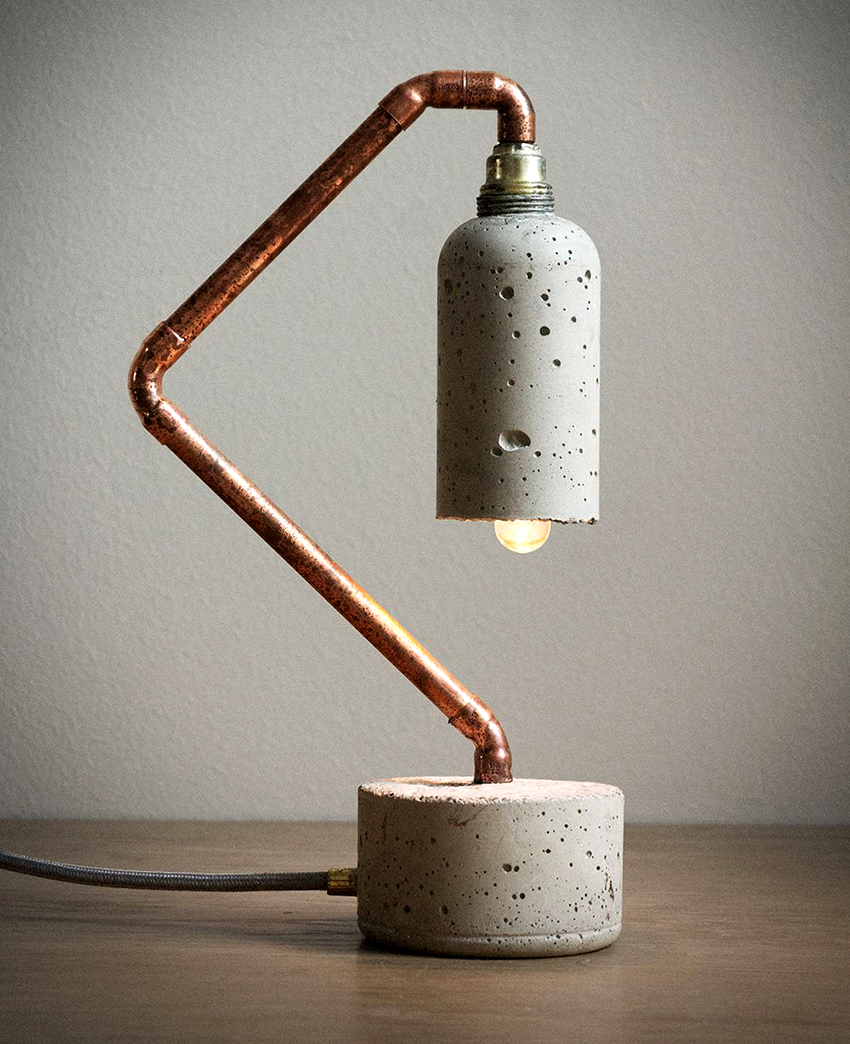
How to make a lamp with your own hands: the technical side of the issue
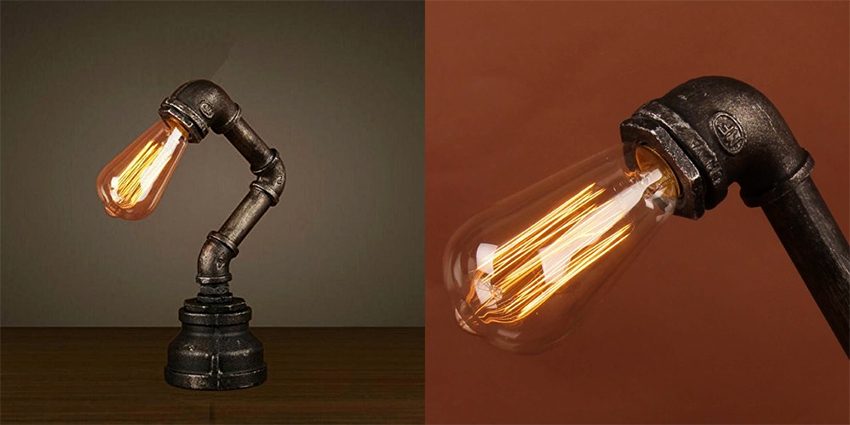
If we talk about the internal filling of the lamp, then everything is extremely simple, because the device consists of a power plug, a cord, a switch and a bulb holder. Those who are not alien to technical questions can supplement a homemade device with a voltage regulator. Whichever chuck is chosen, it is attached to a thread or steel plate.
Helpful advice! The best option for self-production is a chandelier cartridge with threaded collar flanges, because between them it is easy to clamp a steel faceplate, which serves as a fastener for the lamp shade frame, or a clamp for mounting on a hinge.

For homemade luminaires, it is better to use sockets with threaded flanges.
The main requirement for devices is electrical safety, since by making a table lamp with your own hands incorrectly, you can not only cause a short circuit, but also spoil the wiring. To prevent this from happening, experts recommend first of all to choose the right cord, which should be round, with double insulation.
The places where the cable passes must be protected by dense dielectrics. To prevent violation of the integrity of the cable, before entering the channel, it is tied with a small knot and pulled through the hole of the dielectric fixing washer. Only after all these points have been done, you can start decorating and finishing.

Electrical safety is the most important thing when making a homemade lamp
It is also necessary to clarify the method of pulling the cable for the lamp on the hinge. So, if the link of the bracket is one-piece, the cord is held at the top, left or center and securely fixed on the movable knee. If the hinge is a pipe, then it is better to pass the cable inside, but additional centimeters must be added to the required length of the cord, which will be enough for bending / unbending the lamp.
Special attention should be paid to the place where the cable from the bracket goes to the illuminator: you need to leave 8-10 cm of additional length, because the lamp design provides for significant changes in the position of the shade, which must be taken into account when selecting a suitable power cord. It is worth considering in advance the method of attaching the hinged lamp. Most often, a screw clamp or clamp is used for this. Craftsmen recommend using a carpenter's clamp for this purpose, which, unlike a locksmith's, has a softer coating.
Related article:
LED table lamp: an economical and modern way to organize lighting
Advantages and disadvantages.The most important parameters: power, light output, color temperature. Popular manufacturers.

DIY lamps: photos and principles of choosing a light bulb for a device
The first thing to look for when choosing a lamp for a homemade luminaire is the wattage, which determines the amount of energy produced by the bulb. For an ordinary table lamp, the indicator ranges from 40 to 120 watts. At the same time, it is important to take into account the type of material from which the device is made, since fire safety will depend on this criterion. So, an incandescent lamp of even a relatively low power (60 W), with prolonged operation, can cause a plastic lampshade to melt, a violation of the integrity of a wooden lamp or even a fire of a cloth lamp.


You should also pay attention to the lumen index, which determines the amount of light emitted from the lamp. Accordingly, the higher this value, the brighter the lamp will shine, but for a table lamp you should not choose an option higher than 1000 lm. It should be noted that the closeness of artificial light to natural light depends on the number of lumens. There are other points to consider when choosing a light bulb.
The form. The pear-shaped type of light bulb is considered traditional. It should be said that not only incandescent lamps differ in this shape, but also modern energy-saving luminescent options. In addition, there are spiral lamps in the form of a candle or a tube. The choice of the product as a whole depends on the design of the homemade shade.
Plinth size. Repairing a table lamp, which consists in changing a light bulb, is much easier to carry out with a standard E27 base. Other, no less popular options are E14 or E40. Modern LED table lamps with their own hands have a bayonet base, characteristic only for this type of light bulb.

For table lamps, a 40-120 W lamp is suitable
Life time. Basically, manufacturers on the packaging indicate the approximate life of the product, but in most cases this figure depends on the correct use and the characteristics of the power supply. It is logical that with frequent voltage surges, a lamp of any class will fail faster. Among all lamps, LED products have the greatest service life.
The nature of the lighting. The instructions for the device indicate what kind of light will come from the device (it can be cold or warm). The choice of the warmth of light depends on the chosen shade and its color, as well as on the main functions that are assigned to the device.
Energy consumption. If you plan to use a desk lamp as a night light, you should choose the most energy-efficient bulbs that will save on electricity. Despite the fact that you have to overpay a little when buying a light bulb, utility bills will be lower.


The presence of hazardous elements. Fluorescent lamps contain mercury inside, so it is extremely dangerous to install such a tabletop device in a child's room. These lamps must not be disposed of in the trash because they must be disposed of correctly to prevent environmental pollution.
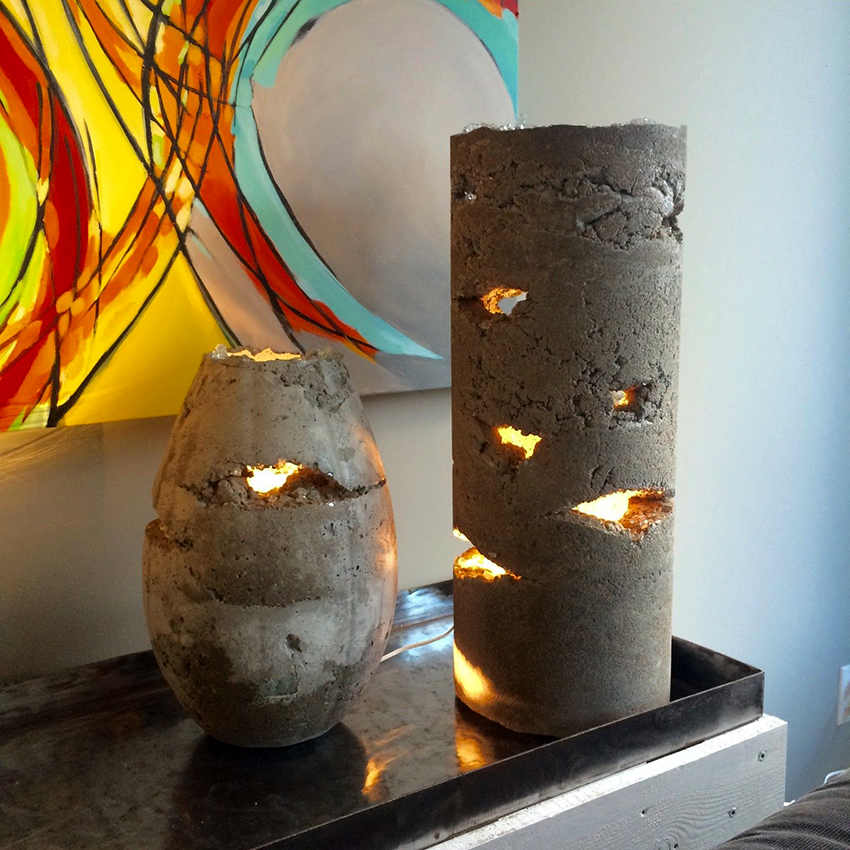
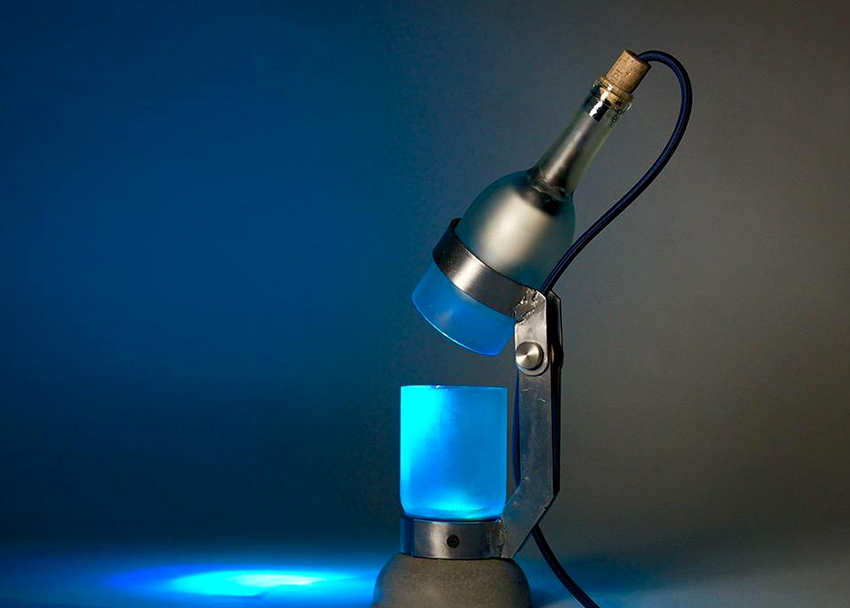
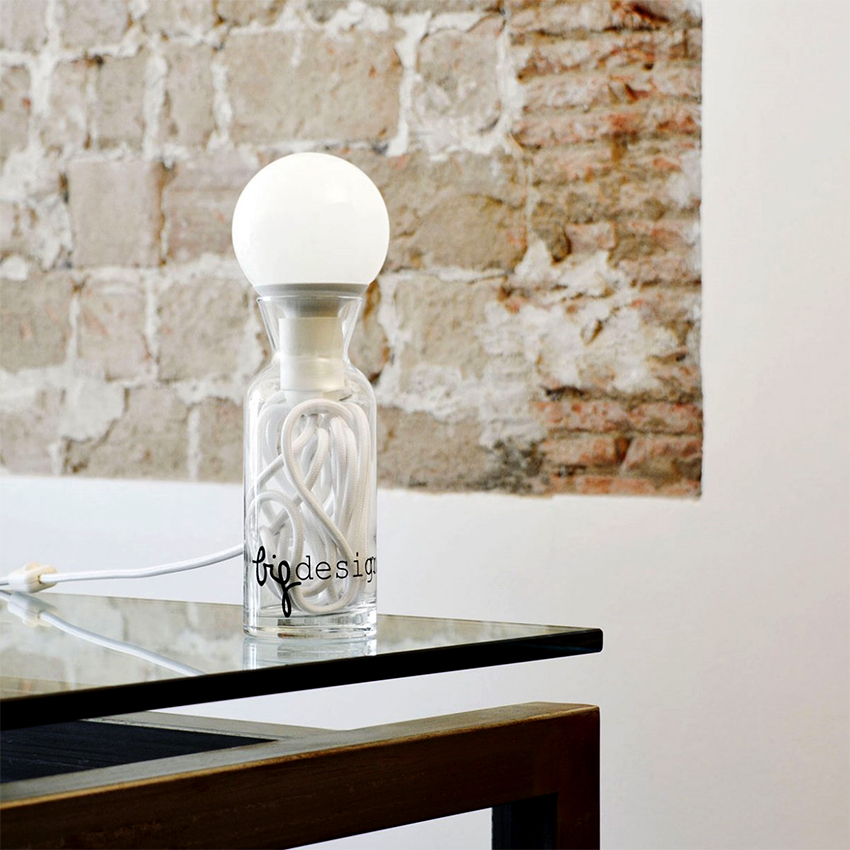
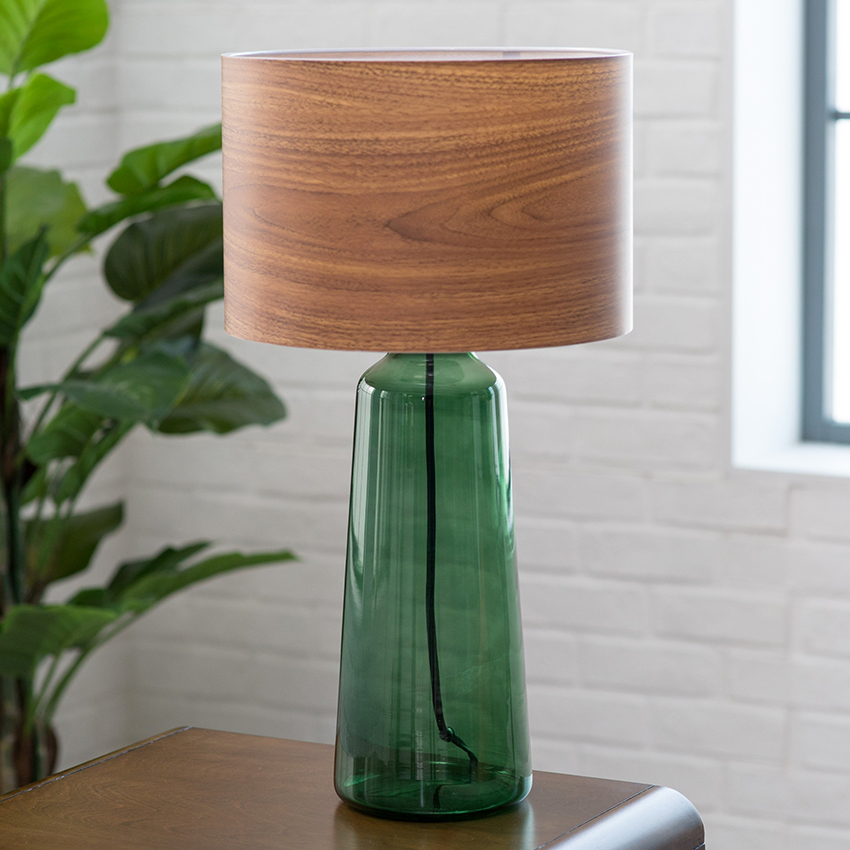
How to make a lamp from a bottle yourself
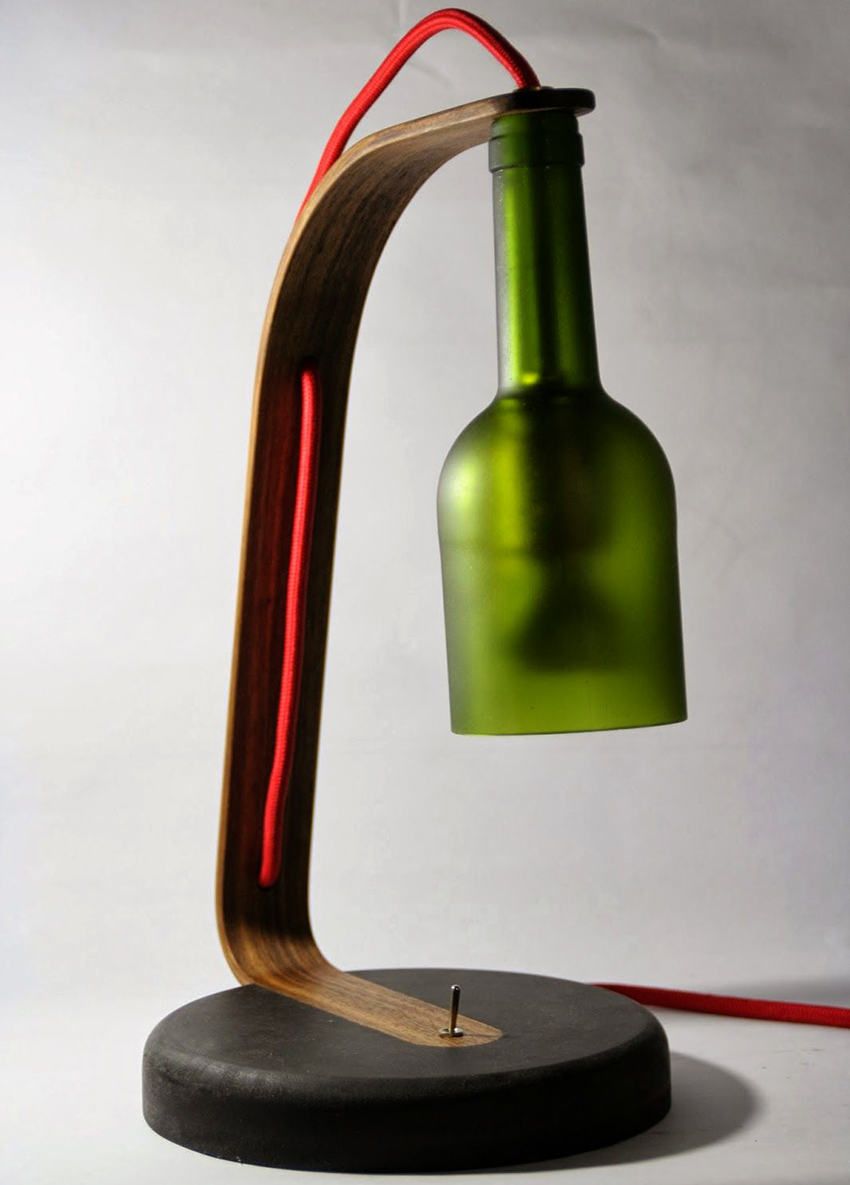
A do-it-yourself table lamp from a bottle, firstly, does not take much time, and secondly, it will be an ideal addition to the interior of the room. The most important advantage of such a product is its exclusivity. Below will be presented a small do-it-yourself lamp master class, for the manufacture of which you will need the following components:
- Glass bottle;
- safety glasses, mask and gloves for safety;
- glass cutter;
- light bulb;
- wire with switch and base;
- wire of any color you like;
- sandpaper;
- screwdriver.

A homemade lamp using a bottle looks spectacular and is quickly made
Before starting manufacturing, preparatory work should be carried out. To do this, you will need to rinse and dry the bottle, as well as clean its surface from stickers and dried glue. In order for the sticker to come off easily and not leave traces of glue, you can use a hair dryer, after which the residues are removed with any solvent.
Helpful advice! For making a lamp from a bottle, a container that expands significantly towards the bottom is better suited. The wider the bottom of the homemade lamp, the more stable it will be.
After the surface is cleaned, you need to place the bottle in the cutter, adjust the glass cutter to the required level and rotate the bottle to get an even cut. Then it is placed in a "contrast shower" for several minutes until it disintegrates along the cut. For greater evenness and accuracy at the cut point, you should walk with sandpaper. The wire is carefully pulled through the neck of the bottle, after which the base with the lamp is screwed to the cable. To keep the cable firmly, a suitable chopik is inserted into the neck.

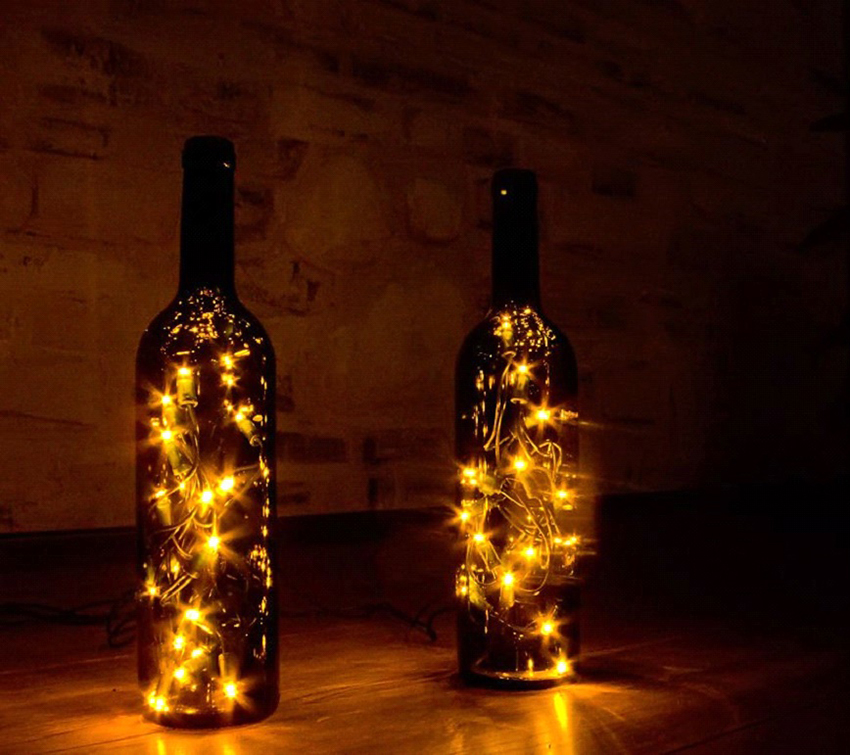

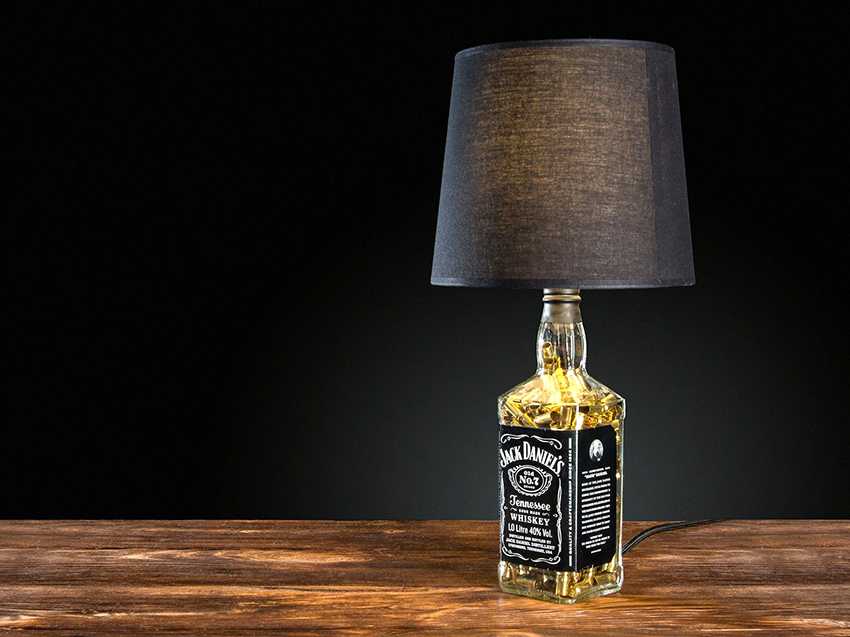

At the end of the work, they begin to decorate the walls of the bottle. To do this, you can use a wire or thread of a suitable color. Glued glass stones of different colors look very original, which are easy to find in large hardware stores or retail outlets specializing in the sale of decor items.
If there is nowhere to take a glass cutter, but you have a drill, you can make a lamp from a solid bottle. In this case, it will be possible to use only a small LED bayonet lamp in the form of a candle, which can crawl into the neck. Any bottle of any size is taken for manufacturing, in the bottom of which a hole is drilled for a cable, which is pulled through the neck. After installing the light bulbs, they start making a lampshade or decorate the bottle at their discretion.
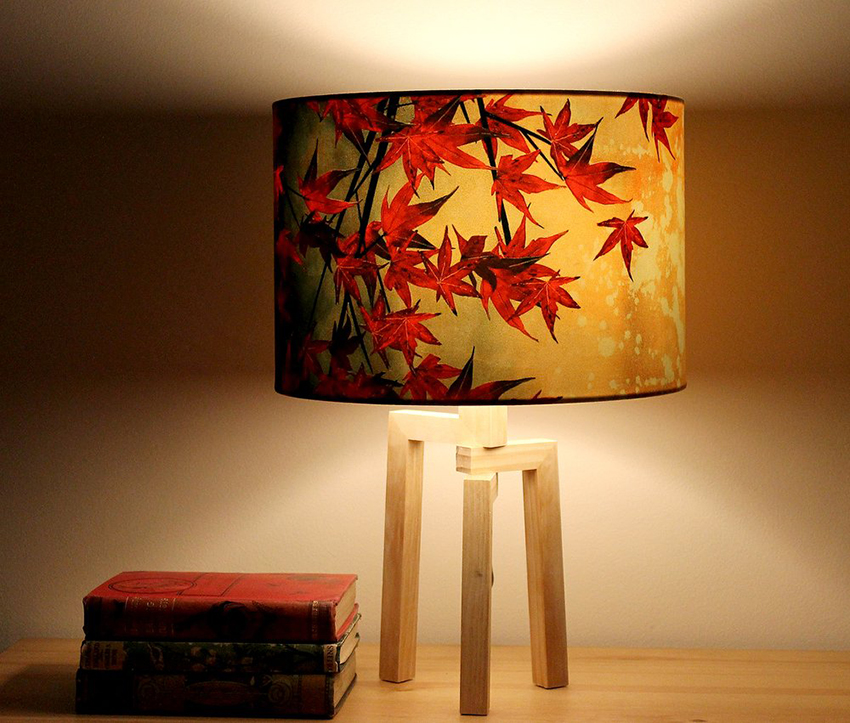
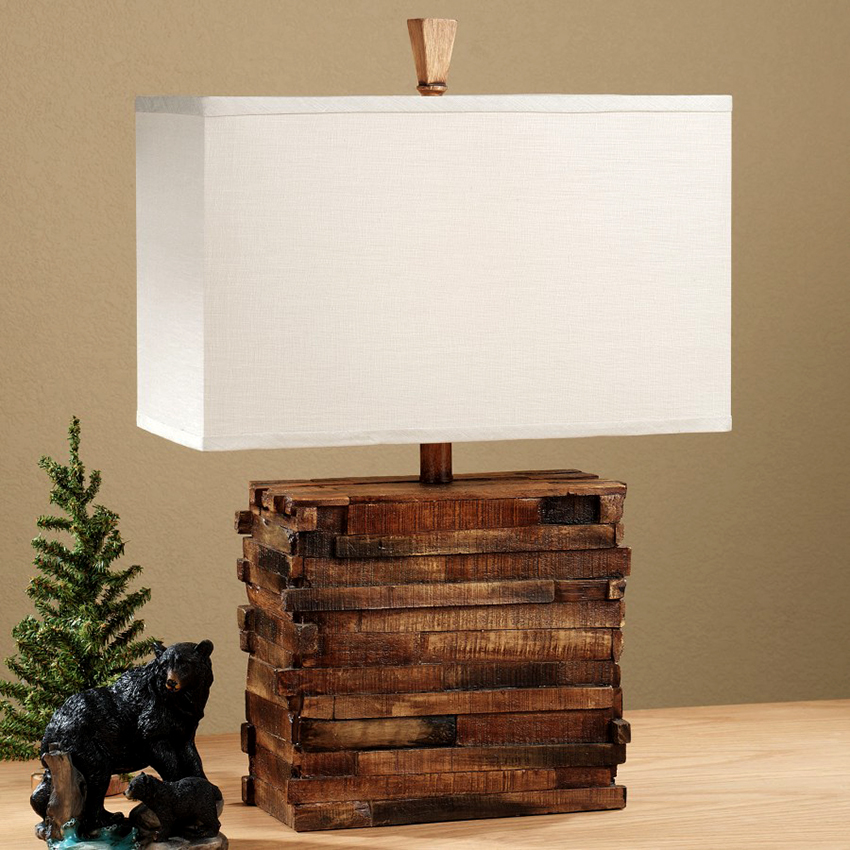
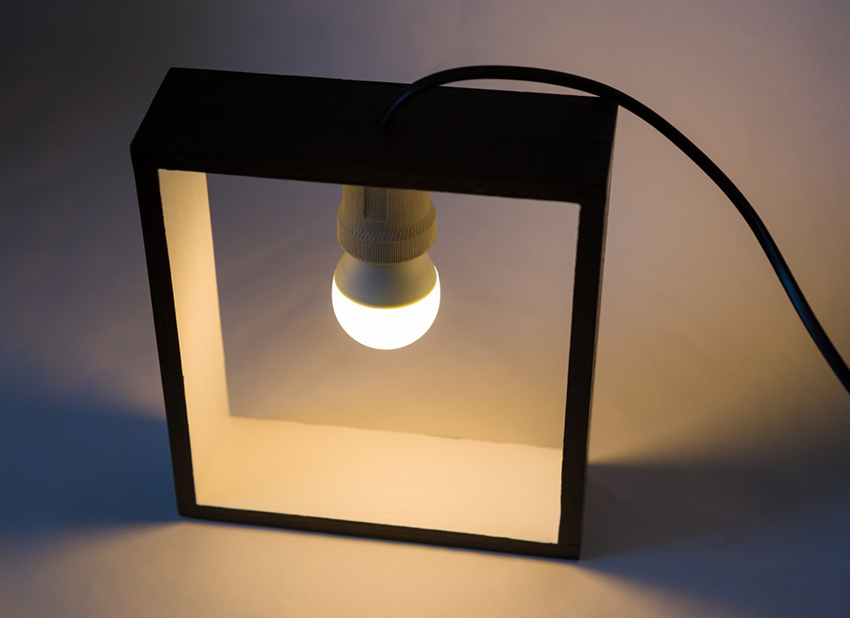
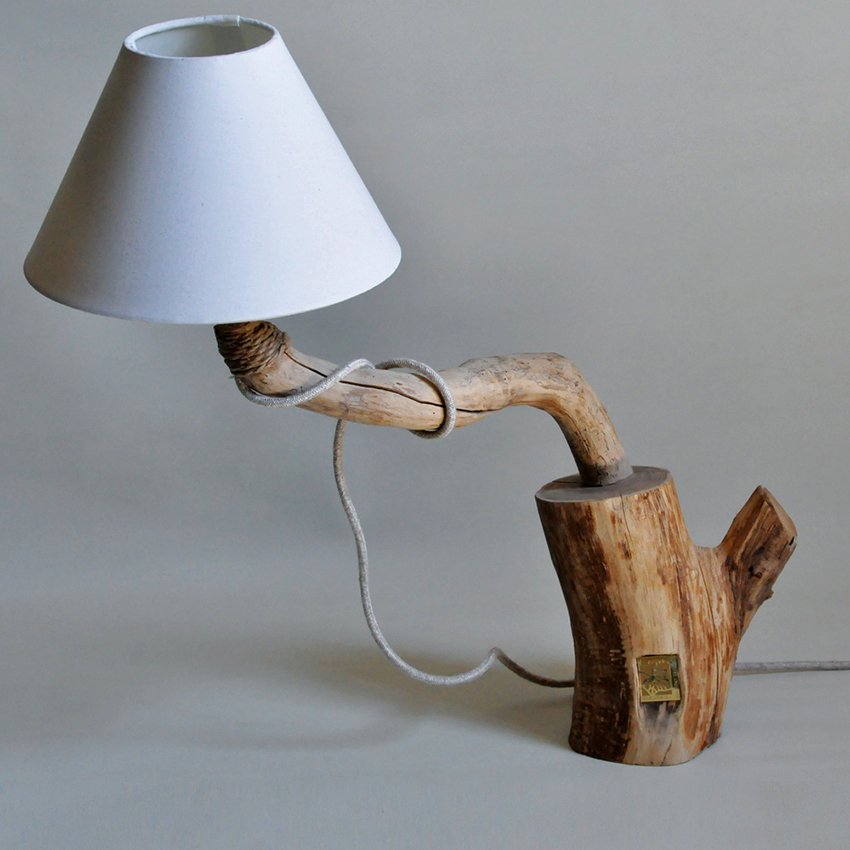
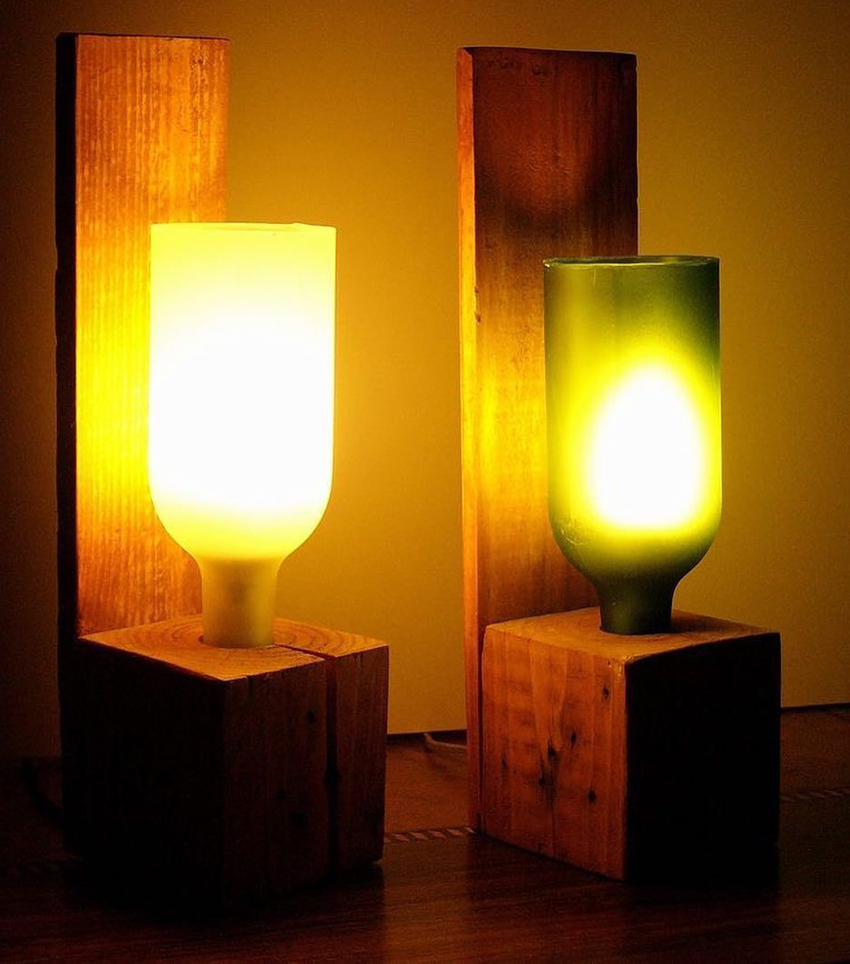
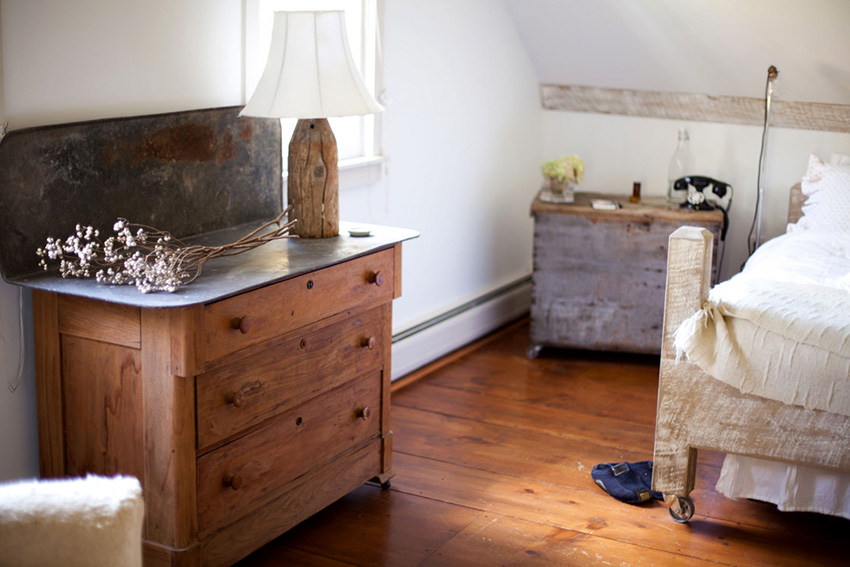
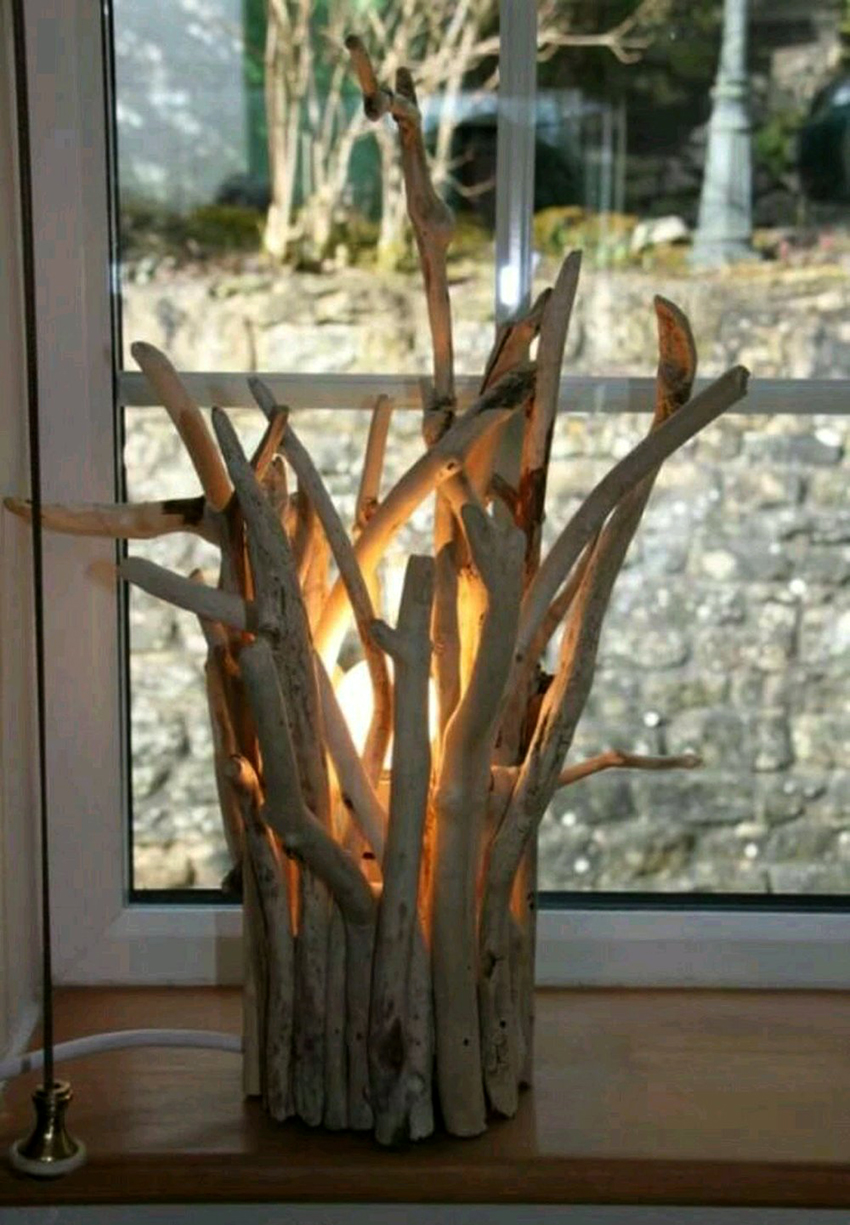
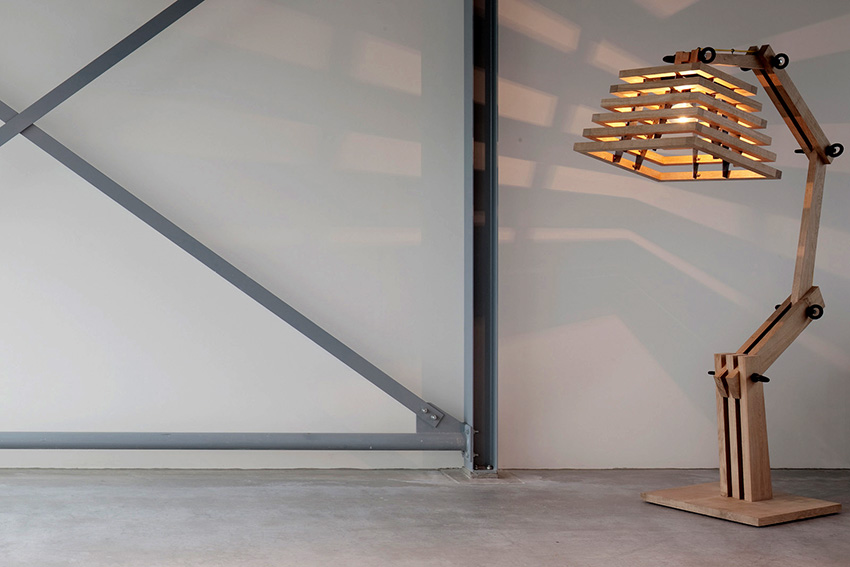
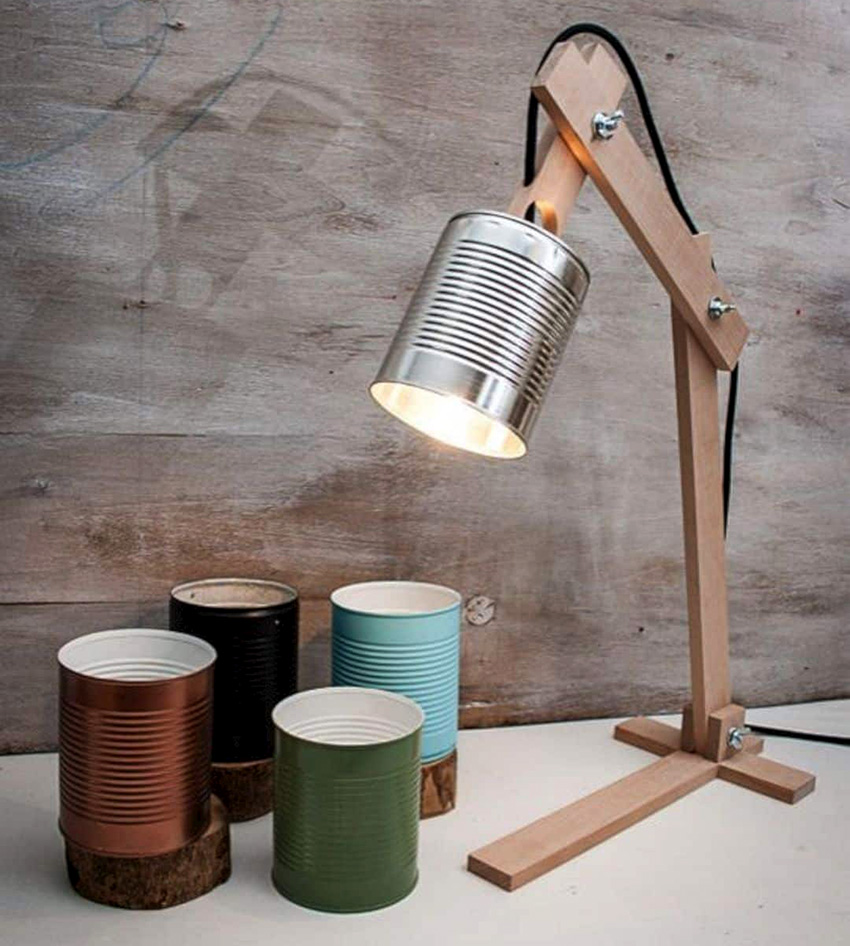
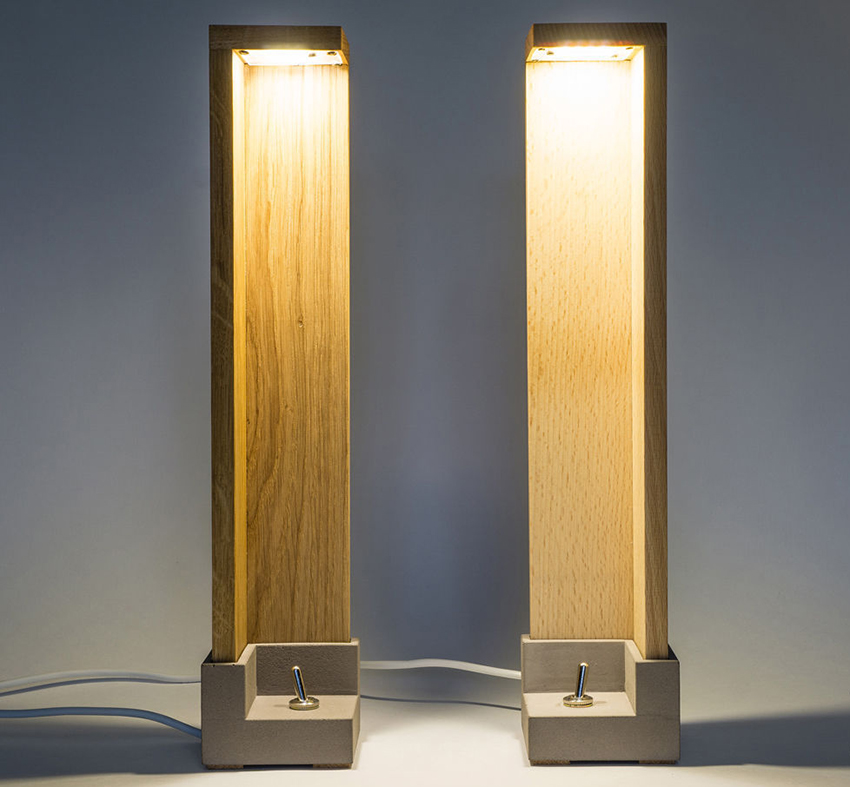
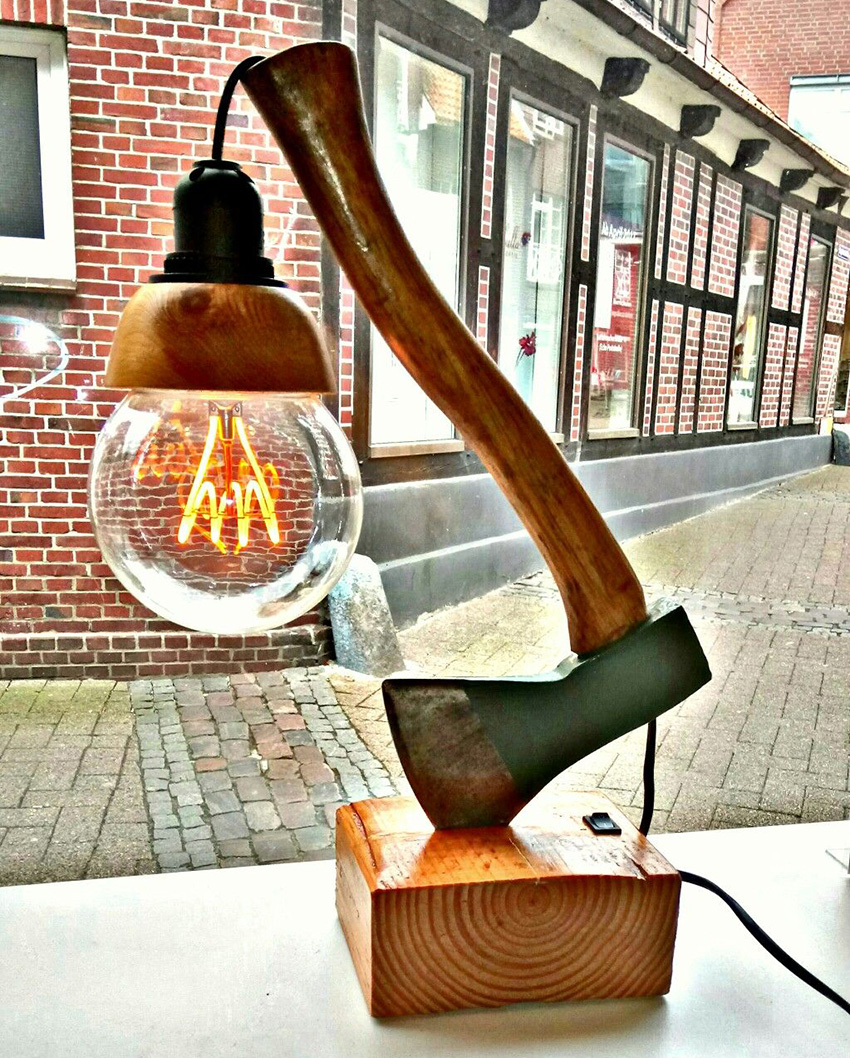
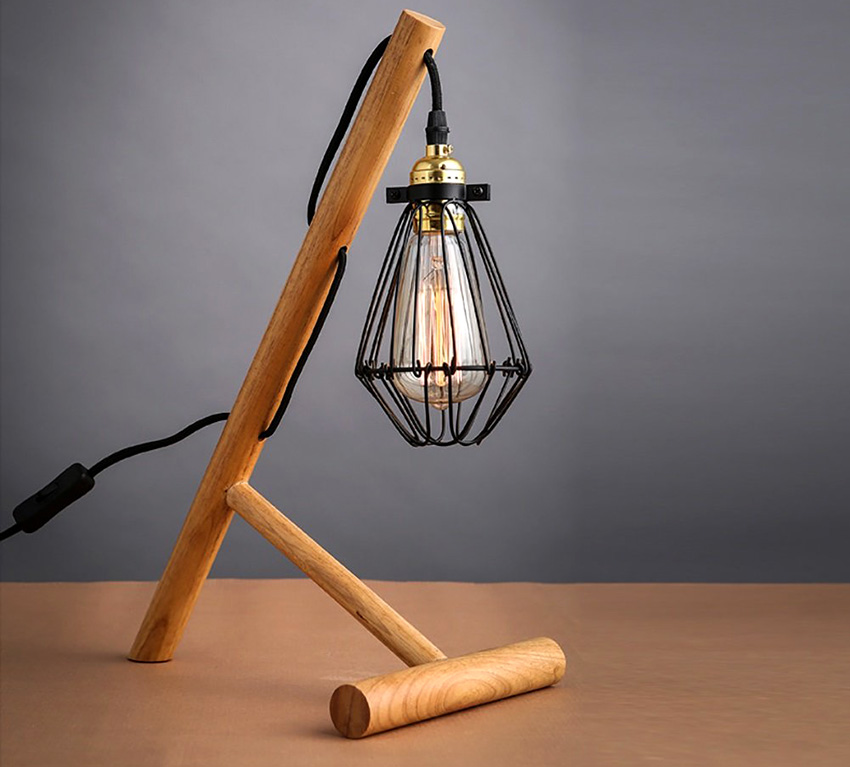
DIY wooden lamps and floor lamps: photos of original ideas
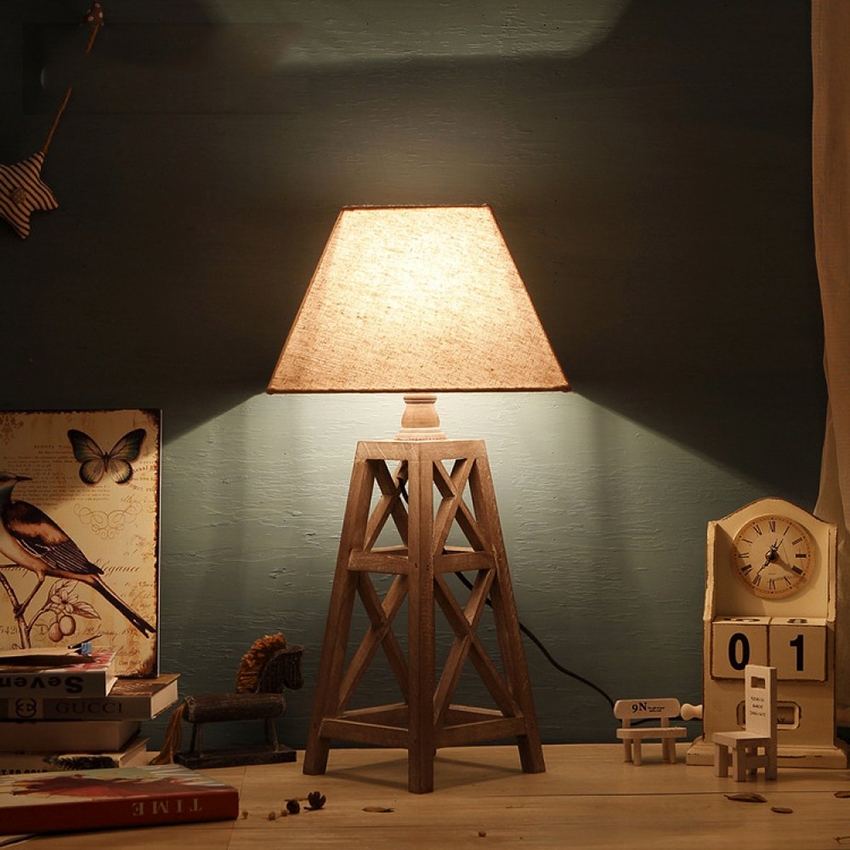
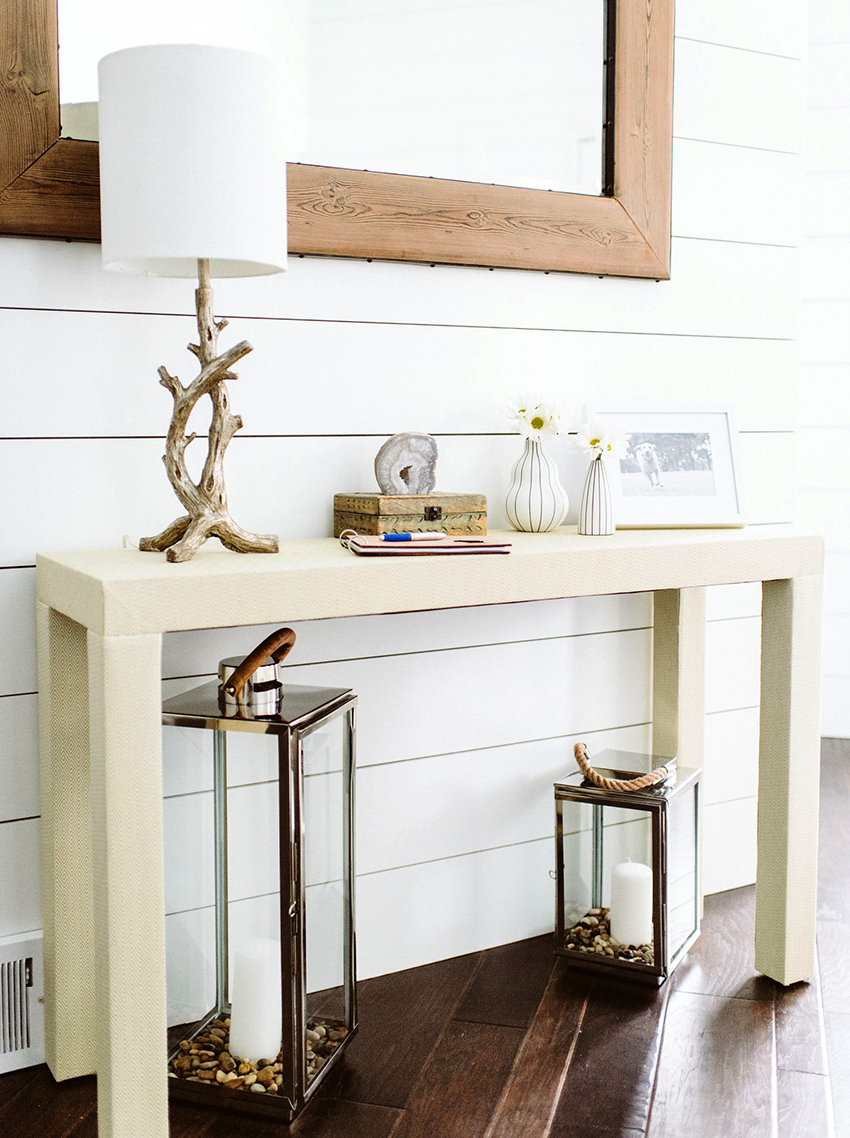
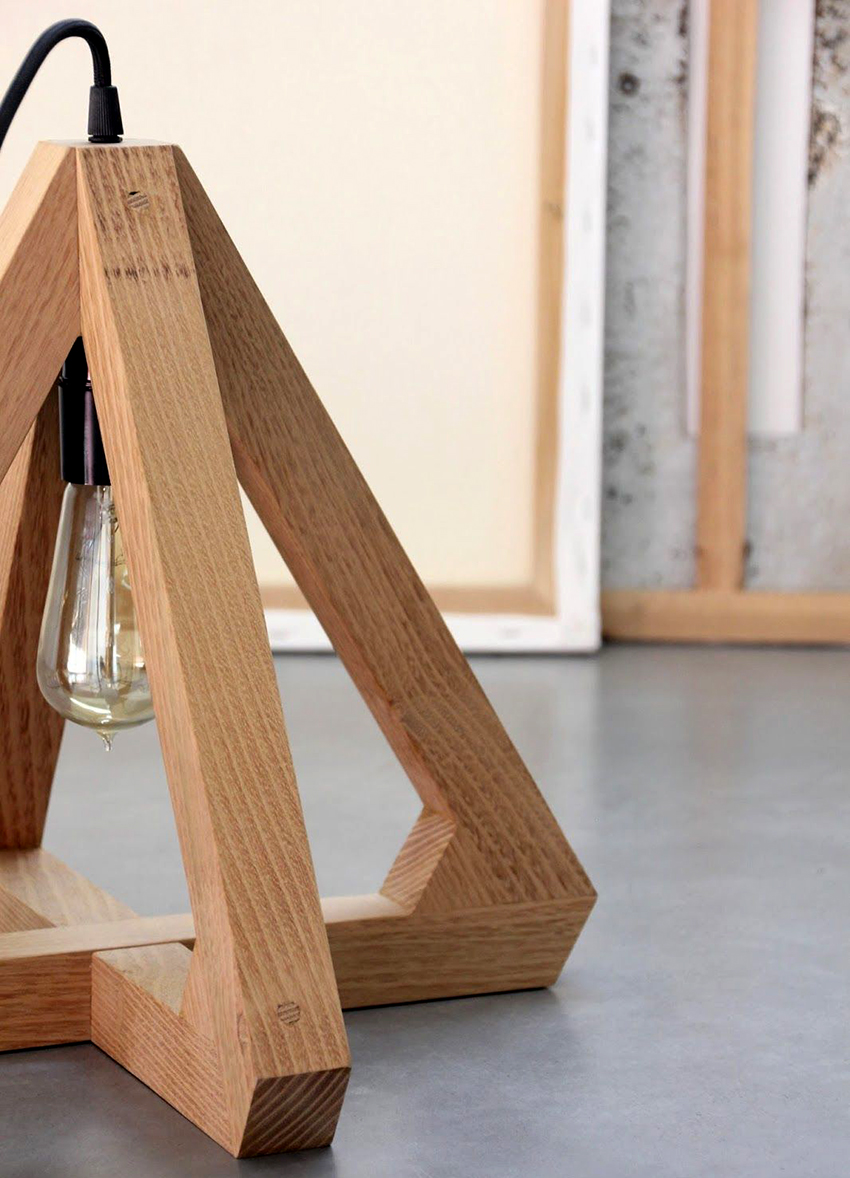
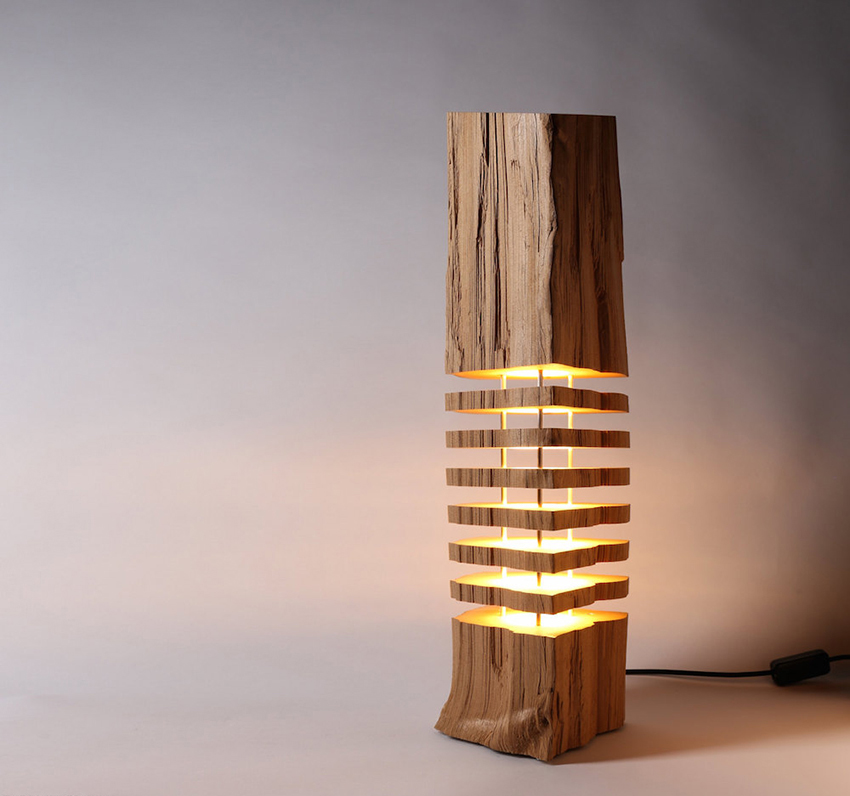
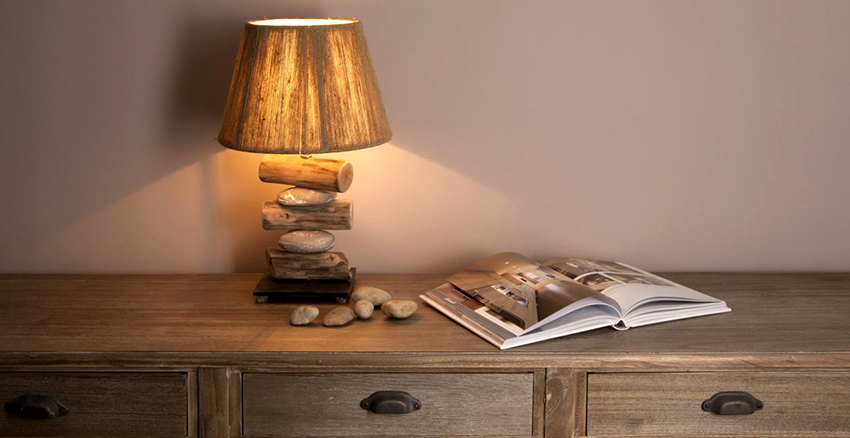
Exclusive floor lamps and table lamps made of wood in retail outlets will cost a lot, which cannot be said about self-made devices. Those who have a lathe are most easily able to design the device. In this case, a homemade wood lamp can be made using an edged beam, the length of which must correspond to the selected height of the device.

Using wood, you can make lamps in a variety of configurations
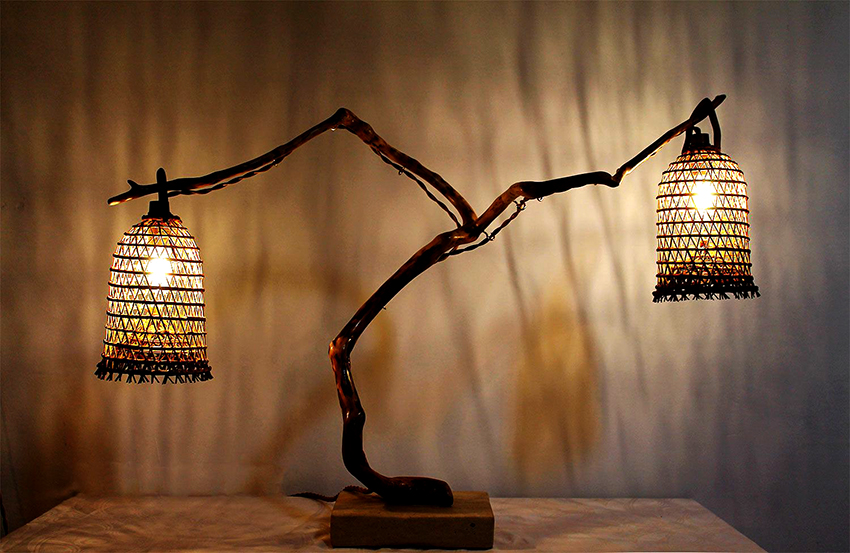
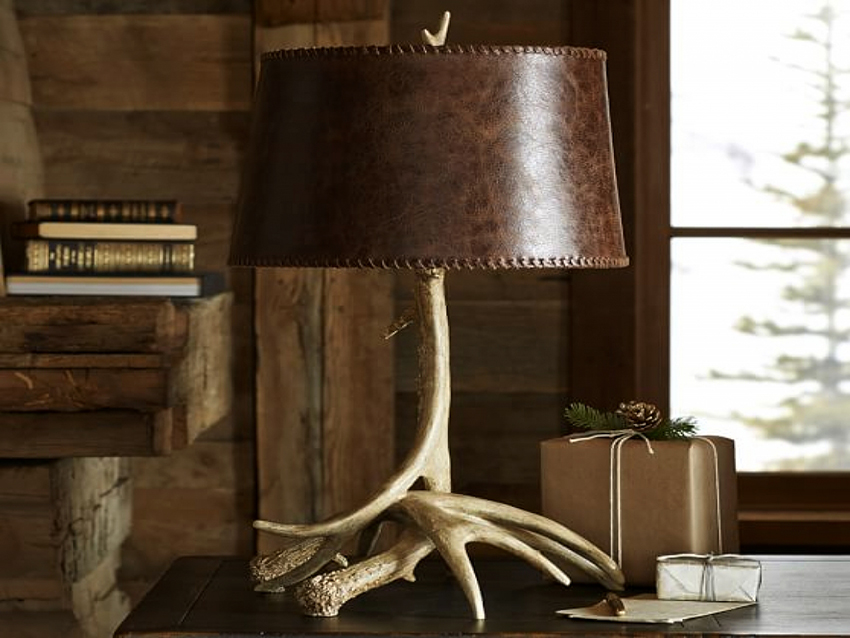
If there is no machine tool, then it is permissible to use trunks of small trees or branches of shrubs as an improvised material. The main advantage of this material is that there is no need for excessive processing, because even an untreated tree will look attractive, especially if it has unusual knots or bark elements.
In addition, you can use a solid piece of wood, from which the bark is removed, and the surface is well sanded. A hole is drilled in the center of such a bar, a cable is pulled through it, on which a lamp is then attached. For the manufacture of a lampshade, a body is used that is independently made of wire, which is then covered with paper, cloth or decorated with a vine or any other available material.
Helpful advice! As a material for creating a floor lamp, you can take a base from an unusable table lamp or use an unnecessary chandelier, a broken sconce.


In the event that there is a lathe, you should first sketch out a drawing of a table lamp that you want to see as a result of work, and select a bar of the required length. If you want to make a long lamp leg, you may need to assemble it from several parts. The stages of work are as follows:
- The wooden beam is fixed in the machine and grinded with a chisel, with which it is given the desired shape. It is safest to install a table lamp with a cylindrical base.
- By means of a cutter, patterns of any configuration are applied, which will correspond to the surrounding interior.
- The finished base is sanded with emery paper until the smoothest possible state is achieved, in order to avoid getting splinters when transferring the product.
- Using a drill, a hole is drilled inside the processed bar through which a cord of the required length is pulled.
- For greater stability, a wooden stand is additionally cut out, the diameter of which should be 40-50 cm.
- The finished product is varnished and decorated if desired.

Wooden table lamp will be a stylish decoration of the room
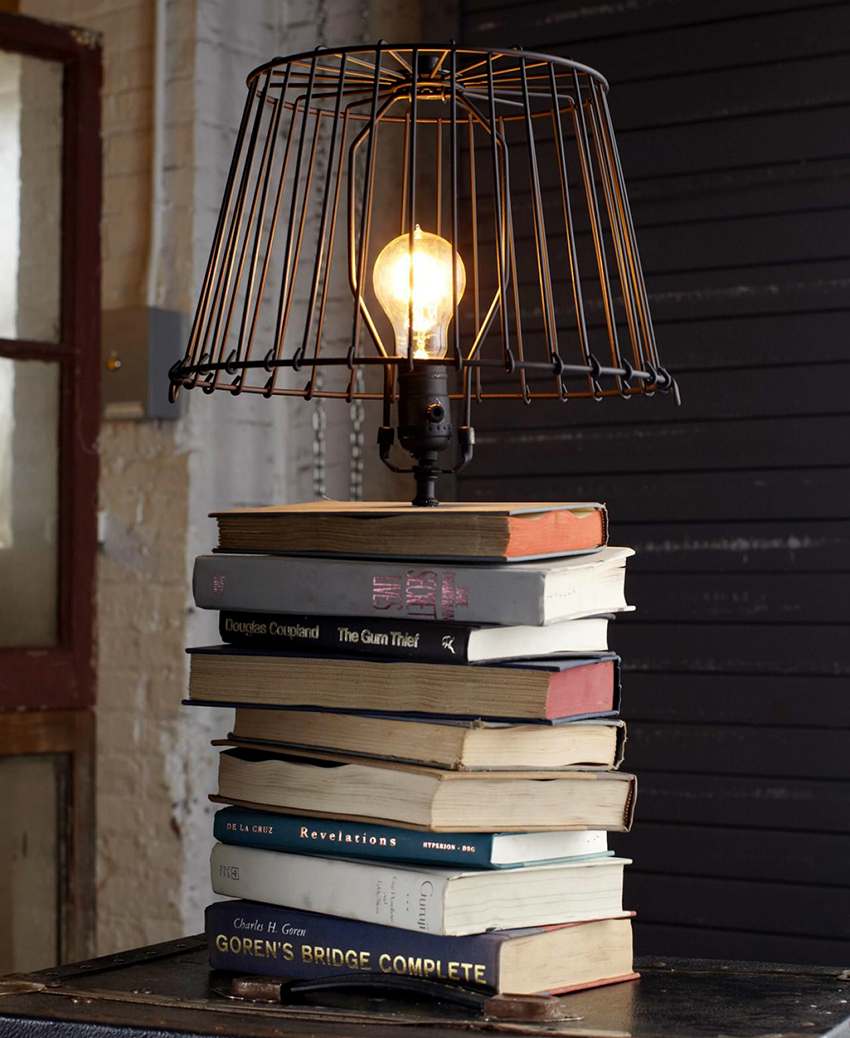
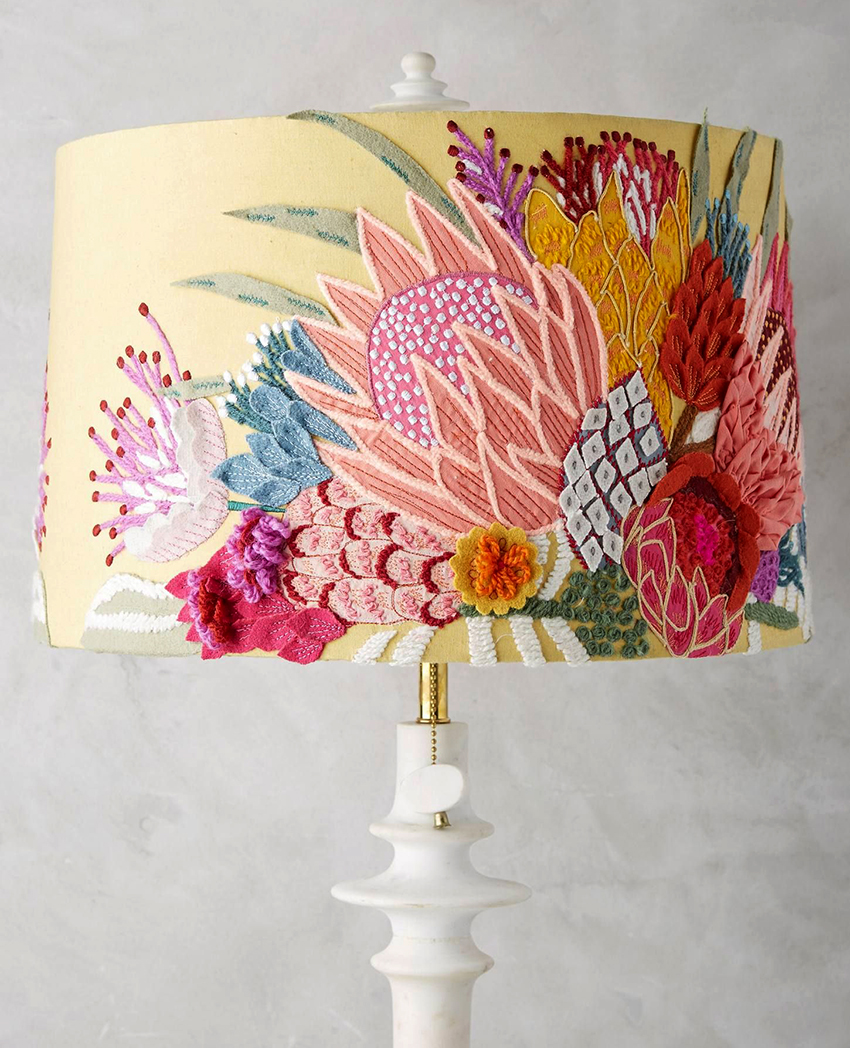
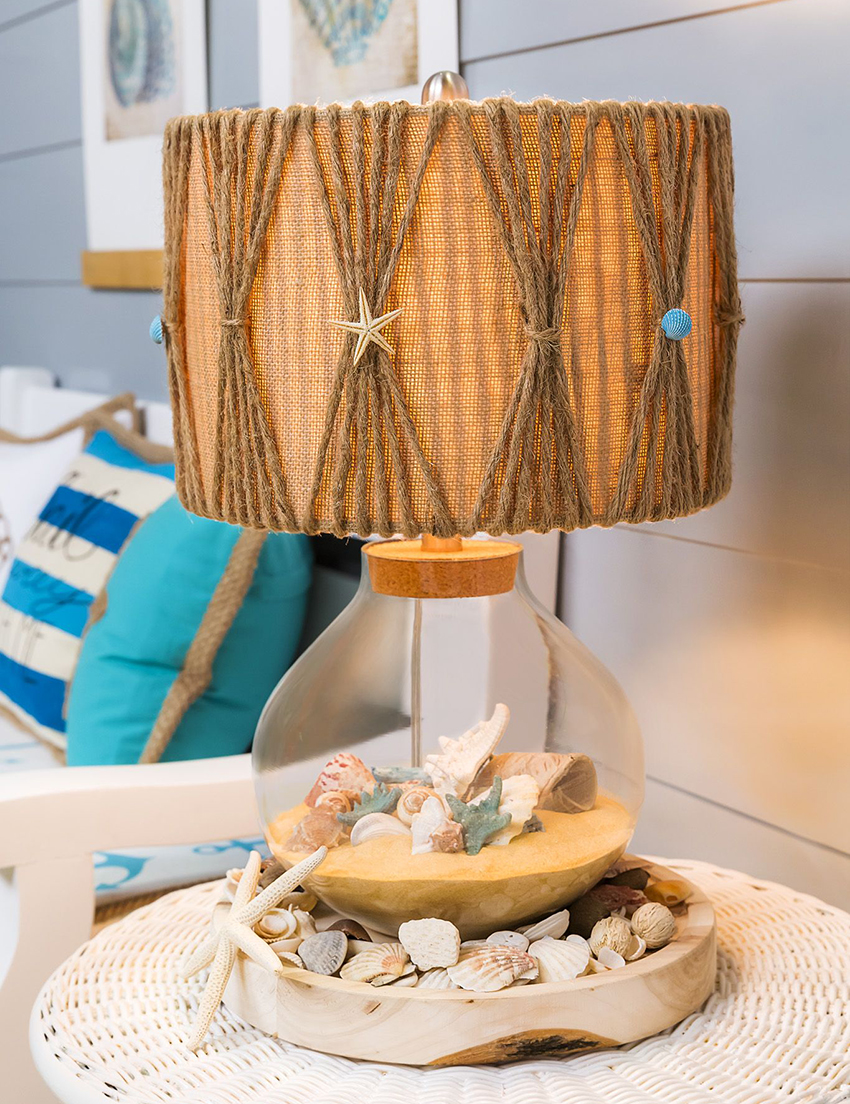
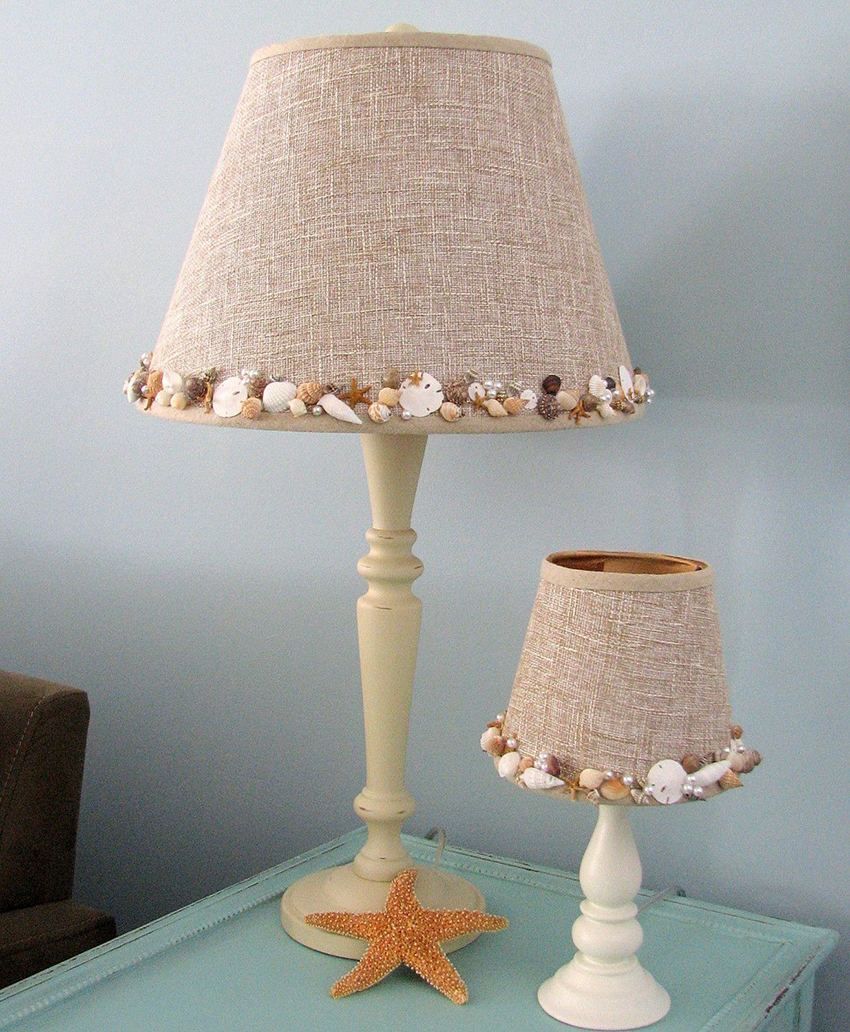
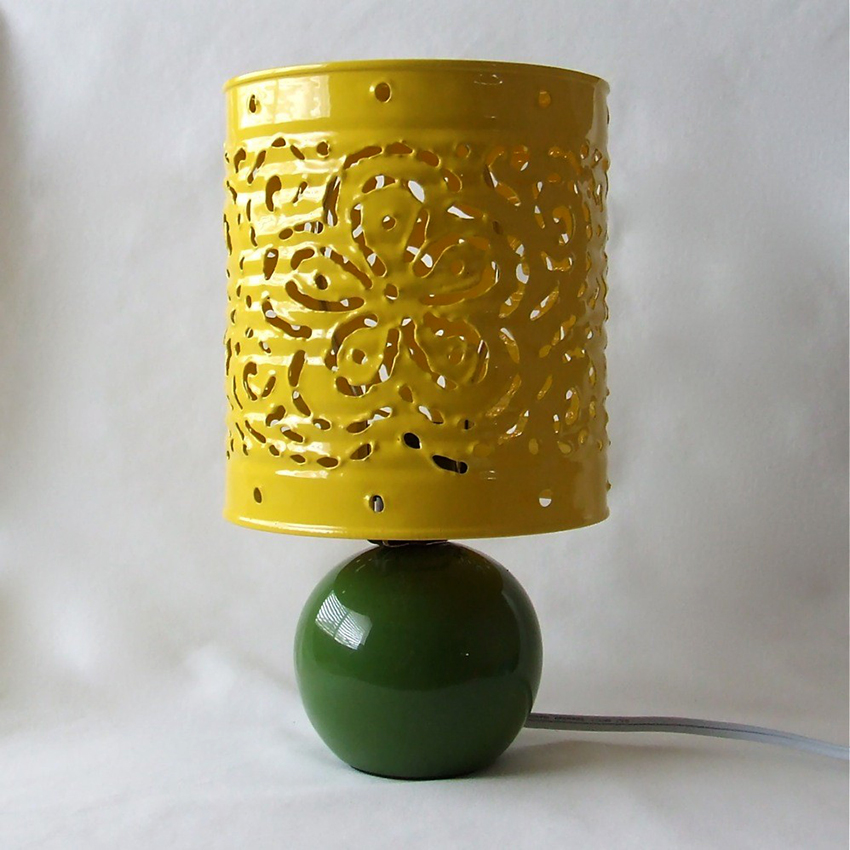
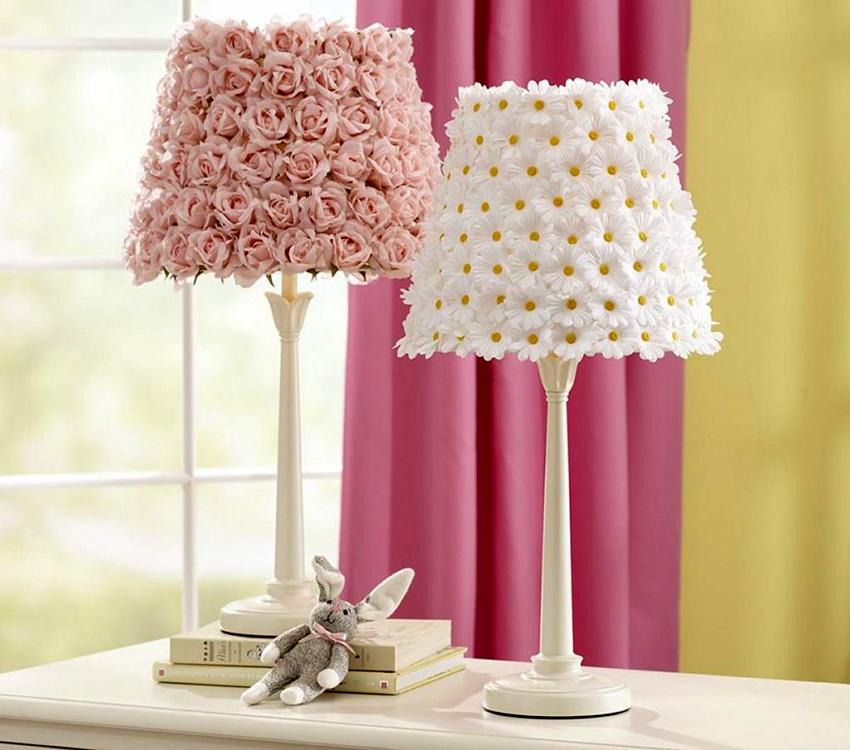
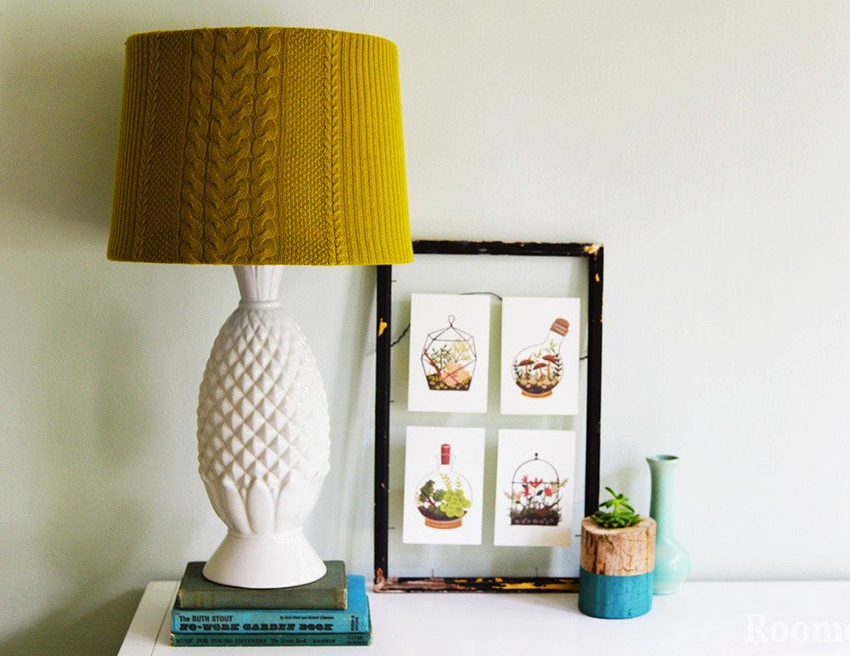
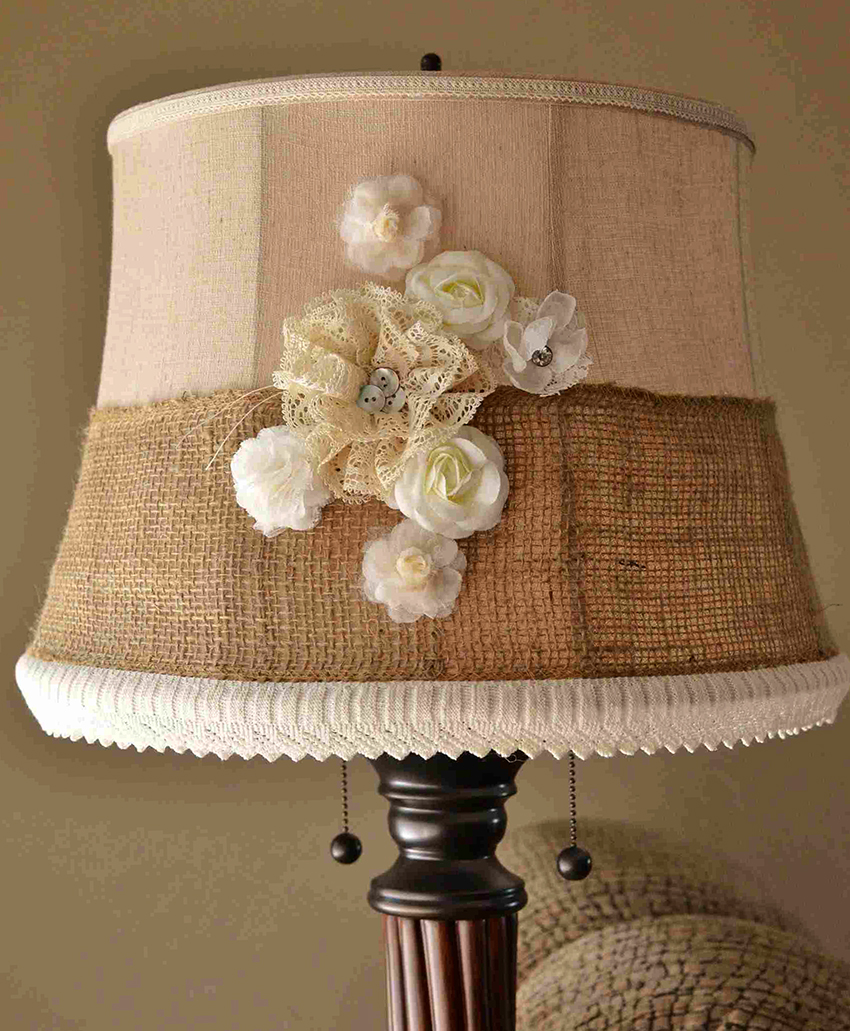
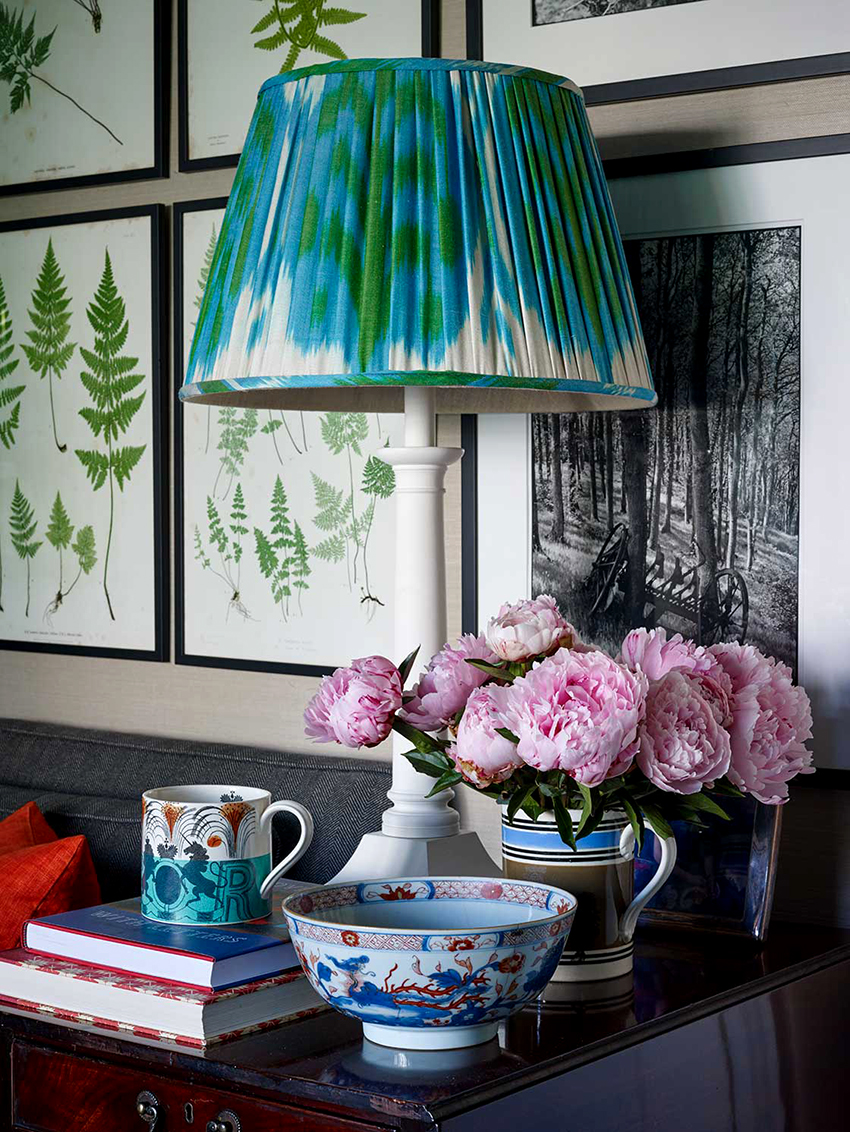
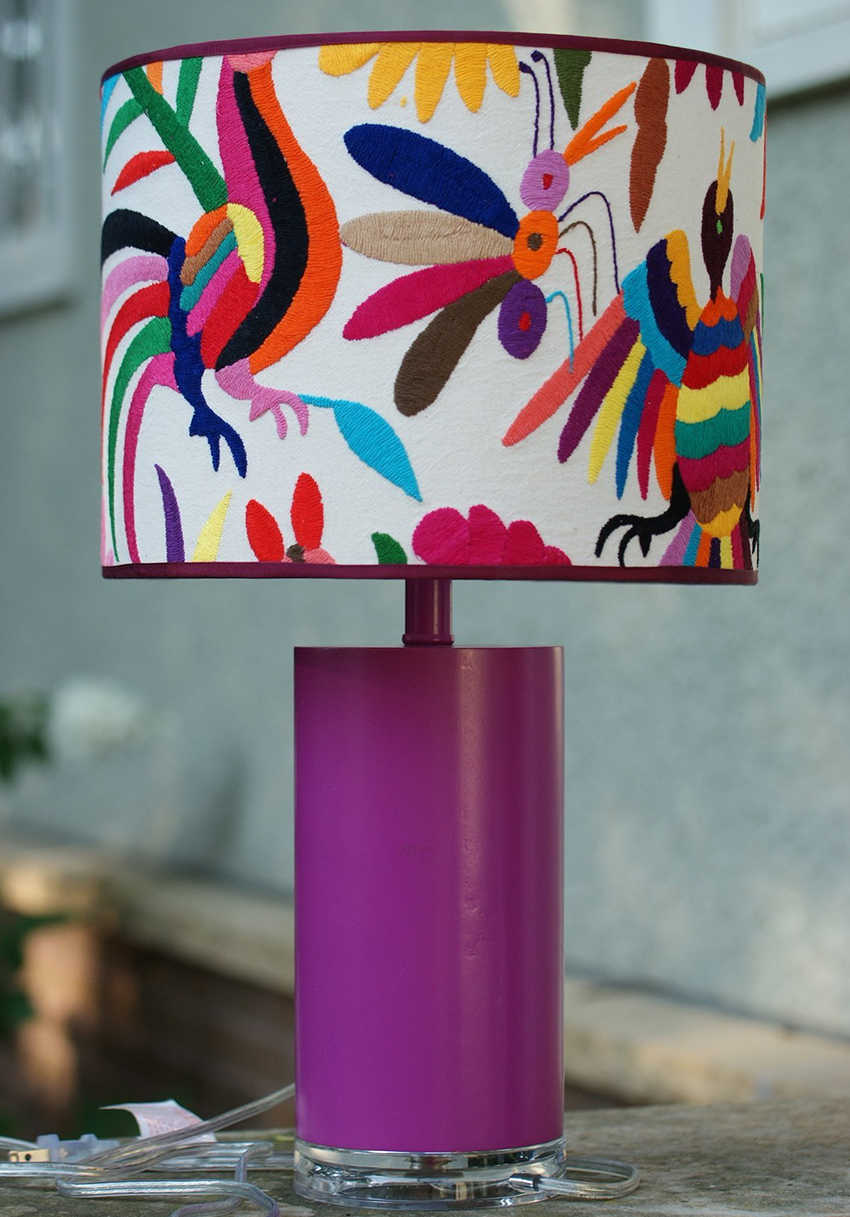
The main methods to update the lampshade for a table lamp with your own hands
If there is an old table lamp in the house that is not suitable for any of the parameters, you should not immediately throw it away, because with minimal effort, the lamp can be given a new life. Even if you don't have an old lamp, you can make your own lampshade frame for a table lamp. To do this, you need to acquire pliers and thick wire. The main advantage of using flexible wire is that the shade can be shaped to any shape. A variety of options are used to tighten the frame, for example:
- camera roll;
- beads;
- wallpaper;
- knitted napkins and lace;
- plastic;
- grid;
- the cloth;
- thick paper.

You can update the old lampshade in the lamp with the help of scrap materials
To make a lampshade out of paper, you will need to take a dense material that will last longer. For example, a shade made of dense non-woven wallpaper will differ in both attractiveness and durability. Rice paper can be used to restore an old lamp shade that has lost its appeal. The most popular option is considered to be a lampshade in the form of an accordion, for the creation of which you will need to trim wallpaper about 50 cm wide 30 cm.
Another attractive option is a metal mesh lampshade, which is sold at a construction store, and you can also look for trimmings in the garage or in the country. Due to the pliability of the material, you can get a product of any shape, but the more popular shades in the form of an ellipse or a ball. Having created the base, it is decorated with laces, pendants, beaded crafts or any other decorative elements.


Self-production of a table lamp only at first glance seems difficult. By and large, all the necessary parts can be purchased at any hardware store, and the missing tool is easy to rent. In addition, it does not take a lot of time to make exclusive fixtures. If all the materials are available, then you can design a table lamp in 1-3 days - it all depends on the selected materials and design features.